Using presentation tools
While presenting lesson activities to students, you can use the following tools:
Screen Shade
Cell shades
Magic Pen
Text Pen (to write editable ink)
Standard pen type (to create fading objects)
SMART Blocks
Concept Mapping
Measurement tools
Ruler
Protractor
Geodreieck protractor
Compass
If you want to cover information and reveal it slowly during a presentation, you can add a Screen Shade to a page. You can also change the color of your screen shade to enhance your presentation.
If you add a Screen Shade to a page and save the file, the Screen Shade appears over the page the next time you open the file.
To add a Screen Shade to a page
Press Show/Hide Screen Shade
 .
.A Screen Shade appears over the entire page.
Press the screen shade to automatically change it to a different color.
To reveal part of the page
Drag one of the Screen Shade’s resize handles (the small circles at the edges of the Screen Shade).
To remove the Screen Shade from a page
Press Show/Hide Screen Shade
 .
.OR
Press Close
 in the upper-right corner of the Screen Shade.
You can add a cell shade to a table cell. This enables you to reveal the information in the cells during a presentation.
Notes
You must remove the cell shade if you want to change the cell’s properties; insert columns or rows; remove columns, rows or cells; or split or merge cells.
You can also add a screen shade to cover an entire page (see Using the Screen Shade).
To add a cell shade
Select the cell.
Press the cell’s menu arrow, and then select Add Cell Shade.
To show and hide the contents of a cell
Press the cell shade.
The cell shade disappears, showing the contents of the cell.
Press
 in the top-left corner of the cell.
The cell shade appears, hiding the contents of the cell.
To remove a cell shade
Select the cell.
Press the cell’s menu arrow, and then select Remove Cell Shade.
The Magic Pen enables you to do the following:
Create an object that slowly fades. Select the Magic pen from the Tools panel and write or draw with it. The digital ink disappears after about 10 seconds. See Writing, drawing and erasing digital ink for more information.
Open a magnification window. Learn more at Using the Magnifier tool.
Open a spotlight window. Learn more at Using the Spotlight Tool.
The Text Pen enables you to do the following:
Write notes that automatically convert into editable text
Edit the text as you work without touching a keyboard
See Using the Text Pen Using the Text Pen for complete information.
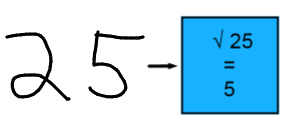
SMART Blocks is an add-on that enables you to perform math activities with your class by writing numbers on the page, and then connecting them to a SMART Block. You can choose from seven different equation types to work with. You can learn how to use SMART Blocks through the pop-up guide.
Important
SMART Blocks will perform the computation inside the blocks. Do not ink inside the blocks. See the examples below.
The following SMART Block activities are available:
SMART Block | Function | Example |
|---|---|---|
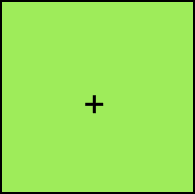
| Addition blocks accept up to two inputs. The output is the sum of the inputs. |
|
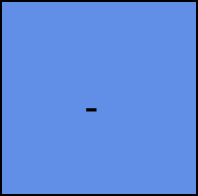
| Subtraction blocks accept up to two inputs. The output is the difference of the inputs. |
|
| Multiplication blocks accept up to two inputs. The output is the product of the inputs. |
|
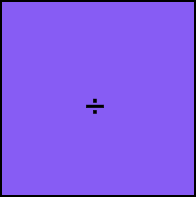
| Division blocks accept up to two inputs. The output is the quotient of the inputs. |
|
| Power blocks accept up to two inputs. The output is the first input to the power of the second input. |
|
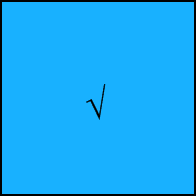
| Square root blocks accept one input. The output is the square root of the input. |
|
| Unknown blocks accept two inputs. The output is a random operation applied to the inputs. |
|
To access SMART Blocks
Press Add-ons
 , and then select SMART Blocks.
To access the SMART Blocks pop-up guide
Press Add-ons
 , and then select SMART Blocks.
Press Learn More.
Using the SMART Notebook software measurement tools, you can insert a ruler, protractor, Geodreieck protractor or compass into a page.
Use Concept Mapping to quickly create concept maps that encourage dynamic participation from students. You can use ink gestures along with traditional interactions to build concept maps.
To begin using Concept Mapping, open it from the toolbar. A root node appears automatically. You then use additional nodes to create the concept map.
To create a root node
Press Start a new concept map
 in the Add-ons menu.
 A root node opens.
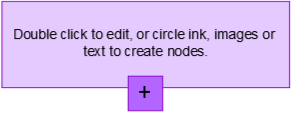
Double press within the root node to edit the text. Press Properties
 or Text
 to open the Text menu, where you can select text size, font and color.
To create additional nodes
Press the + button in the root node. A new node appears with a line connecting it to the root node.
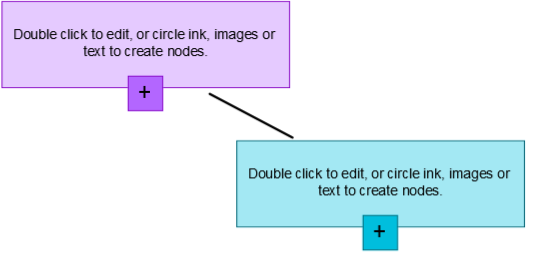
Double press within the node to edit the text.
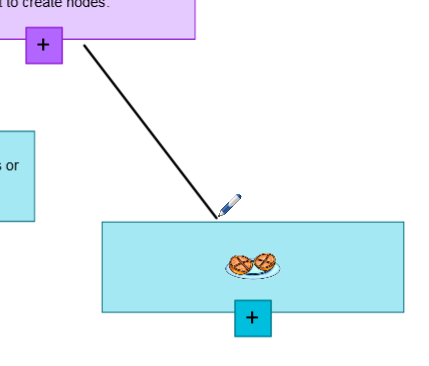
To use an image as a node
Open Concept Mapping and drag or paste an image, Ink or text to the Notebook page.
Use a Notebook pen to draw a circle around the image.
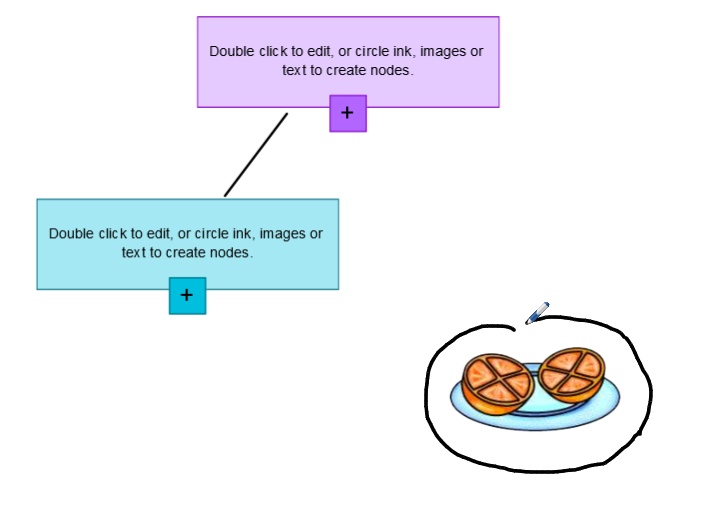
The image appears within a new node. Move the node to wherever you like on the Notebook page.
Now use the pen to draw a regular ink line from the new node to another node. The line turns into a segment and joins the two nodes.
Tips
- Use the Undo
 and Redo
 buttons to undo or redo your Concept Mapping work.
 - If you delete a root node, all other nodes are also deleted.
- You can re-size the node by pressing the re-size handle and moving it to make the node larger or smaller.
- Use the Undo
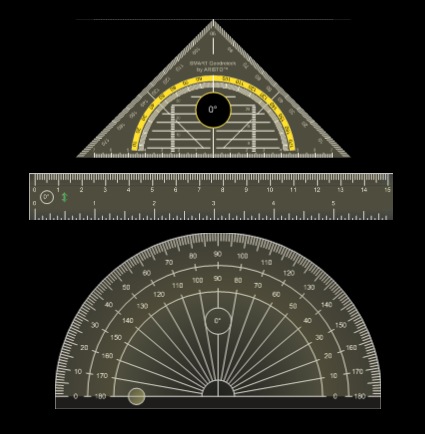
By default, the ruler, protractor and Geodreieck protractor in SMART Notebook software are blue and display best with light-colored backgrounds.
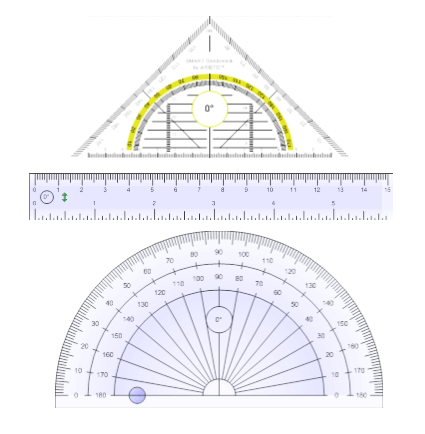
You can change these measurement tools’ color to yellow if you want to use them with dark-colored backgrounds.
Note
Completing the following procedure affects the appearance of measurement tools in .notebook files when viewed on your copy of SMART Notebook software only. If you open the same .notebook files on another copy of SMART Notebook software, the measurement tools could display in a different color.
To change the measurement tools’ color (Windows operating systems)
Select Edit > Preferences.
The SMART Notebook Preferences dialog box appears.
To change the measurement tools’ color (OS X operating systems)
Select Notebook > Preferences.
A dialog box appears.
Press Defaults.
Select Blue tint (recommended for light backgrounds) in the Measurement tool color drop‑down list to set the measurement tools’ color to blue.
OR
Select Yellow tint (recommended for dark backgrounds) in the Measurement tool color drop-down list to set the measurement tools’ color to yellow.
Press OK.
Keywords |
|
Related documents |
