 This product is discontinued. Learn more
Connecting power and turning the display on for the first time
To connect the display to power
Connect the supplied power cable from the AC power inlet on the back of the display to a power outlet.
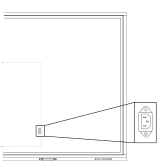
Note
Refer to the display’s specifications for power requirements and power consumption information (see SMART Board GX series specifications).
Connect the supplied power cable from the AC power inlet on the back of the display to a power outlet.
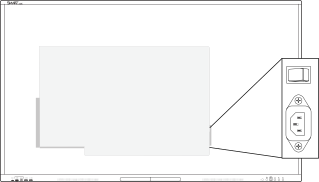
Note
Refer to the display’s specifications for power requirements and power consumption information (see SMART Board GX (V2) series specifications).
Connect the supplied power cable from the AC power inlet on the back of the display to a power outlet.
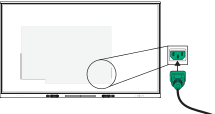
Note
Refer to the display’s specifications for power requirements and power consumption information (see SMART Board GX (V3) series specifications).
To turn on and set up the display for the first time
Caution
Install the OPS appliance before you turn on the display. If you can’t reach the power switch, use the front control panel’s power button
 to put the display in Standby mode, and then unplug the display’s power cable from the power outlet.
Make sure the OPS appliance is secured to the display with screws through the two anchor points. Inadequately secured appliances can damage the display. (An OPS appliance's anchoring screws are typically captive, although some simply include separate anchoring screws. Third-party OPS appliances are not supported, and their use can lead to poor performance or damage to the display.
Important
The display’s first-time setup procedure will not complete successfully if you try to connect to a Wi-Fi network that requires a user name. If you would like to connect the display to a Wi-Fi network that requires a user name, you can do that after you complete the first-time setup.
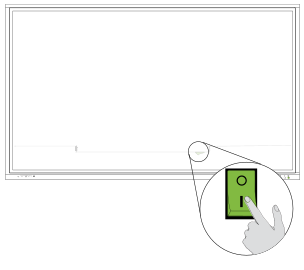
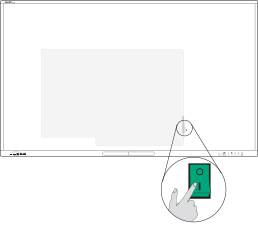
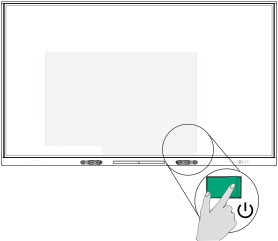
Flick the power switch beside the AC power inlet on the rear of the display to the ON (I) position.
SBID-GX165
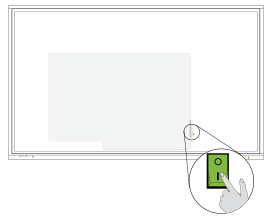
SBID-GX175 and SBID-GX186
Select your preferred language, and then tap the Next icon
 .
.Select the country location where you’re installing the display. This helps to ensure the proper Wi‑Fi frequencies for wireless networks are available. Tap the Next icon
.Select an Ethernet connection or wireless network. To add a hidden Wi‑Fi network manually, select Add Network.
Select an Ethernet connection or wireless network. To add a hidden Wi‑Fi network manually, tap the Add Network icon
 .
.Important
The display needs an internet connection for downloading and installing important updates. Ask the network administrator to verify that the display can access the network by making sure the display’s built-in browser can access the internet.
Add a network certificate (optional).
Tap the Next icon
.Set the date, time and timezone, and then tap the Next icon
.You can also enable the display’s date and time to be set automatically.
Set a password for the screen lock feature, and then tap Enter.
Important
Ensure the screen lock passcode is made available to authorized users of the display. Users must enter the passcode to unlock the display’s screen when the Lock screen feature is enabled.
SeeSee Using Lock Screen.
Important
Ensure the screen lock passcode is made available to authorized users of the display. Users must enter the passcode to unlock the display’s screen when the Screen lock feature is enabled.
SeeSee Using Lock Screen.
Important
Ensure the screen lock passcode is made available to authorized users of the display. Users must enter the passcode to unlock the display’s screen when the Screen lock feature is enabled.
SeeSee Using Lock Screen.
The Done screen indicates setup is finished.