Introduction to SMART lab activities and assessments
Create interactive learning experiences in less than five minutes that will engage and amaze your students. SMART lab and SMART response 2 feature a game-based learning environment, real-time student collaboration tools and a suite of formative assessment tools.
Save hours of lesson planning time while providing a rich classroom experience for your students.
To read the procedure for setting up a Monster Quiz see Using Monster Quiz.
Which activity should you create? Select an activity type based on your learning objective.
Add a competitive gaming element to your next grammar lesson using Speedup
Launch a class-wide brainstorming session using student mobile devices and Shout It Out!
Create an exit ticket using the response 2 formative assessment tool
Pace your lesson and reduce information overload using Label Reveal
Let’s say you have planned an English grammar lesson to help students learn about parts of speech. You would like to create an activity that will help your students distinguish nouns, verbs, adjectives and adverbs. To create student input and enthusiasm, you will have students participate by playing the Speedup racing activity on the SMART Board in your classroom.
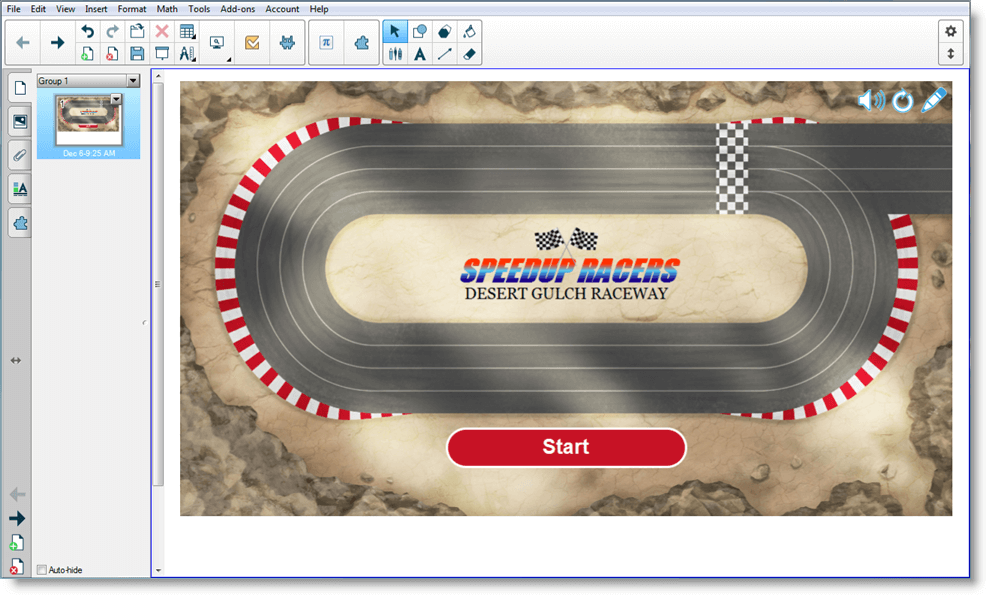
Whatever the subject, grade or skill level, SMART Notebook activities help ensure that your content is teacher-defined and pedagogically sound. SMART Notebook software gives you eye-catching activities your students will love.
See Adding a Speedup activity for more information.
You’ve completed the lesson in-class and want to quickly evaluate student understanding. Open SMART lab from your Notebook 17 software. From the SMART lab Select an Activity Creation Wizard, select Speedup from the list of activities and enter a few questions and answers on nouns, verbs, adjectives and adverbs, or use a previously saved list. See Adding a Speedup activity for additional information.
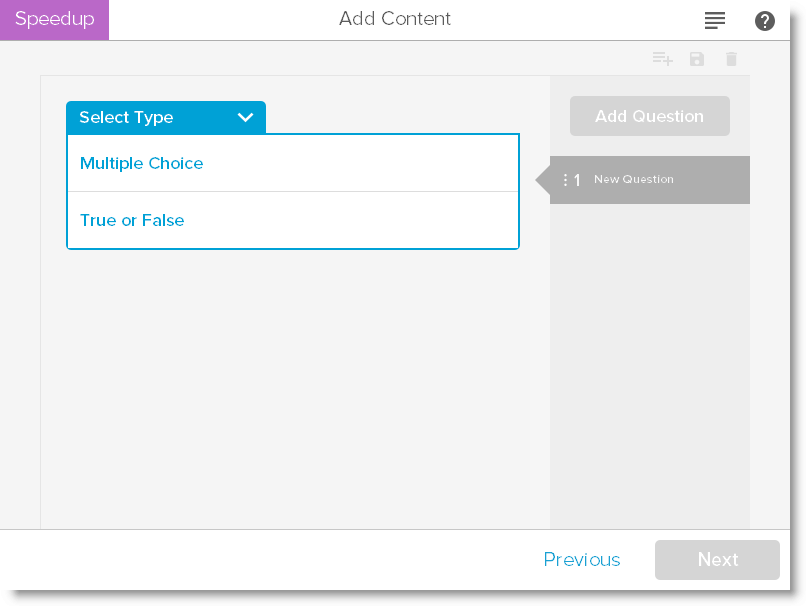
You can easily manage SMART lab content to match your activity requirements. See Managing SMART lab content.
Have students form small groups so that they can collaborate during the game. SMART lab quickly builds the activity. You can give a few words of direction, press Start and the game begins. Students choose race avatars, speed around the track and give answers at predetermined locations.
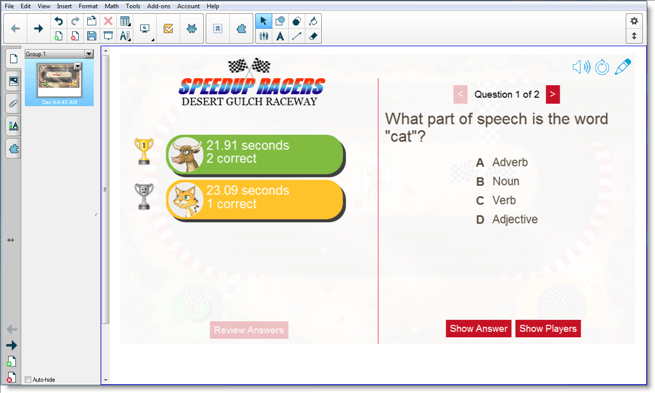
Students get excited about the race and quickly learn to collaborate for correct answers. At the end of the race, the groups are shown their race times, the number of questions they correctly answered and their position by player avatar.
Review the quiz answers with the class using the avatars for each group. After the race, press Review to see the questions, their possible answers and the players’ avatars. Press Show Answer to see the answer to each question. Invaluable learning can also occur by discussing the incorrect answers contextually.
If you wish, give students additional work in class. While they’re working on that, you can use the time to quickly build another activity that improves upon previous learning.
Shout It Out! is a mobile device enabled activity where students can use their own device or school supplied devices to contribute to peer or teacher-curated discussion. The teacher can select between categorized arrangements, where students contribute to teacher created categories, or random arrangements, where student contributions are placed randomly. The contributions can then be moved freely on the SMART Board activity page and arranged in groups if desired. See Adding a Shout It Out! activity for additional information.
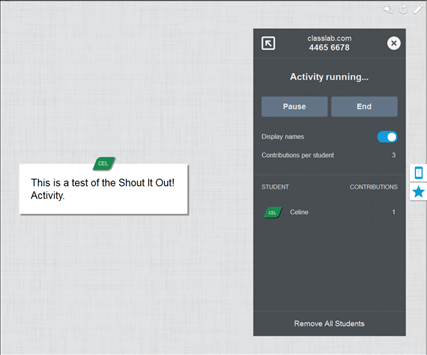
In Notebook 17 software, open SMART lab and select Shout It Out! from the list of activities. Then select Randomized or Categories based on the type of contributions you require and the type of dialog you want to encourage. Select the maximum number of contributions students can make and whether you want contributor names to appear on the SMART Board. You determine how many text answers students contribute per activity session. Students may contribute up to 50 images per activity session. Game components can also be used with Shout It Out! activities. SMART lab quickly builds the activity and you can begin.
If you select Randomized student contribution placements, you will be prompted to choose either Text or Images as acceptable student contributions. If you selected Categories for student contribution placements, at least two categories are required for the activity.
For Categories student contribution placements, give names to the categories that will contain student contributed content. In the Contributions section, choose from Text or Images contribution types.
Let’s say you want to gather class comments in support of or against a current political candidate’s policy statements. You can hide contributor names to encourage greater participation for this activity. Toggle the Student names switch to Show or Hide as required. If students are discussing their answers before they contribute, you can also manage the number of contributions per device.
Instruct students instructions to go to classlab.com on their devices, enter the activity number and prepare to answer the questions. The activity and activity number appears on the SMART Board and the teacher manages the start time.
You will find that contributions begin to appear very quickly, stimulating even more contributions, peer collaboration and discussion.
To pause the activity for additional discussion or classroom management, press Pause contributions. An Activity Pause notification appears on each device. When you wish to continue, press Resume and students can make contributions again. When the activity is complete, press End. An Activity has ended notification appears on each device.
Use the results of the class or small group submissions as a springboard for deeper discussion. Students quickly see that diverging opinions can be valuable and that peers can have insights that they might not have had themselves.
An “exit ticket” is a good way for students to review and apply what they learned in the lesson. There are many approaches you can use. This example shows how you can use SMART response 2 to quickly create an “exit ticket.”
See Using SMART response 2 for more information on the SMART response 2 version assessments platform.
In this example, the teacher will have students answer a multiple choice quiz using SMART response 2. The teacher will use the quiz as a class “exit ticket” that tracks student understanding prior to leaving the class. Students will answer the answers on their own mobile devices or those supplied by the school.
Open SMART response 2 from Notebook 17 software and quickly enter a few questions without entering the multiple choice answers. Just get the questions in quickly; they can be edited afterward.
After you’ve entered all the questions, select Edit to edit the questions, then press Next. You can review your content and questions in the Review Content dialog box.
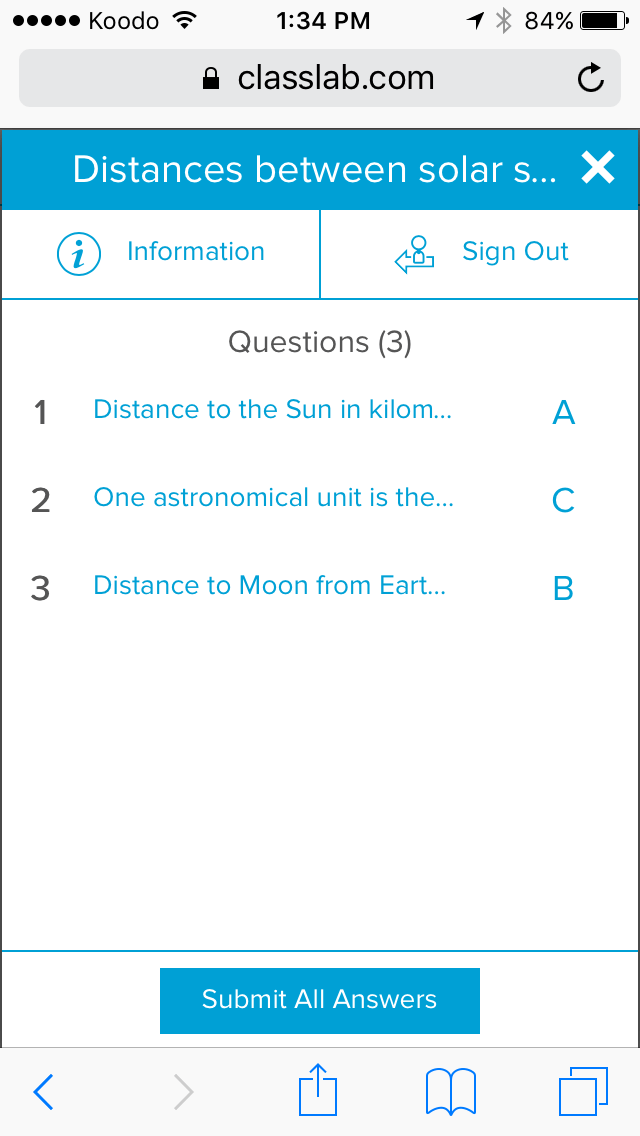
Press Finish. SMART response 2 builds the activity in a few seconds. Tell students to go to classlab.com on their devices, enter the activity number if required and prepare to answer the questions. The activity and activity number appears on the SMART Board. The teacher manages the start time. Here’s an example of the quiz questions:
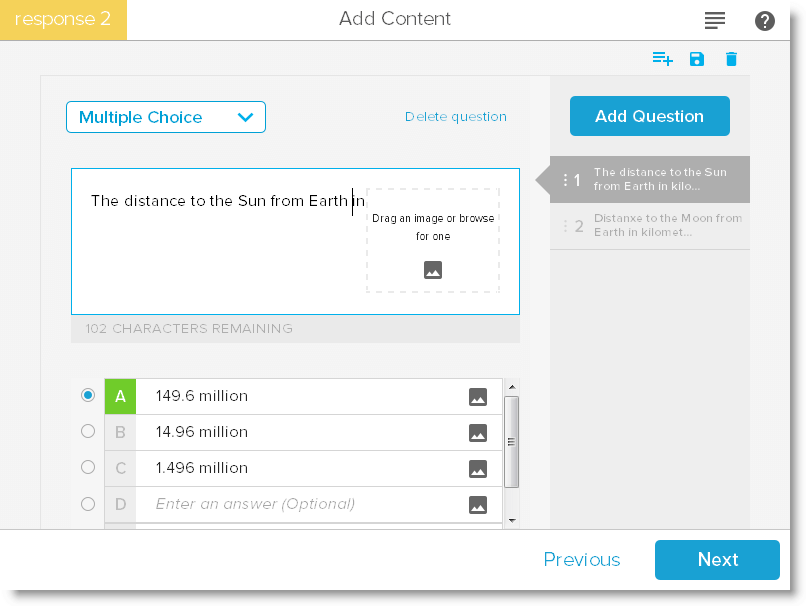
When the activity is ready, press Start Activity. Students can begin taking the quiz on their devices. See Using a mobile device to access SMART response 2. You can pause the quiz if required. The live Results animation indicates the percentage of questions the class has answered. When all students have submitted their answers, pause or end the activity. If you end the activity, all students will receive notification on their devices, and the quiz results will appear on the SMART Board.
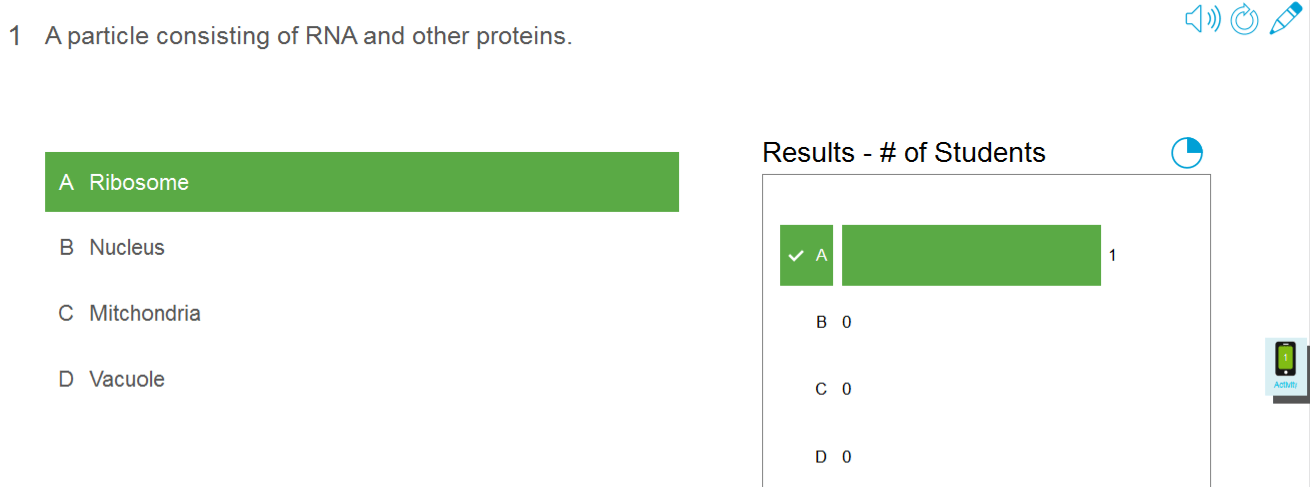
After students submit their answers and the results are in, the results assessment begins. Each question is shown, and you can select a bar or pie chart to indicate the number of students who answered the question.
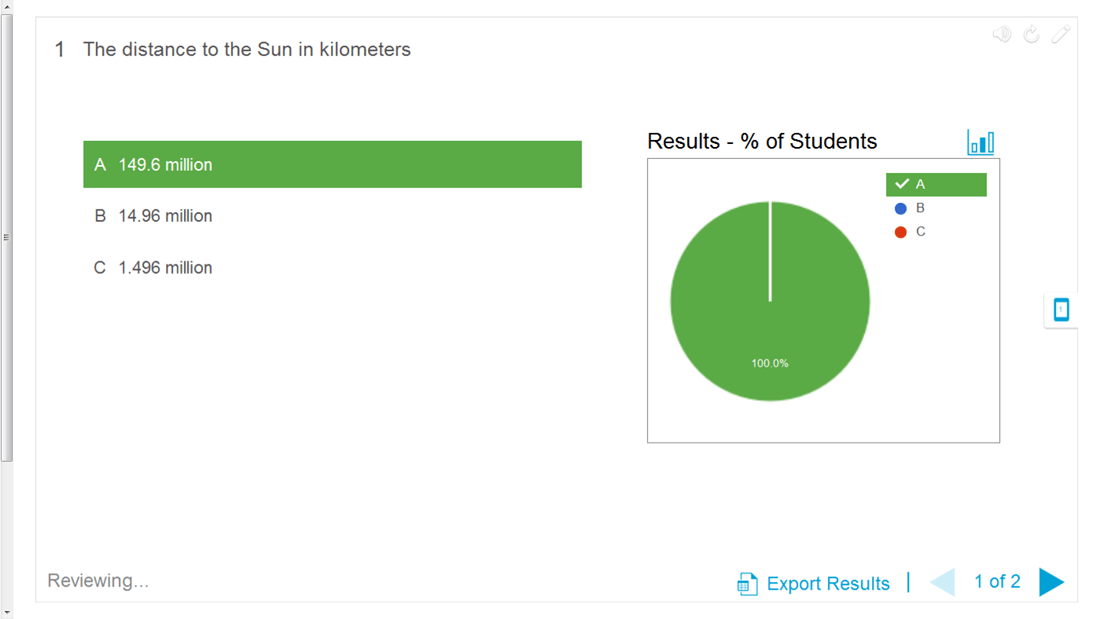
The results dialog box gives both teacher and class an opportunity to review the questions and check for student understanding. The teacher can assess student understanding immediately and make adjustments to the lesson if necessary.
Label Reveal helps students identify all the parts of the whole, and helps you test knowledge and lesson plan progression. You add an image, click inside the image and add as many labels that you need, and begin!
In this example, you want to measure student understanding of terms used in the human cell lesson your class completed yesterday. You will use the Label Reveal activity to pace your lesson plan and test understanding, and SMART response 2 for the assessment. You can have individual students participate with peer support as the activity progresses, or use small teams of students so that team members support each other to find answers.
See Adding a Label Reveal activity for more information on setting up Label Reveal.
Complete the Label Reveal activity out of the class if time is available. Open the SMART lab Label Reveal activity. Next, drag and drop an image you wish to use into the box on the Add Content page or browse to the image by selecting Browse for an image . The image appears in the activity.
Now drag and drop as many labels on the image as you need. A Label dialog box appears in which you can add or edit a label for the image and add a description of up to 150 characters. You can also change the image or pointer style from this page.
When you have finished adding labels, press Finish. SMART lab builds the activity in seconds and now you’re ready to use the activity in class: use the gaming components to add excitement to the various reveals, discuss the image and reveal the labels.
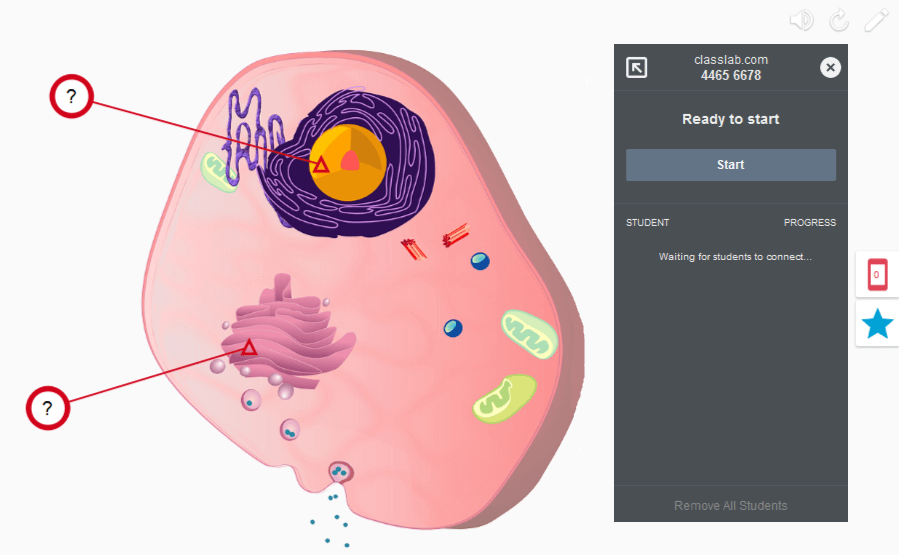
In the classroom, open the Label Reveal activity. If you’ve decided to use the timers or buzzers, have two or three small student groups come to the SMART Board and identify the parts of the cell. After each identification is made, students can press the buzzer to indicate they’ve made their choice, and they can see how much time their identifications took. Students will enjoy trying to out-do each other to complete the activity quickly.
As an alternative, you can have individual students come to the SMART Board to reveal labels, and you can get the whole class to assist by calling out clues if the student needs help.
When the Label Reveal activity is complete, use the SMART response 2 assessments platform to evaluate student knowledge.
In SMART response 2, use images of different cells that also have the same general cell parts. Student understanding will reflect the earlier discussion, which was just reinforced by the Label Reveal activity.
When you’re ready, press Start Activity and students can begin taking the quiz. You can pause the quiz if required.
Use SMART response 2 to assess student understanding. The live Results animation indicates the percentage of questions the class has answered. Use the quiz results to determine whether additional classroom or individual instruction is required.
Keywords |
|
Related documents |