Delivering and monitoring Group Workspace activities
In Group Workspace activities, you can divide students into teams so they can work together on a task in smaller groups. Within their teams, students work together on a page by contributing and editing content, such as images and digital ink.
Create Group Workspace activities ahead of time by converting presentation pages in Editing mode, or create them on the fly by converting presentation pages when delivering a lesson. After a Group Workspace is created, students work together on teams to complete the activity, and you can monitor their progress.
Start a live delivery of a session.
Browse to the Group Workspace activity.
OR
Browse to a presentation page and convert it to a Group Workspace activity.
Tap
 to open the class panel and display a list of connected students. Review the list and make sure all the students you want in the workspace are signed in and connected to your class. After you've are finished, close the class panel.
Important
If you want students to access a Handout or Group Workspace activity and continue their work outside of class, they must sign in to join the lesson (not join as a guest) and be connected to your class when you start the activity during the live class. After students have participated in the activity in class, you can give them a session link that allows them to access the activity outside of class.
Tap Set up.
Students receive a confirmation that they’re in the workspace and you’re about to divide them into teams.
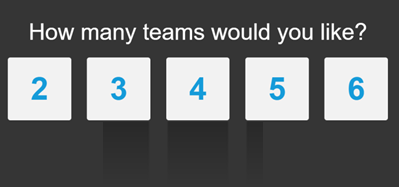
Select the number of teams you’d like to create.

Note
The number of teams available changes depending on the number of students connected to your class, up to a maximum of 9 teams and 54 participants.
Drag students’ names to adjust teams.

Tap Start Workspace.
When the activity starts, the teacher dashboard appears on your device. Students see their team’s workspace on their devices.
You can select a team in the teacher dashboard and see its progress. While in a team’s Workspace, you can see how the team is doing, make sure that the group is on the right track, or see if a group is stuck and needs help.
To view a Group Workspace
From the teacher’s dashboard, select the team you want to view. You’re brought in to the team’s workspace and can now check their progress.
Move between the different team’s Workspaces by tapping the arrow buttons
 in the blue bar, or return to the teacher dashboard by tapping Return
 .
.Select an object on the page and tap
 to view which student added it.
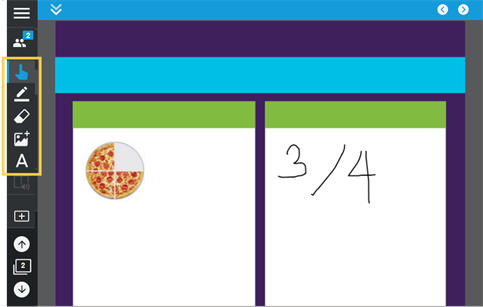
Use the tools in the toolbar to add ink or text to provide feedback.

Important
Ending an activity stops students from contributing to or interacting with it permanently. If you want students to continue working on it asynchronously, do not end the activity.
Tap Activity settings
 from the toolbar on the left to open the activity status dialog.
Tap End. A warning message appears.
Tap Ok to confirm your choice.
The activity stops, and students can no longer see or edit the activity.
Select Reset
 from the toolbar on the left.
A confirmation message appears.
Tap Start new activity to confirm your choice.
The activity resets.