Adding audio to objects and lessons
You can add audio to Lumio lessons in multiple ways to provide additional learning and communication modalities. These features are available on all page types in Lumio. When viewing the lesson, students can play the audio clips at their own pace.
Notes
Lumio supports audio in MP3 and OGG format.
Before you can attach audio to an object, you must allow Lumio to access your microphone.
Attach audio to an object to offer an additional learning and communication modality.
To attach audio to an object
Create a new lesson or open an existing lesson in Edit mode.
Browse to the object you want to attach audio to and click it to select it.
Click the menu arrow
 to expand the menu and select Attach audio. The Attach audio window opens.
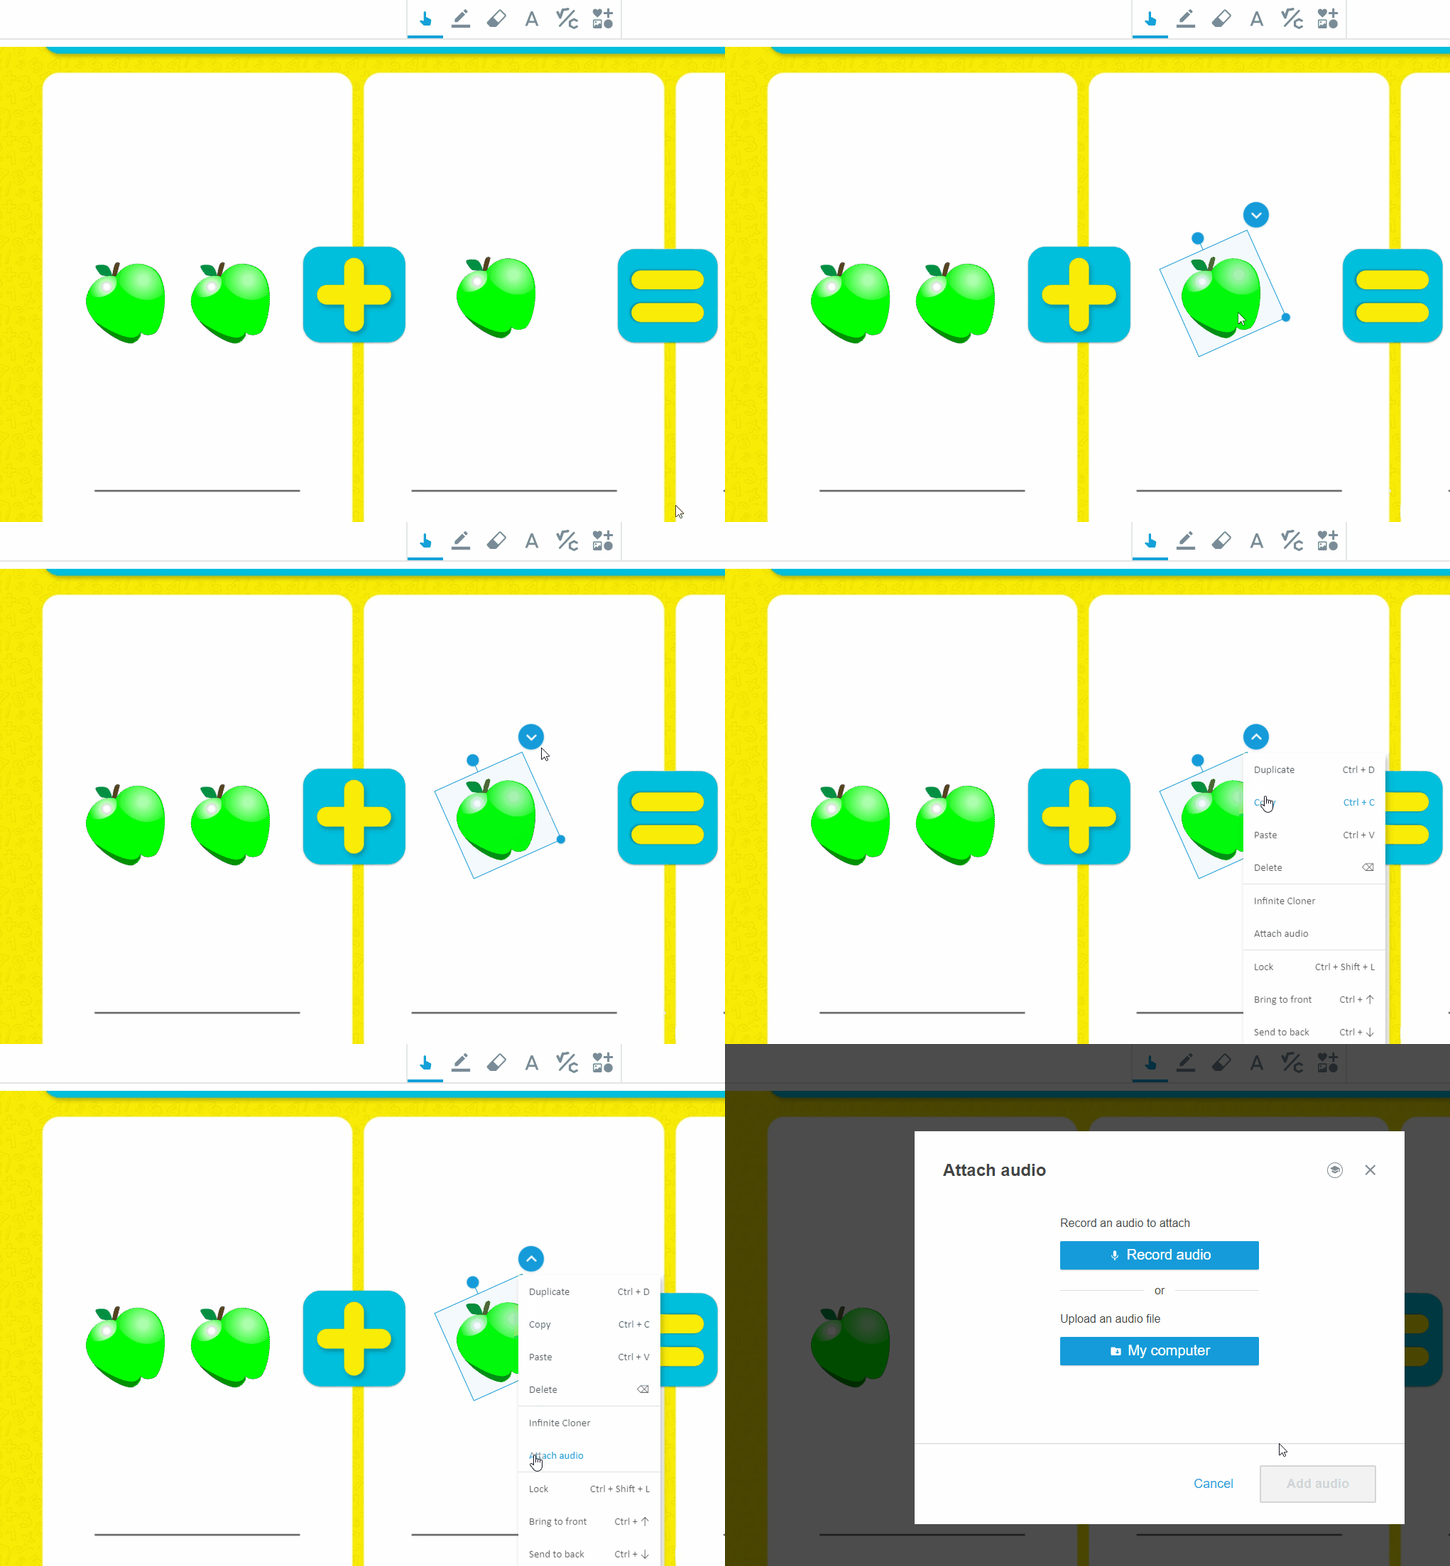
Click Record audio to record an audio clip.
OR
Click My computer to upload an audio file.
If you’re using this feature for the first time, select Allow microphone access to give Lumio permission to use your microphone. This feature doesn’t work if you don’t allow access.
Click Start recording to begin recording your voice. You can record up to five minutes of audio.
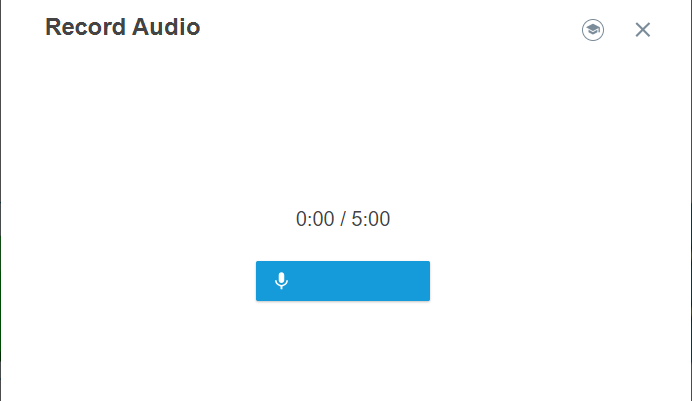
When you are finished recording, click Pause to review. You can use the controls to skip forward or back and review the recording.
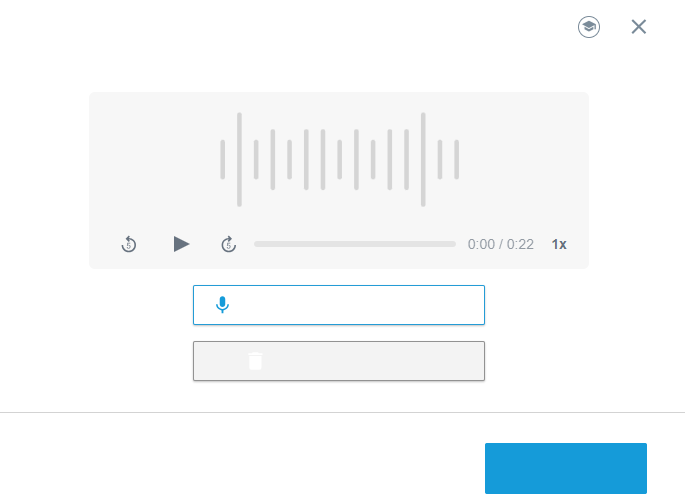
To continue recording from where you left off, click Continue recording.
OR
To restart the recording, click Delete and start over.
After you’ve reviewed the audio, click Add audio. An icon
 appears in the bottom-left of the object area to indicate that the object has audio. You can click this icon to review your audio, change the playback speed, or skip forward and backward.
To delete the audio from an object, click the menu arrow
 and select Remove audio.
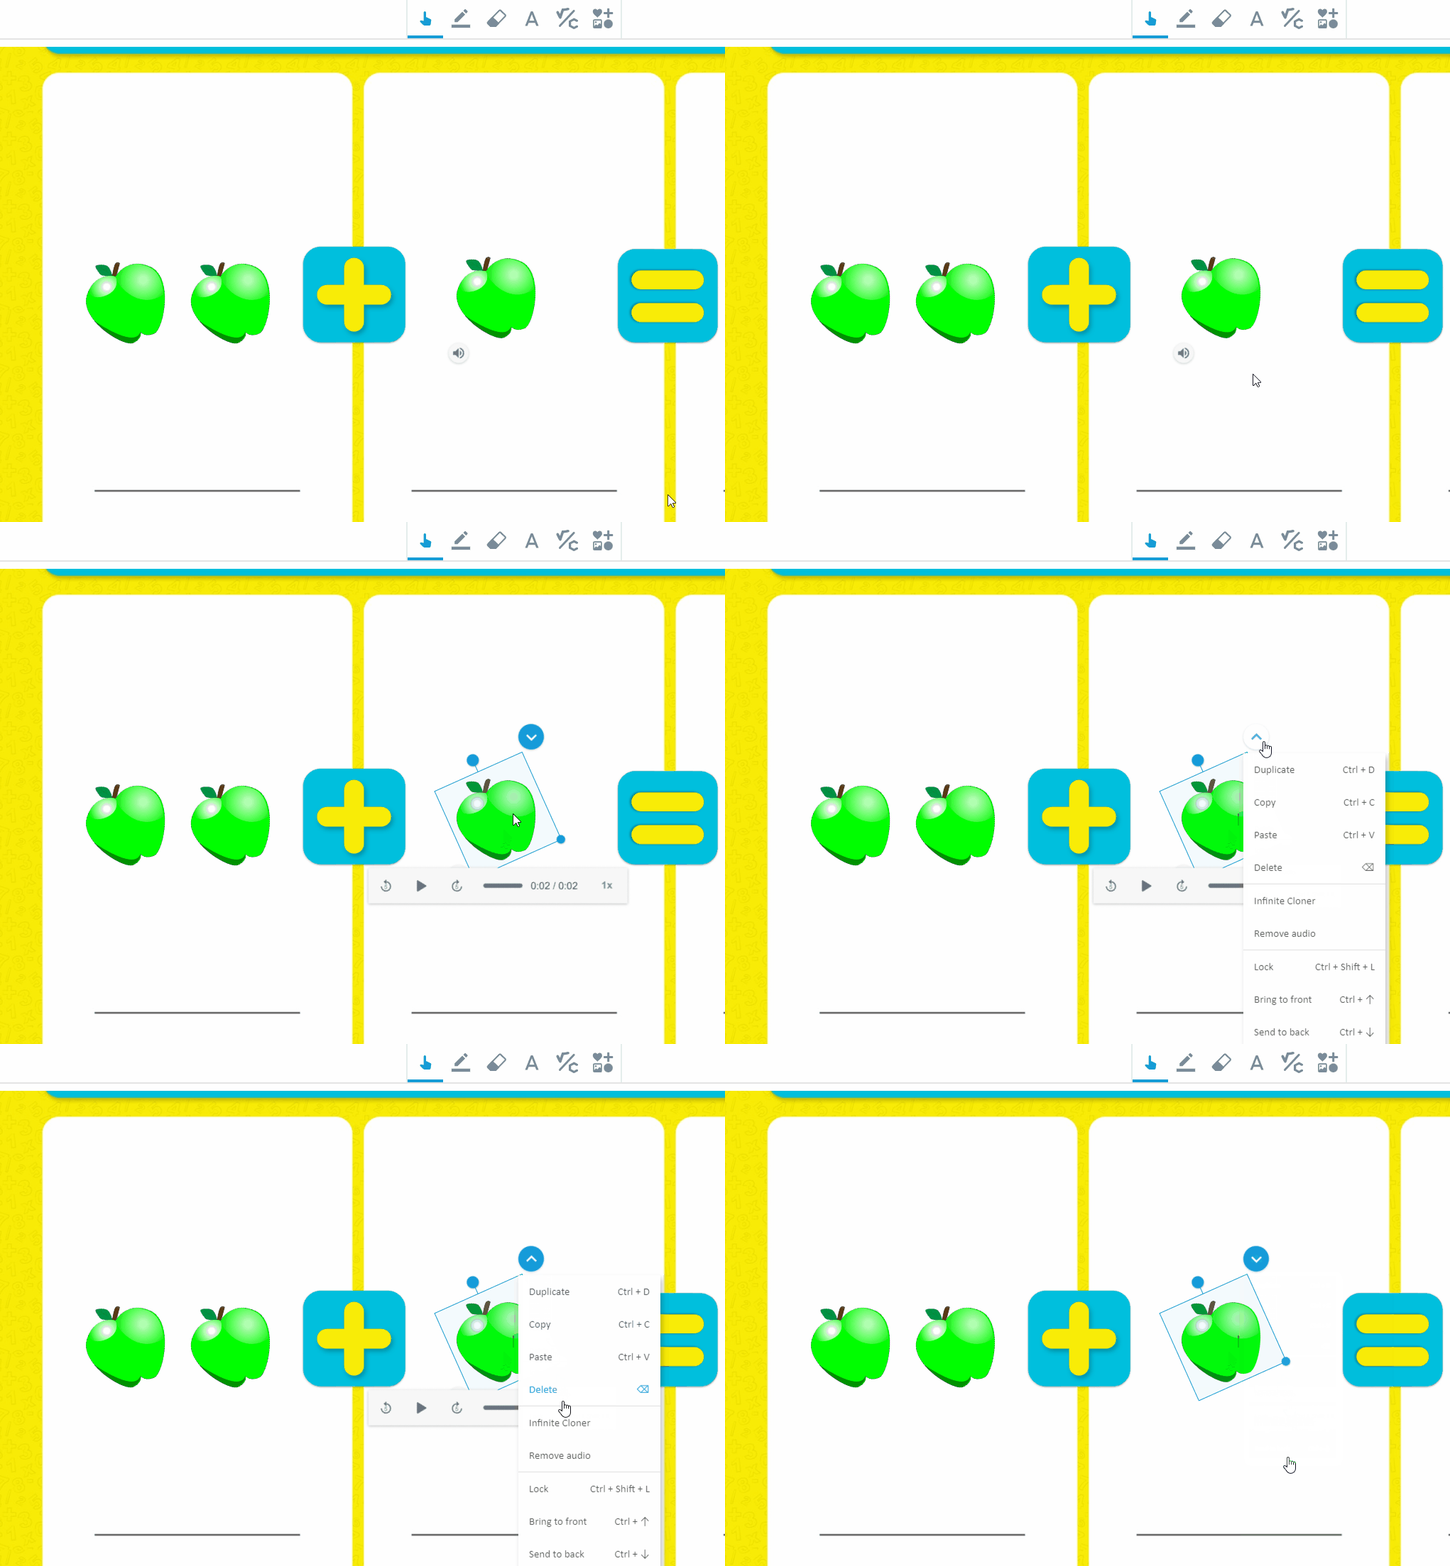
Finish editing your lesson and save your changes. Then you can deliver the lesson with audio to your students.
To deliver a lesson that contains attached audio
Open the lesson in Delivery mode.
When a student is on a page that contains attached or added audio, they can select the
 icon to listen to the recording. A menu bar appears.
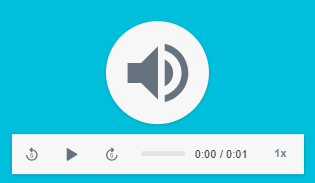
Each student controls their own audio playback and can listen at their own pace. As the teacher, you will see the same controls as your students when you browse to a page with audio. However, your playback is independent of your students’ and will not affect their experience.
Add audio to a lesson page to offer an additional learning and communication modality.
To add audio to a lesson page
Create a new lesson or open an existing lesson in Edit mode.
Browse to the page you want to add audio to and click the Gallery icon
 at the top of the page.
Click the microphone icon
 to open the options.
Click Record audio to record an audio clip.
OR
Click My computer to upload an audio file.
If you’re using this feature for the first time, select Allow microphone access to give Lumio permission to use your microphone. This feature doesn’t work if you don’t allow access.
Click Start recording to begin recording your voice. You can record up to five minutes of audio.

When you are finished recording, click Pause to review. You can use the controls to skip forward or back and review the recording.

To continue recording from where you left off, click Continue recording.
OR
To restart the recording, click Delete and start over.
After you’ve finished reviewing the audio, click Add audio. A
 icon appears to indicate the audio recording has been added on the page as an object. You can click this icon to review your audio, change the playback speed, skip forward and back, or move it on the page.
Tip
Click the
 icon, then click the menu arrow
 for more options.
To delete the audio recording, click the
 icon, then click the menu arrow
 . Select Delete.
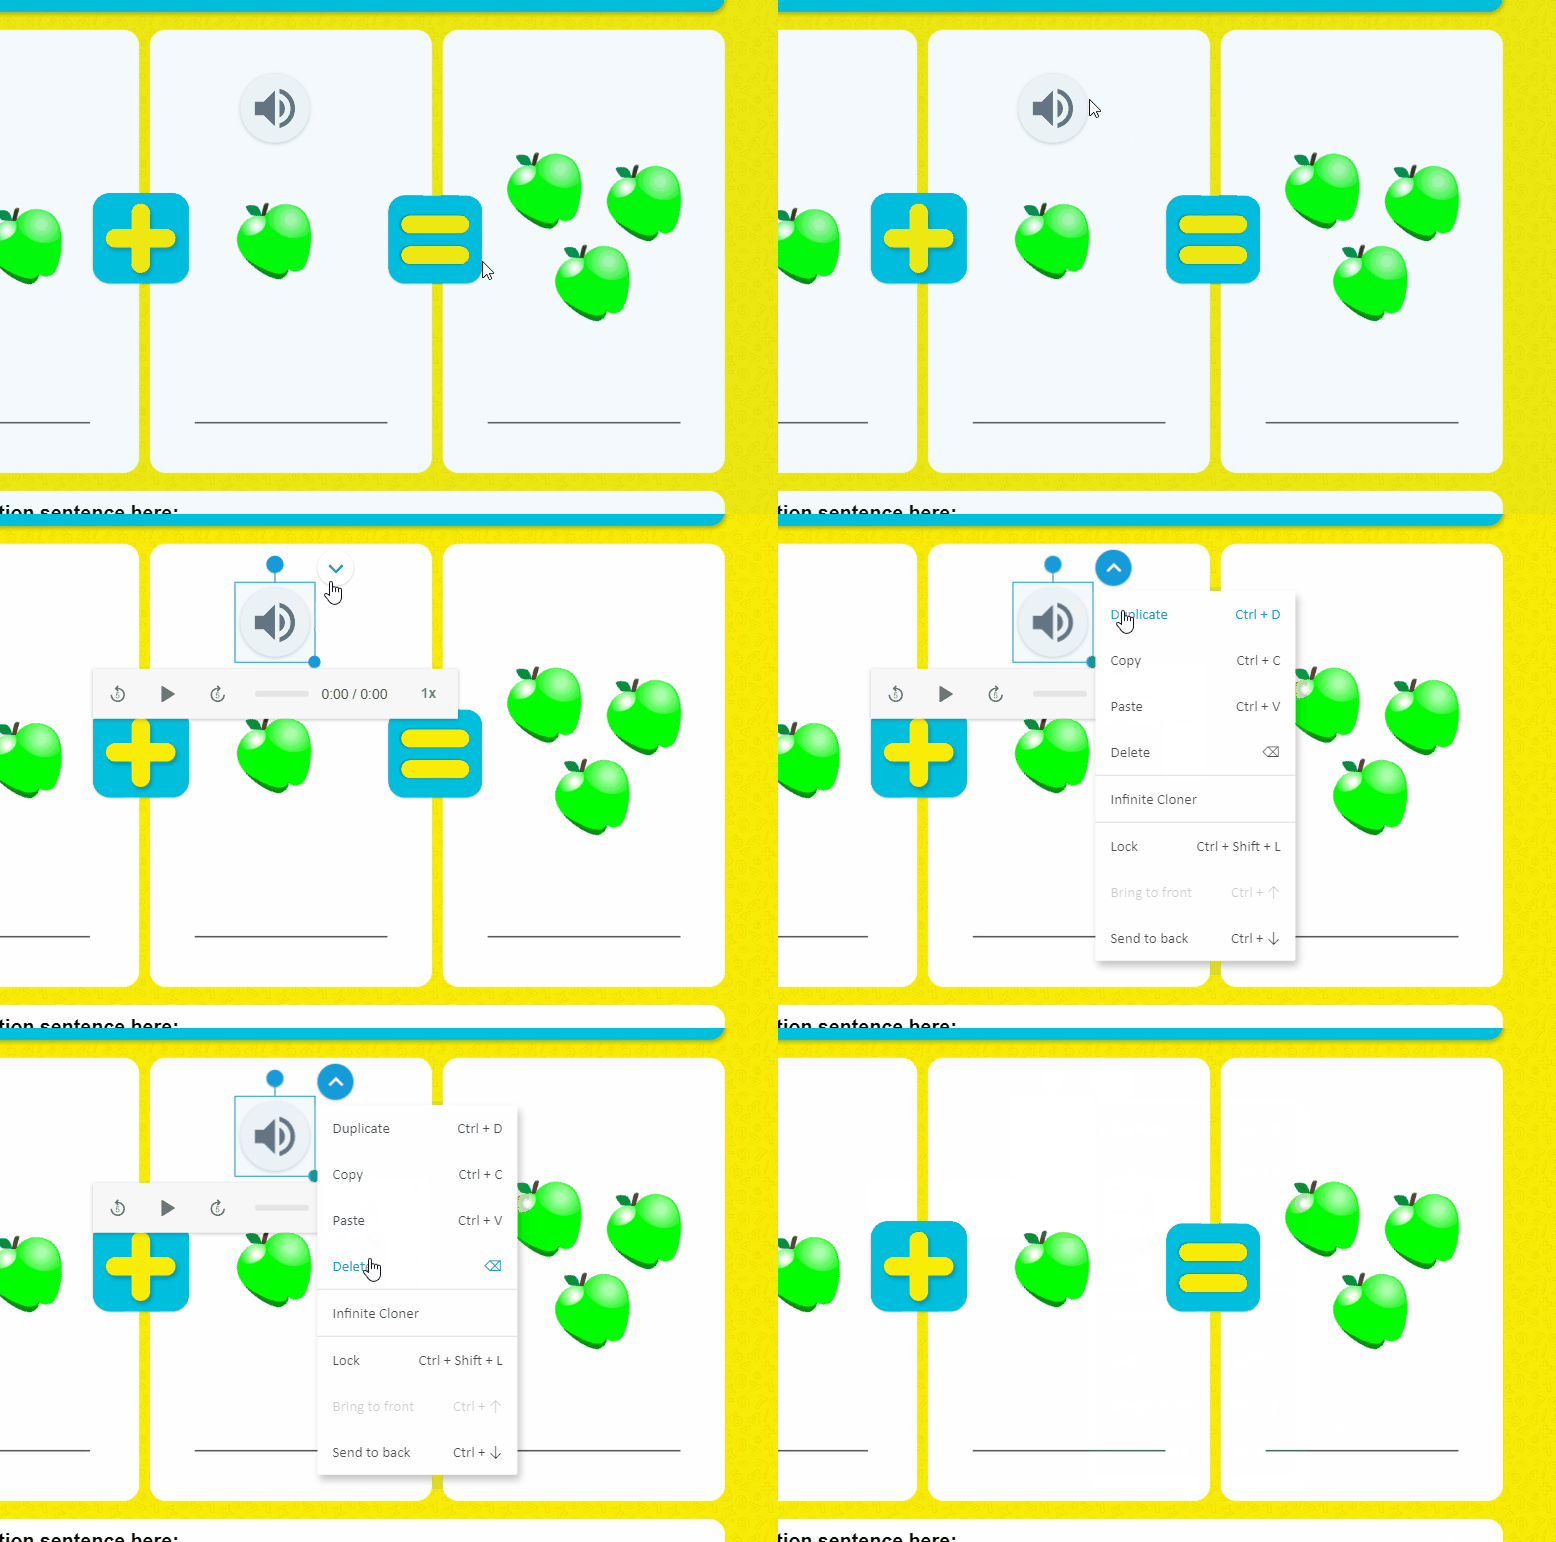
Finish editing your lesson and save your changes. Then you can deliver the lesson with audio to your students.
To deliver a lesson that contains added audio
Open the lesson in Delivery mode.
When a student is on a page that contains attached or added audio, they can select the
 icon to listen to the recording. A menu bar appears.
Each student controls their own audio playback and can listen at their own pace. As the teacher, you will see the same controls as your students when you browse to a page with audio. However, your playback is independent of your students’ and will not affect their experience.
Add instructional audio to a lesson page easily to instruct students on how to complete the activity. You can use the page narration feature to record your voice and add it to the page.
To record and add narration to a lesson page
Create a new lesson or open an existing lesson in Edit mode.
Browse to the page you want to add narration to and click
 . The Add Instructional Audio window opens.
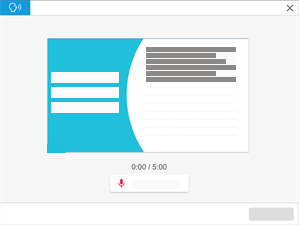
If you’re using this feature for the first time, select Allow microphone access to give Lumio permission to use your microphone. This feature doesn’t work if you don’t allow access.
Click Start recording to begin recording your voice. You can record up to five minutes of audio.
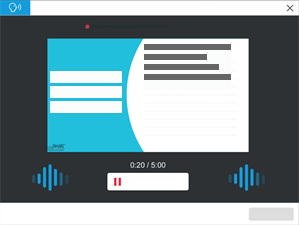
When you are finished recording, click Pause to review. You can use the controls to skip forward or backward and review the recording.
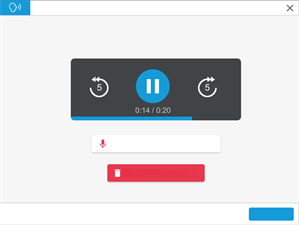
To continue recording from where you left off, click Continue recording.
After you’ve finished reviewing the audio, click Add. An icon appears in the top-right of the page area to indicate that the page has audio. You can select this icon to review your audio or delete it.
Finish editing your lesson and save your changes. Then you can deliver the lesson with audio to your students.
To deliver a lesson that contains instructional audio
Open the lesson in Delivery mode.
When a student is on a page that includes instructional audio, they see a control in the top-right corner that they can select to listen to the audio recording:
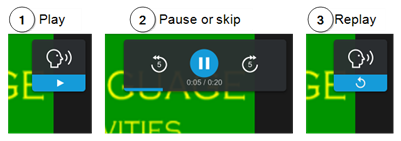
Each student controls their own audio playback and can listen at their own pace. As the teacher, you see the same controls when you browse to a page with audio, but your playback is independent of your students’ and will not affect their experience.
Before you can attach audio to an object, you must allow Lumio to access your microphone. When you open the Attach audio window for the first time, you are prompted to allow microphone access. However, if microphone access was previously denied or has been revoked, will need to allow it before you can use the audio feature.
Microphone permissions vary depending on the browser or operating system. Here are some links to help you learn how to change this permission:
Note
If you are using a tablet, microphone permissions are managed in both the browser and the device settings. In the browser, make sure you have allowed access to the microphone for Lumio. In the settings of your device, make sure your browser app (for example Safari or Chrome) has permission to use your microphone. For more details, refer to your device manufacturer’s website.
If you see one of the following windows, you might need to troubleshoot your microphone.
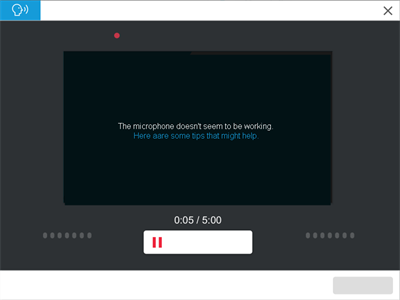
To troubleshoot your microphone, try these tips:
Make sure your microphone is connected to your computer. If it is, try unplugging it and plugging it in again.
Make sure the microphone isn’t muted.
Make sure microphone access has been turned on in your browser or computer’s permission settings.