SMART TeamWorks Contributor app for Android
Use the SMART TeamWorks Contributor app to collaborate in a meeting, whether you’re in the same room, across the country, or around the globe. The Contributor app lets you connect and contribute to a whiteboard session from your own device.
Note
This app is not available for use with SMART TeamWorks Room edition.
Before you download the app, make sure your Android device has Android version 5.0 or later.
To download the SMART TeamWorks Contributor app
Visit Downloads.
Select the Contributor app for your computer or devices' operating system: Windows, iOS, or Android.
Download the Contributor app.
When you connect your device to a whiteboard, the SMART TeamWorks app requires a display name and email address. These details let the meeting’s organizer know who’s connected to the meeting. You can change or update these details at any time in the app’s settings.
To update the app's settings
Tap
 to open the Home menu, then tap
  .
.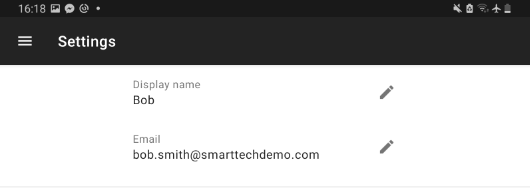
Enter a display name and your email.
To use ultrasonic pairing for connecting to whiteboard sessions, turn on Ultrasonic Pairing.
Your changes are saved automatically.
Tap
to return to the Home menu.
You can connect to a whiteboard session using either a direct link provided by the meeting organizer or by using the options in the SMART TeamWorks Contributor app.
Important
If you are using TeamWorks Connected edition, you must be on the same network as the meeting room computer to connect to the whiteboard session. However, if your organization has SMART TeamWorks Server, this limitation does not apply.
To connect to a whiteboard session using a link
If you receive a direct link for joining the whiteboard session from the meeting organizer or in an email, click the link from your device to open the SMART TeamWorks Contributor app and join the whiteboard session.
To connect to a whiteboard session using the app
From the home screen, tap Join a meeting.
Choose one of the following methods:
Option
Description
Scan QR code
Use this option when you are in the meeting room and you can see the SMART TeamWorks whiteboard on the meeting room’s interactive display.
Note
If the QR code isn’t visible, tap
 on the whiteboard’s toolbar to display it. See Inviting participants and moderating a SMART TeamWorks whiteboard session.
Manual setup
Use Manual setup if scanning the whiteboard’s QR code isn't an option. Enter the URL, Session ID, and PIN. The meeting organizer can provide these details.
To connect to a whiteboard session with ultrasonic paring
Ultrasonic pairing uses ultra-high frequency sound to transfer the credentials you need to connect to a whiteboard session. When ultrasonic pairing is turned on, devices with the SMART TeamWorks Contributor app installed can join a whiteboard session automatically. The feature also allows a meeting room with SMART TeamWorks Connected edition to join a session hosted on the SMART TeamWorks Contributor app.
To enable ultrasonic pairing in your SMART TeamWorks Contributor app, follow these steps:
From the home screen, tap
to open the Settings screen.Locate the Ultrasonic Pairing option and turn it on.
When you enter the meeting room, open the app on your device and tap Join Session. Your device connects to the whiteboard automatically.
Ultrasonic pairing is an optional feature that your IT administrator can enable during installation of SMART TeamWorks Connected edition.
After you connect to a whiteboard session, the meeting’s organizer gives you write access for the whiteboard session.
Once you have write access, you can use the SMART TeamWorks contributor app to:
Write or draw
Select, move, resize, and rotate objects
Zoom in and out
Add images, files, text, videos, shapes, or sticky notes to the page
Upload files to the whiteboard session’s file manager
Take screen shots
- Change the whiteboard page’s background
Add or delete whiteboard pages
Most of changes you make are visible to everyone who's also connected to that session, and you can see their changes as well.
Note
This version of the contributor app for Android also supports connecting a Magic Pen Tool via Bluetooth.
To write or draw
Tap inside the whiteboard page and then tap the mode selection toolbar that appears in the bottom-right corner of the screen.
Tap
 to turn on Drawing mode.
Use your finger or a touch tool to draw ink on the whiteboard page.
To select, move, resize, and rotate objects
Tap the object you want to select and use one of the following gestures:
Action Gesture Move
With one finger, press and drag the object.
Resize
With two fingers, pinch in or out to make the object smaller or bigger.
Rotate
With two fingers, twist the object left or right.
Tip
Selecting an object also shows the object’s toolbar at the bottom of the screen with a list of available functions for that object. Common functions include writing or drawing on the object, changing the object's layer order, or making a copy of it. See To use the object toolbars to learn more about some of the common tools available for objects.
To zoom in and out
Use two fingers to zoom in or out of the whiteboard page. Your zooming actions will not affect other whiteboard participants.
To add images, files, text, or sticky notes
Tap
 .
.Select one of the following:
Option Description Take photo
Use your device’s camera to take a photo and insert it in the whiteboard page.
Take video
Use your device’s camera to take a video and insert it in the whiteboard page.
Choose image Add a photo from your device’s camera roll.
Choose file Add a PDF or image file from your device’s saved files.
Note
Only PDFs and image files are currently supported.
Add text
Add text to the whiteboard page. After selecting this option, your devices onscreen keyboard appears for you to type your text. Tap
 when you are finished typing your message.
Add note
Add a sticky note to the whiteboard page. After you’d added it, select the note to enter Edit mode.
Add shape
Add a shape to the whiteboard page. After you’d added it, select the shape to enter Edit mode.
The file is added to the whiteboard page.
To take screen shots
Tap
 .
.Select one of the following:
Option Description Screenshot entire page
Take a screen shot of the entire whiteboard page.
Screenshot selection
Select an area to capture. The screen shot is saved in the File Manager
> > SCREENSHOTS.
To upload a file to the File Manager
To upload a file, such as an image or document, saved on your device into the File Manager, tap
> then and select one of the following options:Choose file: Select a document saved on your device.
Choose image: Select a photo saved on your device.
Take photos: Take a photo with your device’s camera.
Take video: Take a video with your device’s camera.
After the file’s uploaded, all participants connected to the session have access to the uploaded file in the whiteboard session’s file manager.
To add a document or screen shot from the File Manager to the whiteboard
Tap
> to view a list of files attached to the whiteboard session. These can be files the meeting’s organizer has attached in the meeting invitation, screen shots captured during the session, or files other participants have added while connected to the whiteboard session.To insert a file from the File Manager into the whiteboard page, tap DOCUMENTS and scroll to the file and then drag it into the whiteboard page.
To insert a screen shot from the File Manager into the whiteboard page, tap SCREENSHOTS and scroll to the file and drag it into the whiteboard page.
To view who is connected to your meeting
Tap
.Tap People.
A list of meeting participants appears.
To share a link to your meeting
Tap
.Tap Share a link.
A new window opens and displays your Meeting URL, Meeting ID, PIN, and Moderator PIN along with sharing options.
There are a number of ways to share. Select Share a link, Ultrasonic Pairing, or QR Code, and follow the onscreen prompts to share with your chosen method.
To change the whiteboard page’s background
Tap
.Tap Change background.
Select the background you want to use. The change is applied automatically.
To add, copy, or delete whiteboard pages
- In the top-left corner of the screen, tap
 .
. Tap
to add a page.OR
Select a page and tap
 to create a copy of it.
Select a page and tap
 to delete it.
- This table describes the tools available when you select an object in the whiteboard. Some tools appear only for certain types of objects.
Icon
Description

If the selected object is a video, tap this button to play it.
Make a copy of the selected object.

If the selected object is a PDF, tap this button to enter browse mode. Browse mode makes the selected PDF appear full screen so you can swipe through pages and make annotations. To exit browse mode, tap Done in the top-right corner.

If the selected object is text, have the text read aloud by a screen reader.
Enter Ink mode for the selected object. Select a pen style, color, and thickness, and then draw over the object.

Bring the selected object to the front layer on the whiteboard page.

Send the selected object to the back layer on the whiteboard page.

Delete the selected object.
You can create a recap of the whiteboard session. Recaps include snapshots of each whiteboard page in the session.
To create a recap and stay connected to a session
Tap
and tap Export as PDF.Tap
and tap Download to save it to your device.OR
Tap
 to save the PDF to your Google Drive.
To create a recap and leave a session
Tap the Back button on your Android device.
Select the Create a recap check box and tap Leave.
Enter a name for the recap and tap Save.
To view previously saved recaps
From the Home screen, tap
then tap  to view a list of saved recaps.
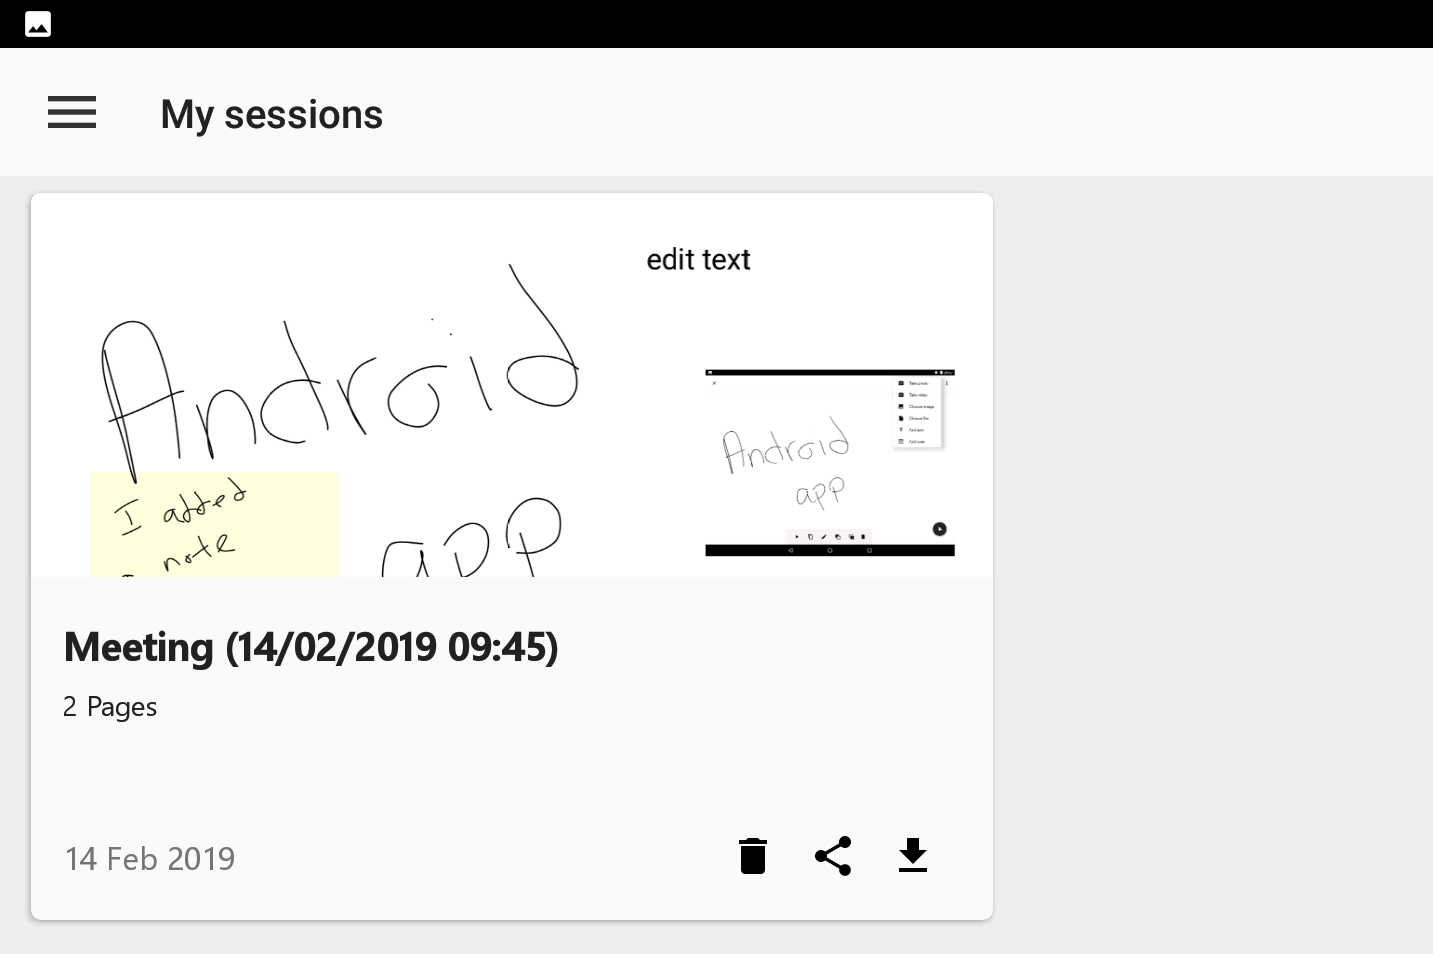
Tap the recap you want to view.
If your organization has created a user account for you in the SMART TeamWorks Server web portal, you can host a whiteboard session from the Contributor app. You can start a whiteboard session from your device and other remote participants can connect to it. You don't need a physical meeting room that has SMART TeamWorks installed.
To host a session from the Contributor app, you'll need the following details from the IT administrator who manages the SMART TeamWorks server.
URL of the web portal
Your user name and password for your account on the web portal
To host a whiteboard session
From the Home screen, tap Host a session.
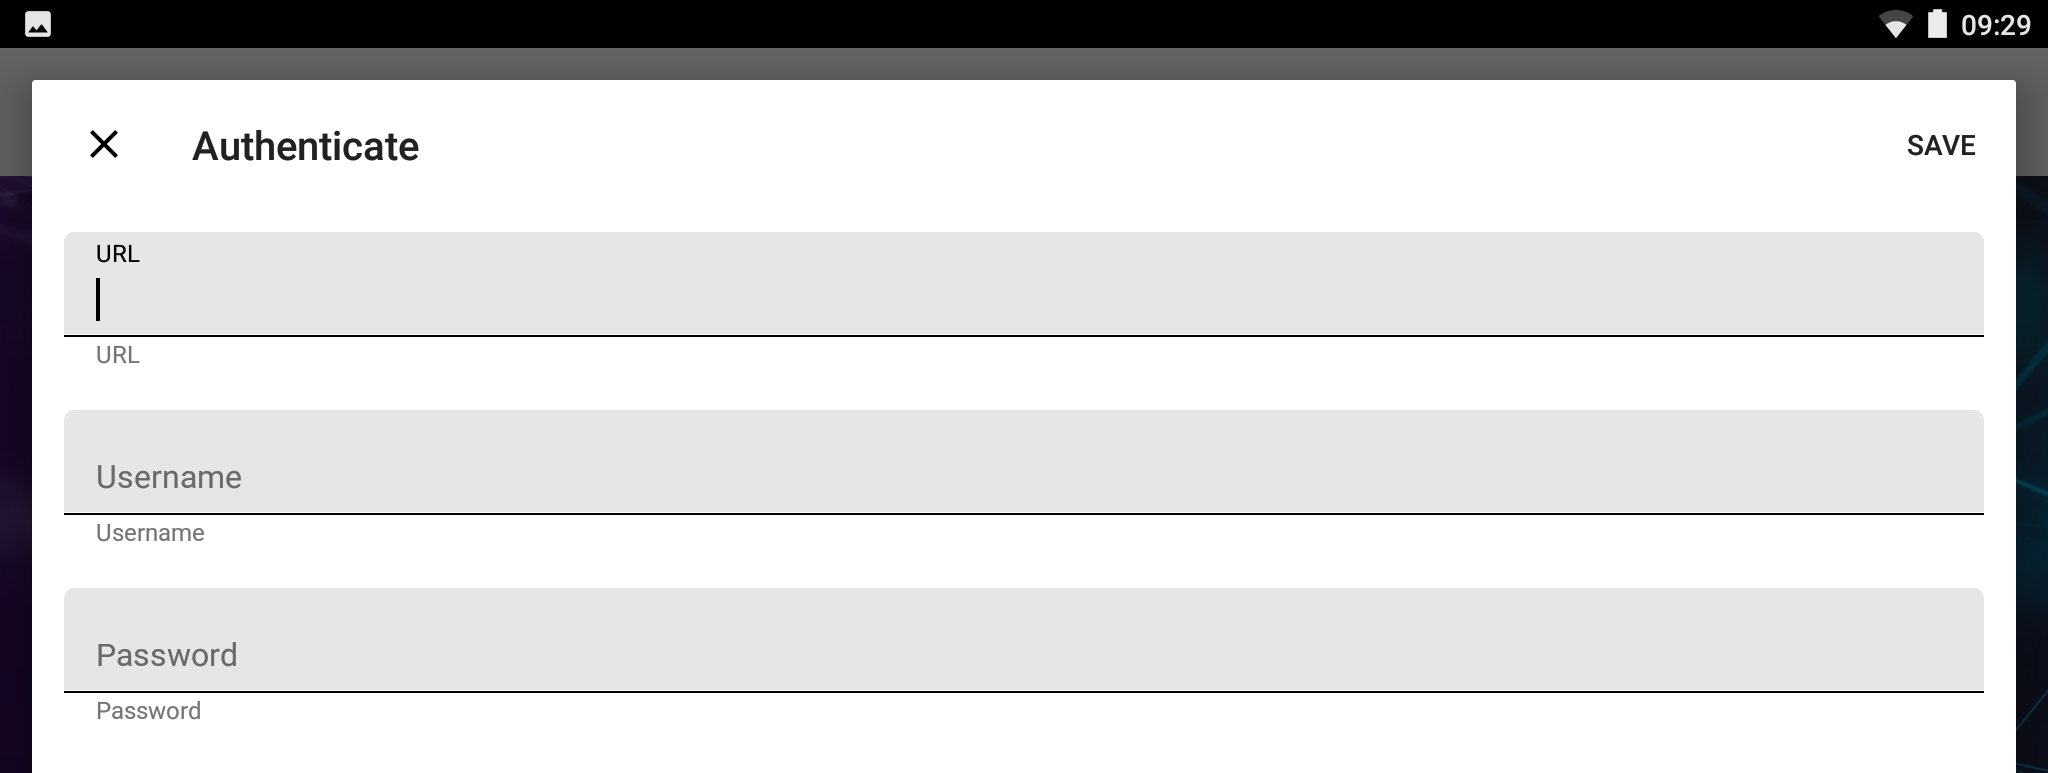
Enter the URL, User name, and password provided by the IT administrator.
Tap Save.
The Host a meeting screen opens. This screen displays the information that participants will need to join your session.
Tap Share a link to send a link to participants to join the session. When you share the link, the meeting URL, ID, and PIN are sent with the link.
Tap Connect to start the whiteboard session.
Keywords |
|