Share this guide
#GoLumio
Tips for using this guide

Use this guide anytime, anywhere, on any device.
Follow the steps on a page to learn how to use a tool, then choose an instructional idea to try.
Instructional ideas are divided into three stages: Engage your class, Enhance lessons, and Extend learning. Choose the stage that’s right for you.
Try one new tool and idea a week. Learn, try, and reflect!
Make existing lessons and resources more interactive.
Share and reflect! Review a new tool or idea once a week with your team.
Are you campus leadership? Email a page a week as a challenge. Prizes help!
Collaborate with other teachers online @lumiosocial
Connect and share on social media #GoLumio

Sign in to and set up Lumio
Steps
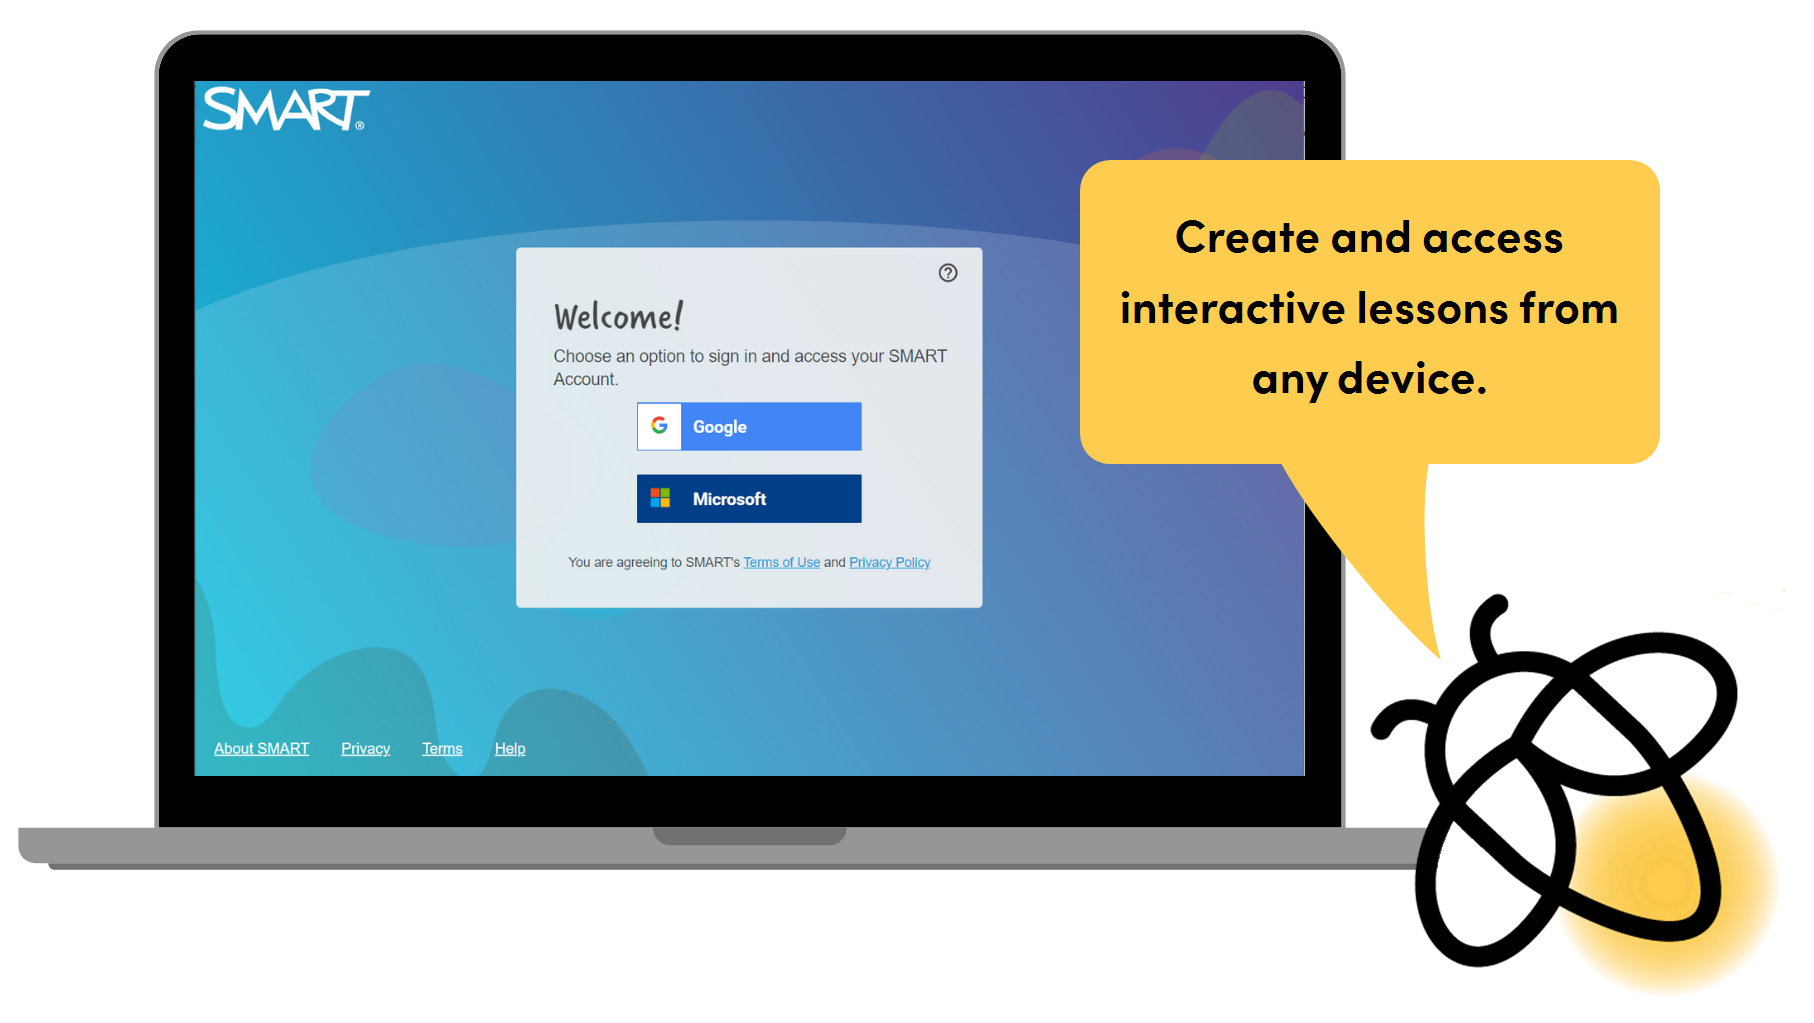
| 1 | Create an account  Go to golumio.com, click Teacher sign in. If this is your first time signing in, you’ll need to set up a SMART account first. |
| 2 | Sign in  Select your school Google or Microsoft account and click Next. Enter your account email and password to sign in. |
| 3 | Customize your library 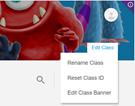 Click Edit Class to personalize your Lumio My Library tab by adding a fun banner. You can also reset your Class ID and change your class name. If Lumio is connected to G Suite, you might bypass the My Library tab and open lessons directly from Google Drive. |
| 4 | Begin building After you've signed in and customized your library, you're ready to import or create lessons. If Lumio is connected to G Suite, you can open and create lessons in Google Drive. |
Instructional ideas
Engage your class by creating an inviting home page that builds connection with students or sparks interest in the subjects you’ll focus on.
In the My Library tab, click Edit Class.
Rename your class
You can change the name that appears at the top of the My Library tab when students join your class in Lumio.
When studying a novel, capture students' attention by naming the class after an important character, such as the protagonist or antagonist.
To build relationships, name the class after a student to honor their birthday.
Introduce a unit of study by naming the class after a related person, place, or topic. Students can try to guess what they’ll be studying.
Add a class banner
Personalize your students’ experience by changing the class banner (the background that appears behind the name).
Change the class banner according to the unit of study.
Build relationships by using a student's artwork as the banner.
Get your students signed in
Steps
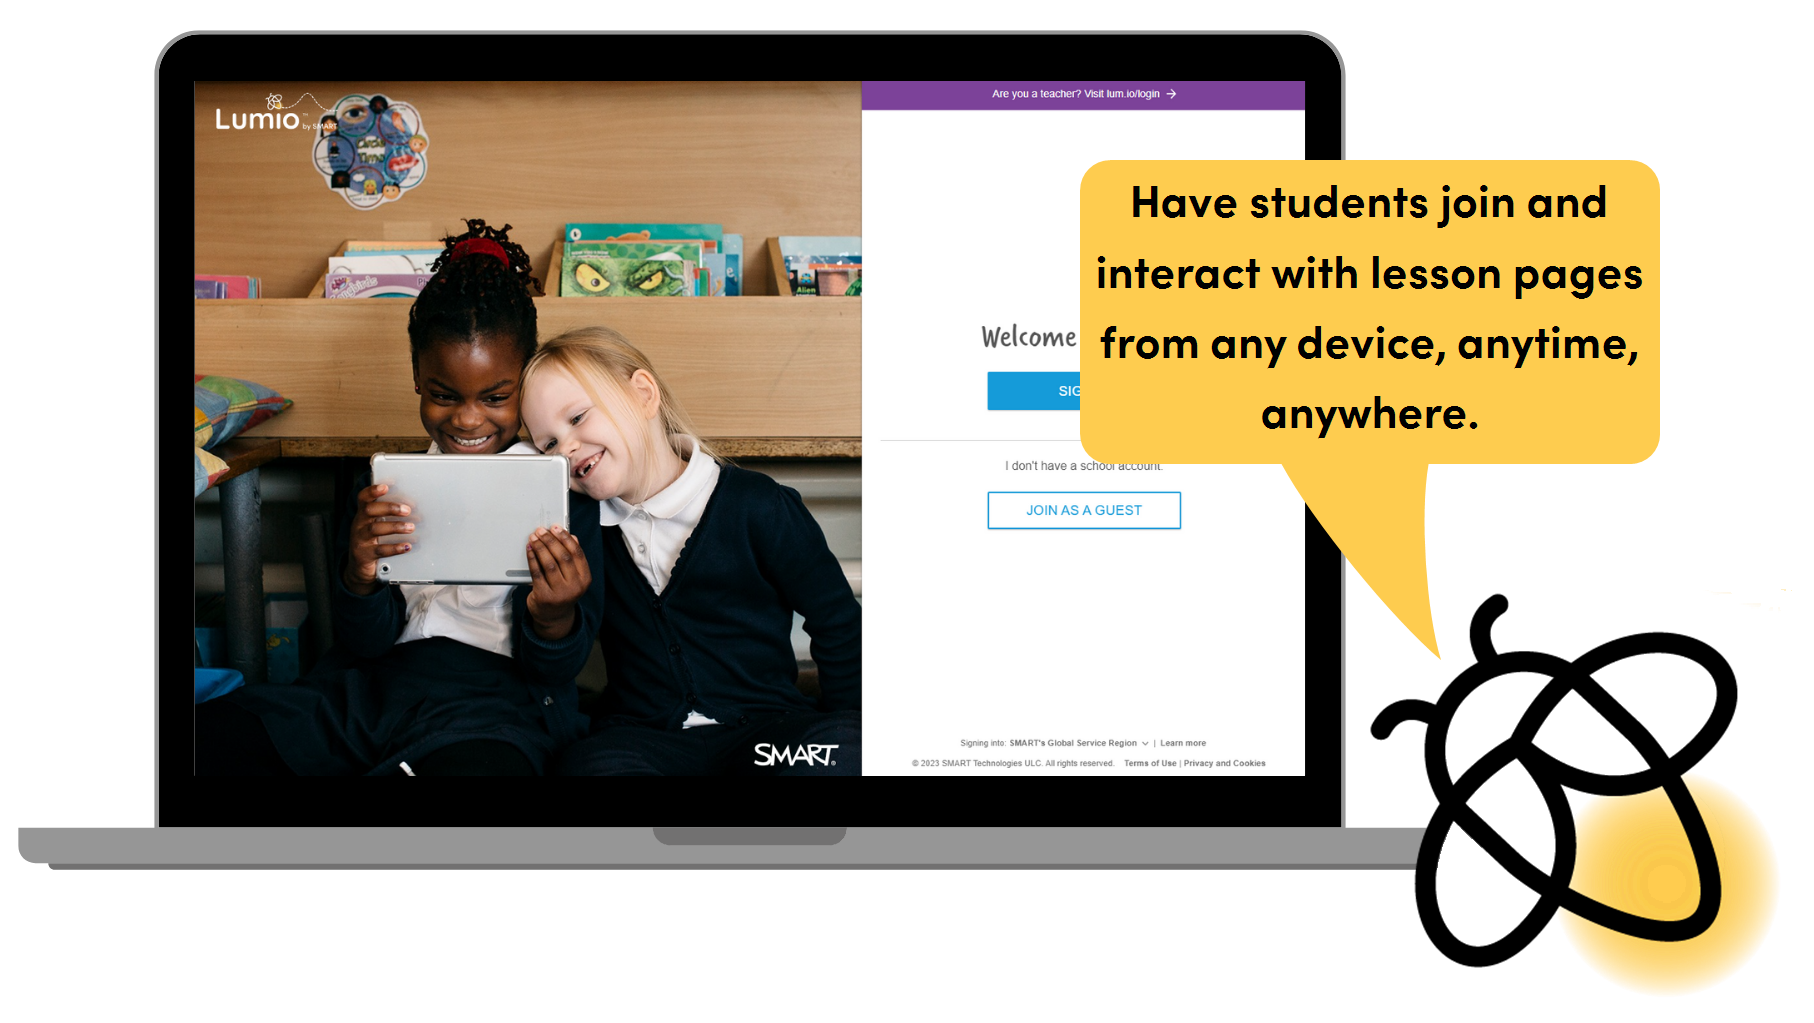
| 1 | Open Lumio  Have students go to lumioclass.com. TIP: Create a URL or QR code that your students can use to quickly connect to your class. |
| 2 | Have students sign in or join as guests  Students can connect to your class by signing in with their Google or Microsoft student accounts, or they can join as guests. Then they type their names. |
| 3 | Students enter the class ID  Students enter the class ID, or, if they've connected to the class before, select the class’s name. |
| 4 | Students join the lesson or wait in the lobby  If your lesson is running, it appears on student devices. If you haven’t started the lesson, students are taken to the class lobby until you start the lesson. |
Ways to join a class
Signing In: There are a number of advantages to having students sign in to Lumio with their Google or Microsoft school account IDs:
Increase accountability. When students sign in, their full student name appears on activities.
Enhance accessibility. When students sign in during class, they can finish assignments after class by using the student share link.
Promote collaboration. After you assign students to a Group Workspace activity during class, they can sign in later to continue working on group projects virtually.
Joining as a Guest:This option bypasses account sign in and enables students to join using only the class ID that appears in the class banner of the My Library tab.
Quick access. Requires only the class ID for students to connect.
Shared devices. Students can work in groups or teams on a single device. When they sign in, they enter the team name.
Ideal for multiple students sharing a device
Perfect for practice. Students can access the lesson only while you are delivering it.
Sharing devices: Lumio works with any student device that has an internet connection, such as a phone, laptop, Chromebook, or tablet. If there are fewer devices than students in your classroom, you can be creative!
Use one device per table or small group (groups can join as a guest using a team name).
Have partners share a device.
Create a station or center rotation where students can join a table to work on a specific task and then move to the next table when it’s time
Import a file and add interactivity
Steps
| 1 | Sign in to Lumio Go to golumio.com and sign in, and then click Import, or open an existing file from the My Library tab in Editing mode and click Add OR If Lumio is connected to G Suite, open Google Drive and select New > More > Lumio. |
| 2 | Choose your file Choose a SMART Notebook, Lumio, PowerPoint, PDF, or Google file to import. Select specific pages from the imported file or import the whole file. NOTE: To import a Google file, you must be connected to Google Drive. |
| 3 | Combine files and make it interactive  Once imported, you can continue to import and combine other files into the lesson. After you are finished combining and importing files, you can add new activities and assessments to the file, and convert existing static pages to Handout or Group Workspace activities. |
| 4 | Get ready to share When you’re done, click Finish Editing. Your interactive lesson is ready to share with students. |
Instructional ideas
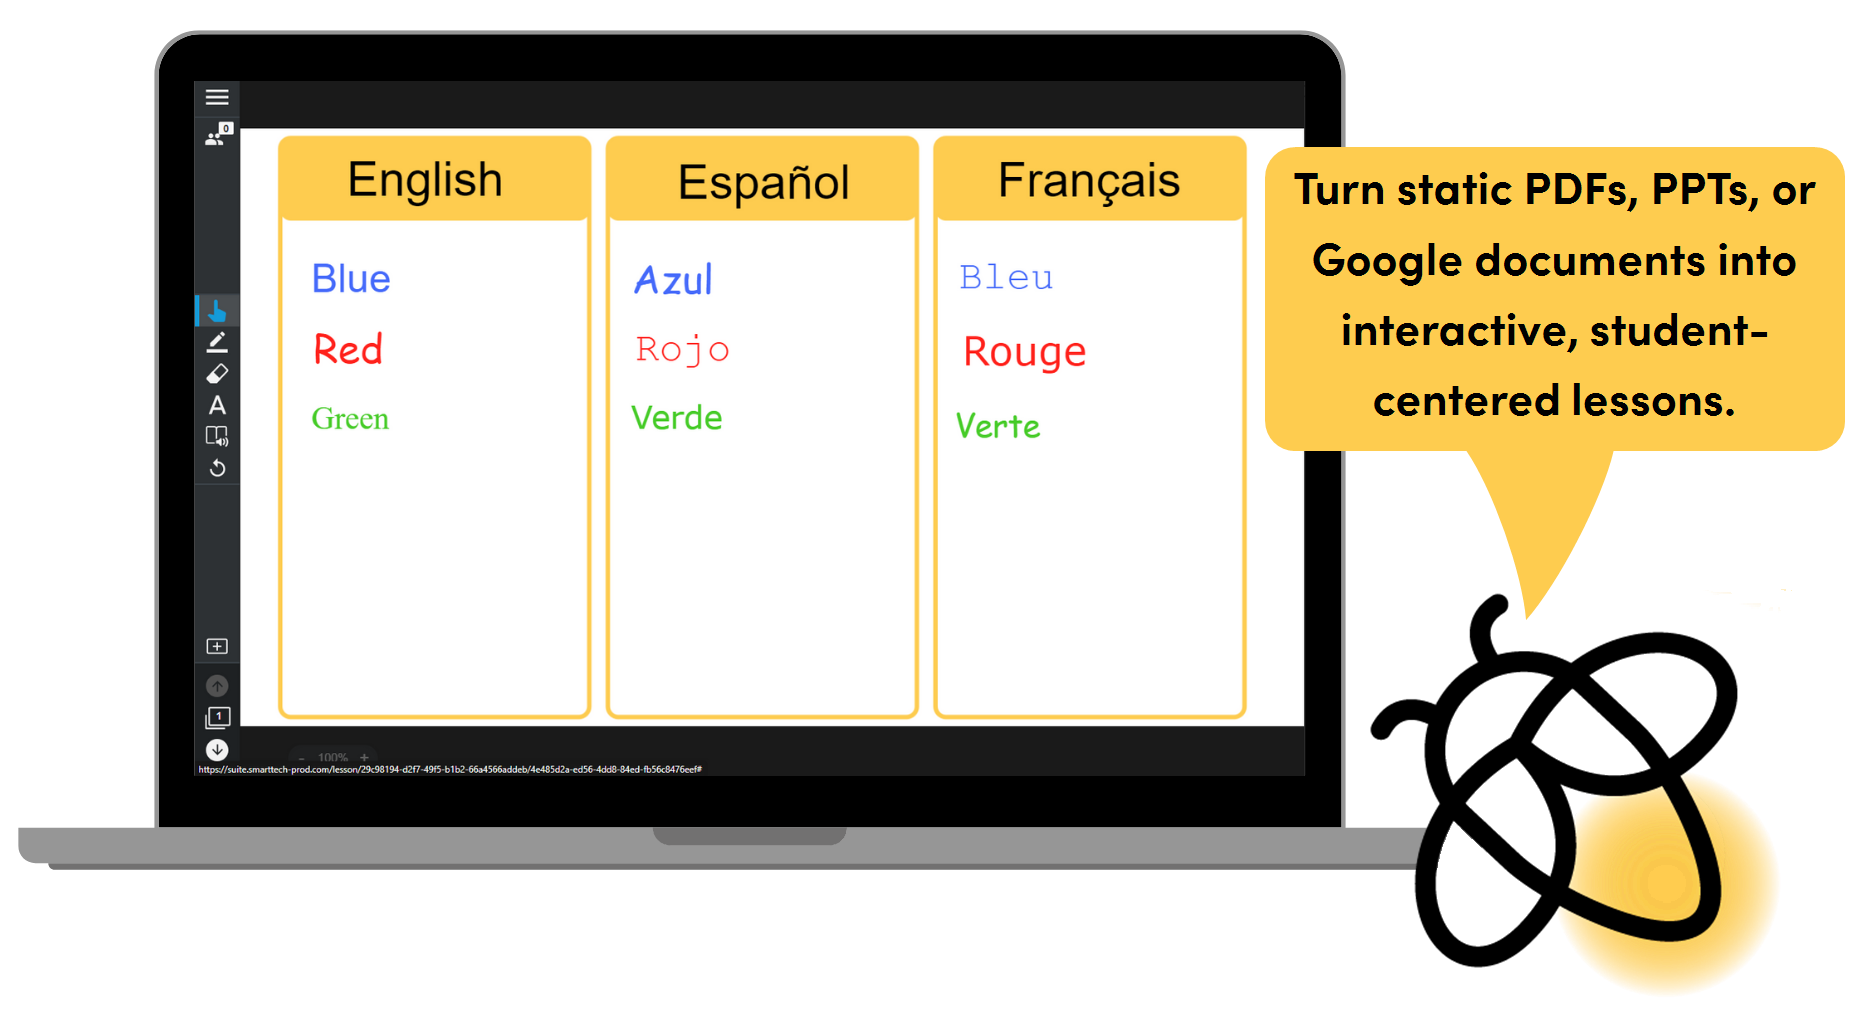
Engage your students by combining existing PowerPoint, PDF, SMART Notebook, Lumio, and Google files and adding interactive activities.
Add an interactive activity or an assessment to an imported file.
Upload a copy of a historical document or speech. Add an assessment and ask students to summarize the document using the short-answer question type. Add more questions based on the document.
Enhance your lesson by converting static pages to interactive individual Handouts or Group Workspace activities.
Add a page that contains an image connected to your lesson and turn it into a Group Workspace. Have students share things they notice, questions they have, and predictions. Add a Shout It Out! activity and ask students to share their thoughts or conclusions.
Import a file with a perplexing math problem and turn it into a Group Workspace. Have student groups work to solve the problem in different ways and present their solutions.
Extend learning beyond teacher-led instruction.
Have students present their work from a file they’ve created and add Shout it Out! and Group Workspace activities at appropriate points to build in audience participation.
Insert an online video
Steps
| 1 | Sign in to Lumio Go to golumio.com and sign in. OR If Lumio is connected to G Suite, open Google Drive. |
| 2 | Create a new file Click New to open the options for adding a new file. If you’re in Google Drive, select New > More > Lumio. |
| 3 | Start with a video Select the content type to insert a video. |
| 4 | Choose a video  Search for and select the video you want. The video appears on your lesson page. |
Instructional ideas
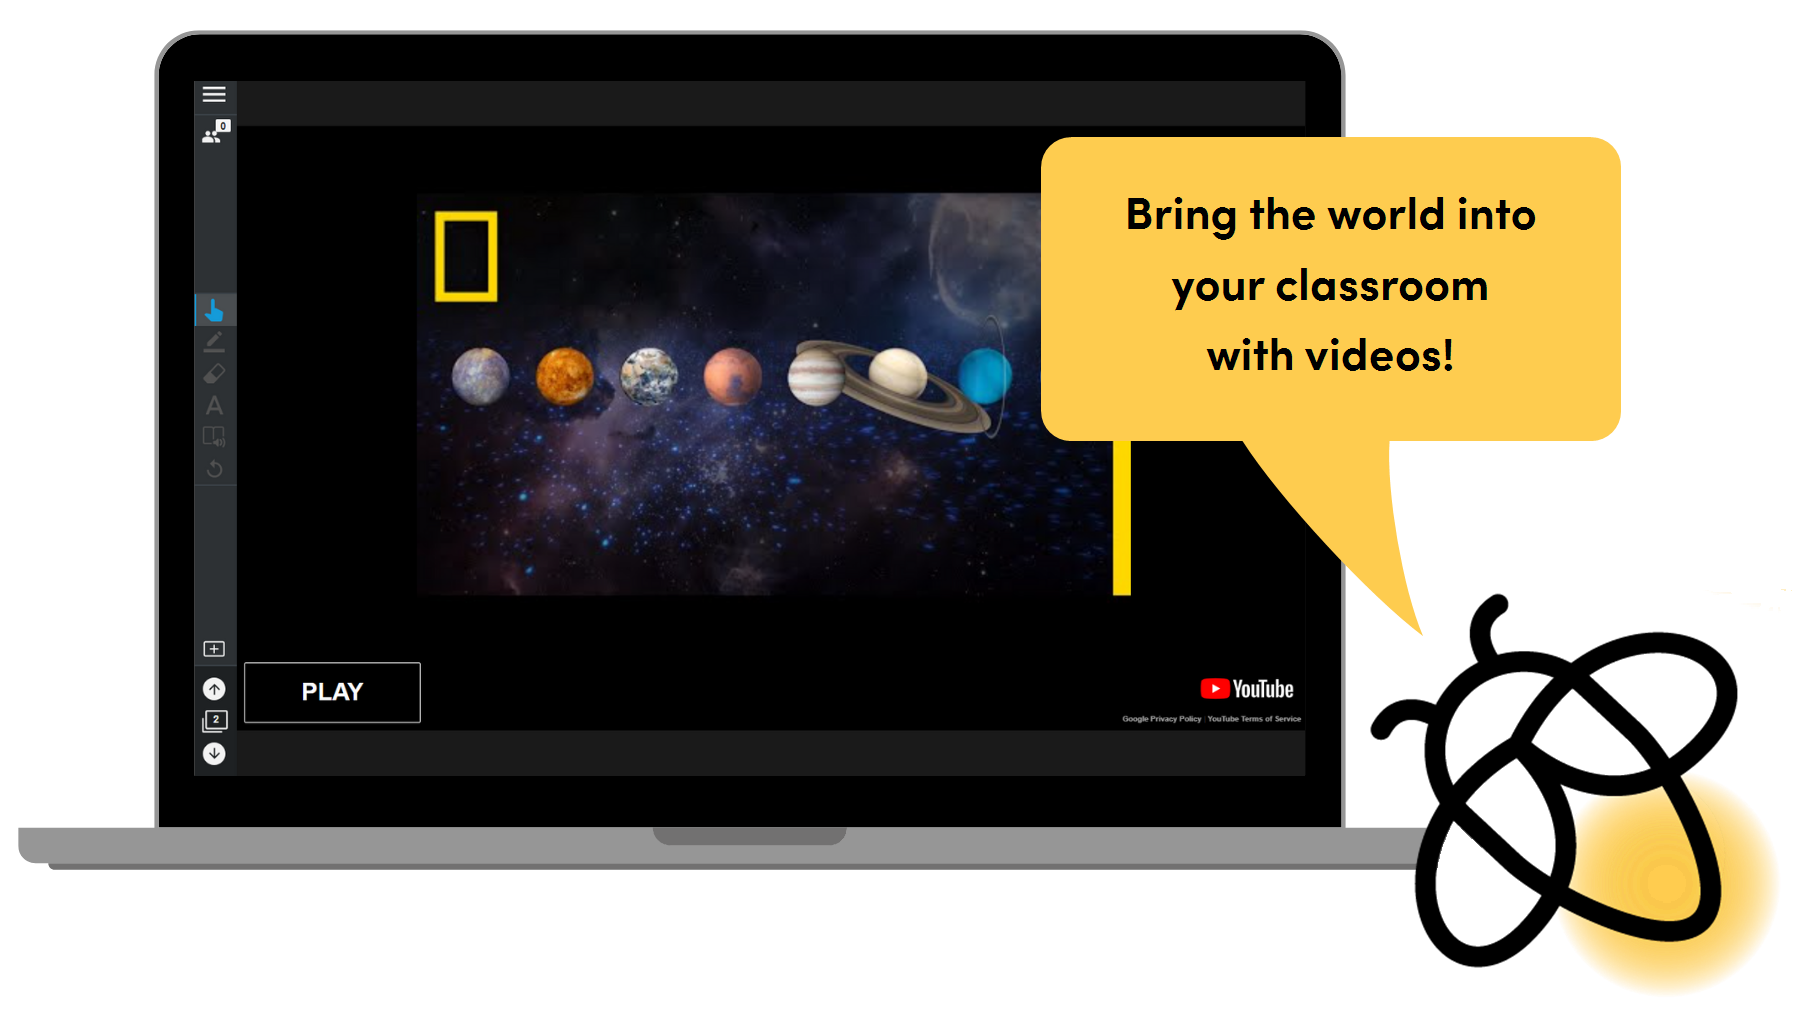
Engage students by adding scholarly and culturally responsive videos and introduce them to experiences or ideas that they haven’t encountered before.
Insert a video that will encourage curiosity. Pause the video at a point that will cause students to wonder. Encourage students to ask questions and make predictions.
Add a video to encourage empathy and understanding about different backgrounds and perspectives.
Enhance your lesson by adding related SMART activities alongside the video.
Add a blank page for students to share connections after watching the video.
Add a Shout it Out! activity where students can identify connections to the video’s main idea.
Add a KWLQ Chart from the ready-made activities. Have students share what they know and wonder about a topic before watching. After the video, have students add what they have learned and the questions they still have.
Extend learning by making the whole lesson available outside of class to reinforce concepts for a flipped classroom.
Add a video about an upcoming lesson topic, then add a blank page and convert it to a Handout. Students can record questions about the video in the Handout. Use their questions to start the next class.
Create a Flip Out activity with a series of questions or problems. Have students respond to or solve a few of the questions or problems after watching the YouTube video.
NOTE: If the video site is blocked on student devices, students won’t be able to watch videos.
Start with a new page
Steps
| 1 | Sign in to Lumio Go to golumio.com and sign in, and then click New (or open an existing file from the My Library tab in Editing mode) and click Add OR If Lumio is connected to G Suite, open Google Drive and select New > More > Lumio. |
| 2 | Choose New Page Click New Page. You can choose to add a blank page or select a template to use. |
| 3 | Edit the page 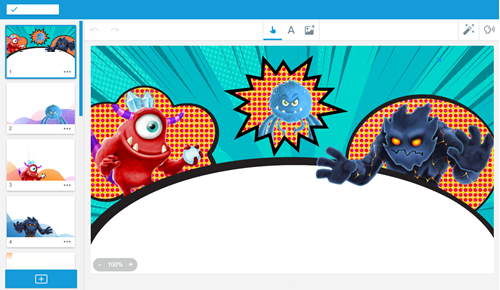 Click the place holder text on the page to add your own text. You can also add images, links, and more text using the editing controls that appear. |
| 4 | Use the page to present or convert it to an activity Leave the page as it is if you only want students to read it, or if you want them to be able to write or draw on it, convert it to a Handout or Group Workspace activity. |

Instructional ideas
Engage your students with a catchy title page and image to set the stage for your lesson.
Choose a template to add a nice visual element to your lesson.
Use rhyming words or a joke to grab student attention.
Create a math bell ringer activity using the equation editor.
Enhance our lesson with a thought-provoking question or quote, and have students respond in a Handout or Group Workspace activity.
In a Group Workspace activity, assign students to groups to respond from different perspectives using different pen colors (for example, past and present-day perspectives).
Find inspiring quotations and have students respond with their connecting ideas, questions, and real-world parallels.
Use the equation editor to connect your symbolic and graphical representation in a problem-solving game.
Extend learning by stating objectives and converting a page to a Group Workspace or Handout where students can share what they know before coming to class.
Have students upload a picture to create a metaphor and explain their thinking.
Have students record home interviews seeking other’s knowledge on the topic.
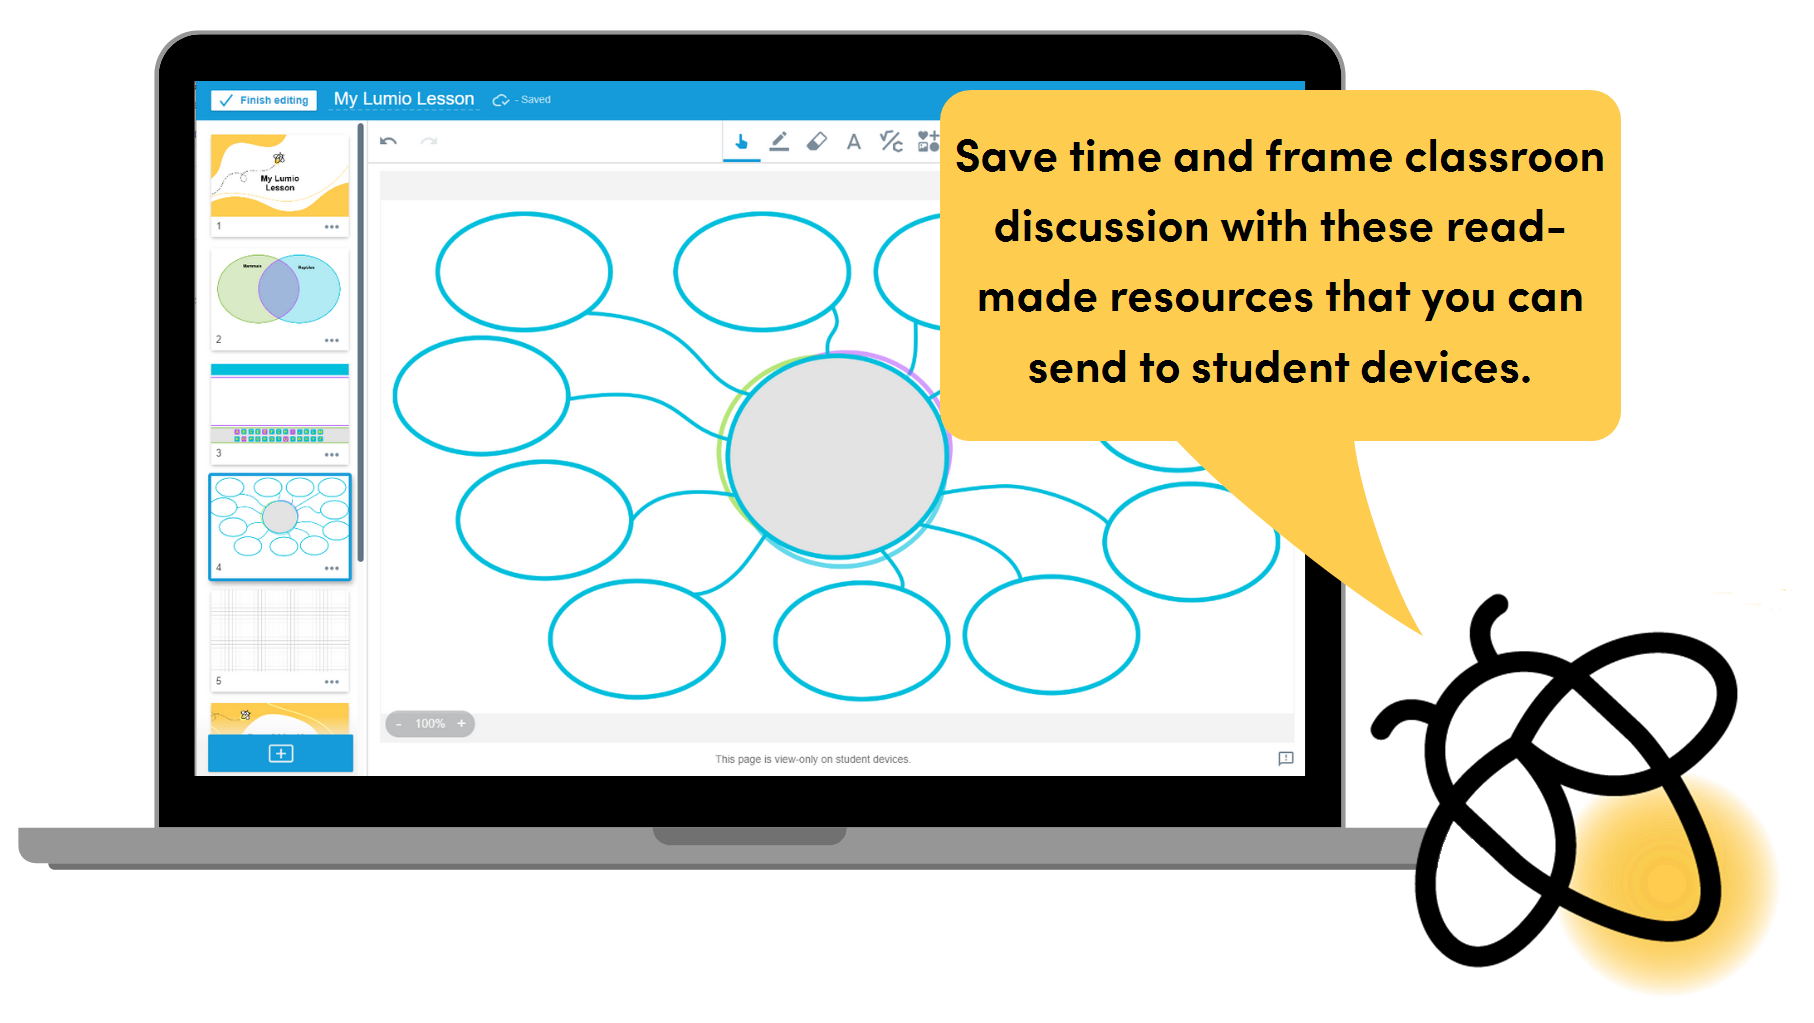
Add a ready-made graphic organizer or manipulative
Steps
| 1 | Sign in to Lumio Go to golumio.com and sign in, and then click New (or open an existing file from the My Library tab in Editing mode) and click Add OR If Lumio is connected to G Suite, open Google Drive and select New > More > Lumio. |
| 2 | Choose a task Under Ready-made activities, choose Graphic Organizers or Manipulatives.  |
| 3 | Choose an activity 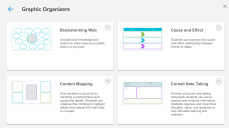 Browse the activities and pick one that helps meet your teaching objectives and enhances your lesson. |
| 4 | Customize and save Edit the labels on the page or add new text and images if you want to modify it and then click |
Instructional ideas
Engage your class by using a graphic organizer background as Handout or Group Workspace activities. Capture students’ ideas, show student thinking, and create artifacts of meaningful discussions.
Create graphs to organize data and have students evaluate the information in a Group Workspace or Handout.
Brainstorm ideas, questions, lists, examples, and non-examples. Move ideas and organize them using graphic organizers.
Enhance your lessons by adding ready-made manipulatives as Handouts or Group Workspaces so students can practice on their own.
Use the coins manipulative for practicing money. Model three ways to create 25 cents for your students and then have them practice on their own.
Add the Making Words manipulative as a Handout or Group Workspace. Provide a word family, like “-at” and ask students to practice building new words.
Extend learning by having students use graphic organizers or manipulatives outside of class to show their thinking.
Add audio to your slide to give directions. Have your students pause the audio, complete a step, and then continue.
Empower students to collaborate beyond the classroom. Continue group work in a Group Workspace activity by sharing a student share link. To save their work, students will need to sign in to the lesson each time they access it.
Create a formative assessment
Steps
| 1 | Sign in to Lumio Sign in to Lumio, and then select New > Response to start creating a whole class formative assessment. OR Open an existing lesson and click Add |
| 2 | Add and edit questions 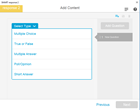 Choose from a variety of question types and use images and text. TIP: Use the menu on the right to add or edit questions. |
| 3 | Finish editing and start the assessment When you’re done, click Next. Add a title and click Finish Editing. Start the quiz by opening it from the My Library tab or opening it from Google Drive if you’re connected to G Suite. |
| 4 | Save quiz results in an Excel file After the quiz is over, export the results to Microsoft Excel by clicking Review Results > Export Data. |
Instructional ideas
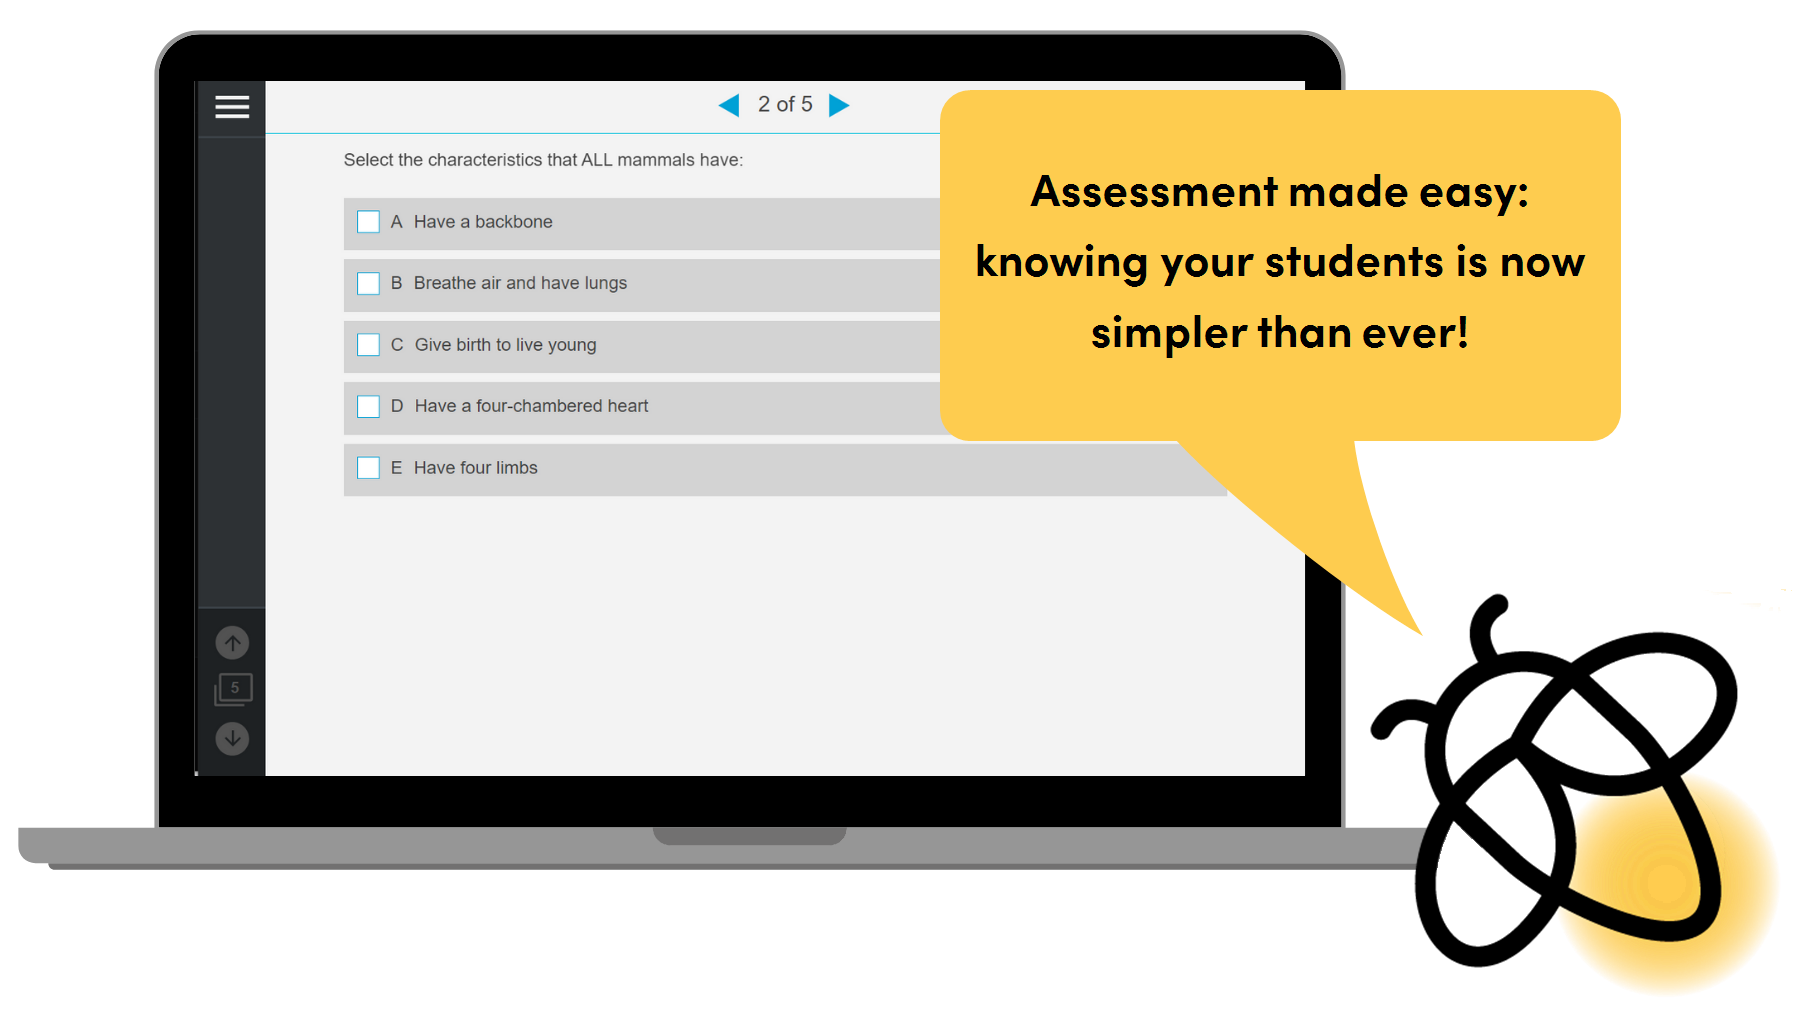
Engage your students with formative assessments. Use the Response assessment to get instant data, and meet with students to give them personal and immediate feedback.
Create a poll or survey to set the stage for a great Socratic Dialogue or debate with students. Use polls and surveys to get to know your students and build relationships.
Enhance your lesson by using data from the Response assessment to guide instruction (review, skip ahead, grouping, and so on).
Create a two-question pretest using the short answer question type so students cannot guess. Analyze the data. Did students miss both? Need intervention. Did they get both right? Ready for a challenge. One right, one wrong? Ready for instruction.
With the click of a button, you can export the student data from the assessment as an Excel spreadsheet.
TIP: When students connect to the activity, have them enter their last names or sign in with Microsoft or Google so the spreadsheet matches your gradebook.
Extend learning by providing differentiated tasks based on the results of a Response assessment.
Teachers can give a pretest that allows students to test out of material they’ve mastered and work on a project or a leveled-up assignment.
Add differentiated game-based activities and a choice board using Flip Out or Label Reveal for extension tasks. Students will complete certain tasks based on assessment results.
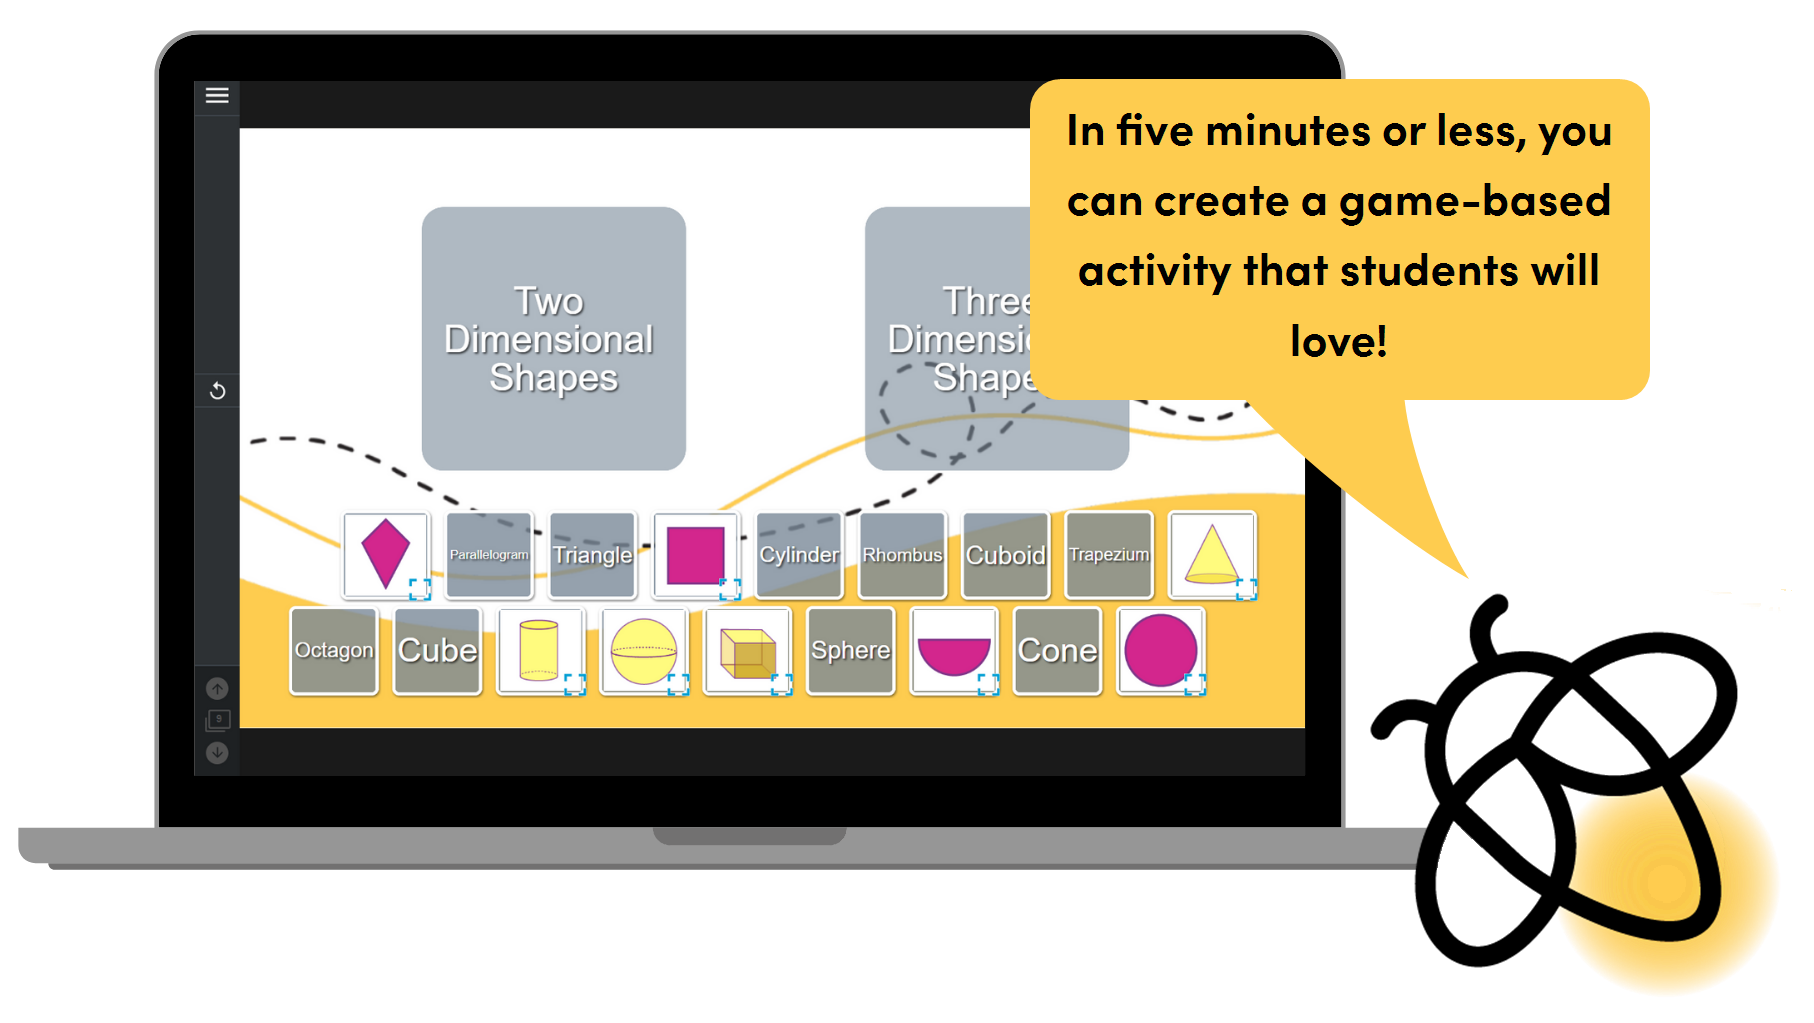
Create a game-based activity
Steps
| 1 | Sign in to Lumio Go to golumio.com and sign in, and then click New (or open an existing file from the My Library tab in Editing mode) and click Add OR If Lumio is connected to G Suite, open Google Drive and select New > More > Lumio. |
| 2 | Choose game-based Activities  Click Game-based Activities. |
| 3 | Choose a template and start creating 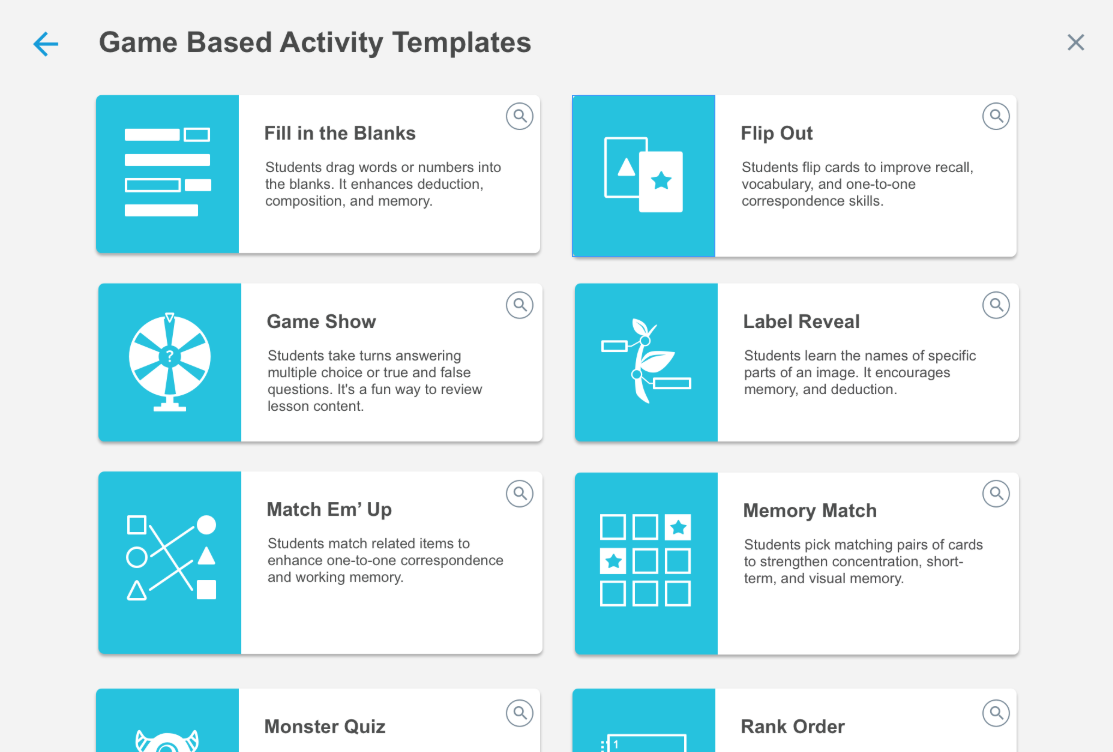 To see a preview of an activity in action, click the magnifying glass beside it. Select the activity you want and follow the steps to build it. |
| 4 | Name the activity and start playing  Add a title to your activity and click Finish Editing. Start the activity by clicking it in the files library. |
Instructional ideas
Engage your class using Lumio’s game-based activities to get students interacting with your lesson.
Spark curiosity or introduce vocabulary using the Fill In the Blanks activity, which works well with a quotation, poem, or definition. Students organize the words and reflect on possible meanings. Discuss.
Practice and review: use Match ’Em Up for vocabulary or math practice, or try Game Show for a fun review.
Use formative assessments to check for understanding. Monster Quiz gives instant feedback. The class can review and dispel misconceptions at the end.
See Game-based Learning Toolkit for more ideas.
Enhance your lessons by using game-based activities to deepen understanding of concepts and demonstrate applied higher-order thinking skills.
Reinforce learning with Super Sort. Have students sort examples and non-examples of concepts. Evaluate student progress in the activity dashboard to guide future instruction.
Rank Order is a great tool for students to explain their thinking by ranking concepts from most to least important or most influential to least. When creating the activity, select Do not check to create open-ended answer possibilities.
Extend learning by creating a pretest followed by two or three levels of activities and an extension task. Change the lesson to student pacing so students can continue learning at their own pace. Add an extension choice board.
Give students choice in assignments:
Flip Out: Give students a variety of learning experiences and let them choose which they would like to do.
Label Reveal: Assign differentiated tasks for parts of an image.
Add a ready-made activity
Steps
| 1 | Sign in to Lumio Go to golumio.com and sign in, and then click New (or open an existing file from the My Library tab in Editing mode) and click Add OR If Lumio is connected to G Suite, open Google Drive and select New > More > Lumio. |
| 2 | Choose a task Under Ready-made activities, choose between pre-built activities that help students activate prior knowledge or question and reflect.  |
| 3 | Choose an activity 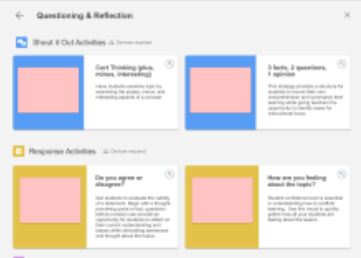 Browse the activities and pick one that helps meet your teaching objectives and enhances your lesson. |
| 4 | Customize and save Edit the page text if you want to modify it and then click Finish Editing. Your activity is ready to share with students. |
Instructional ideas
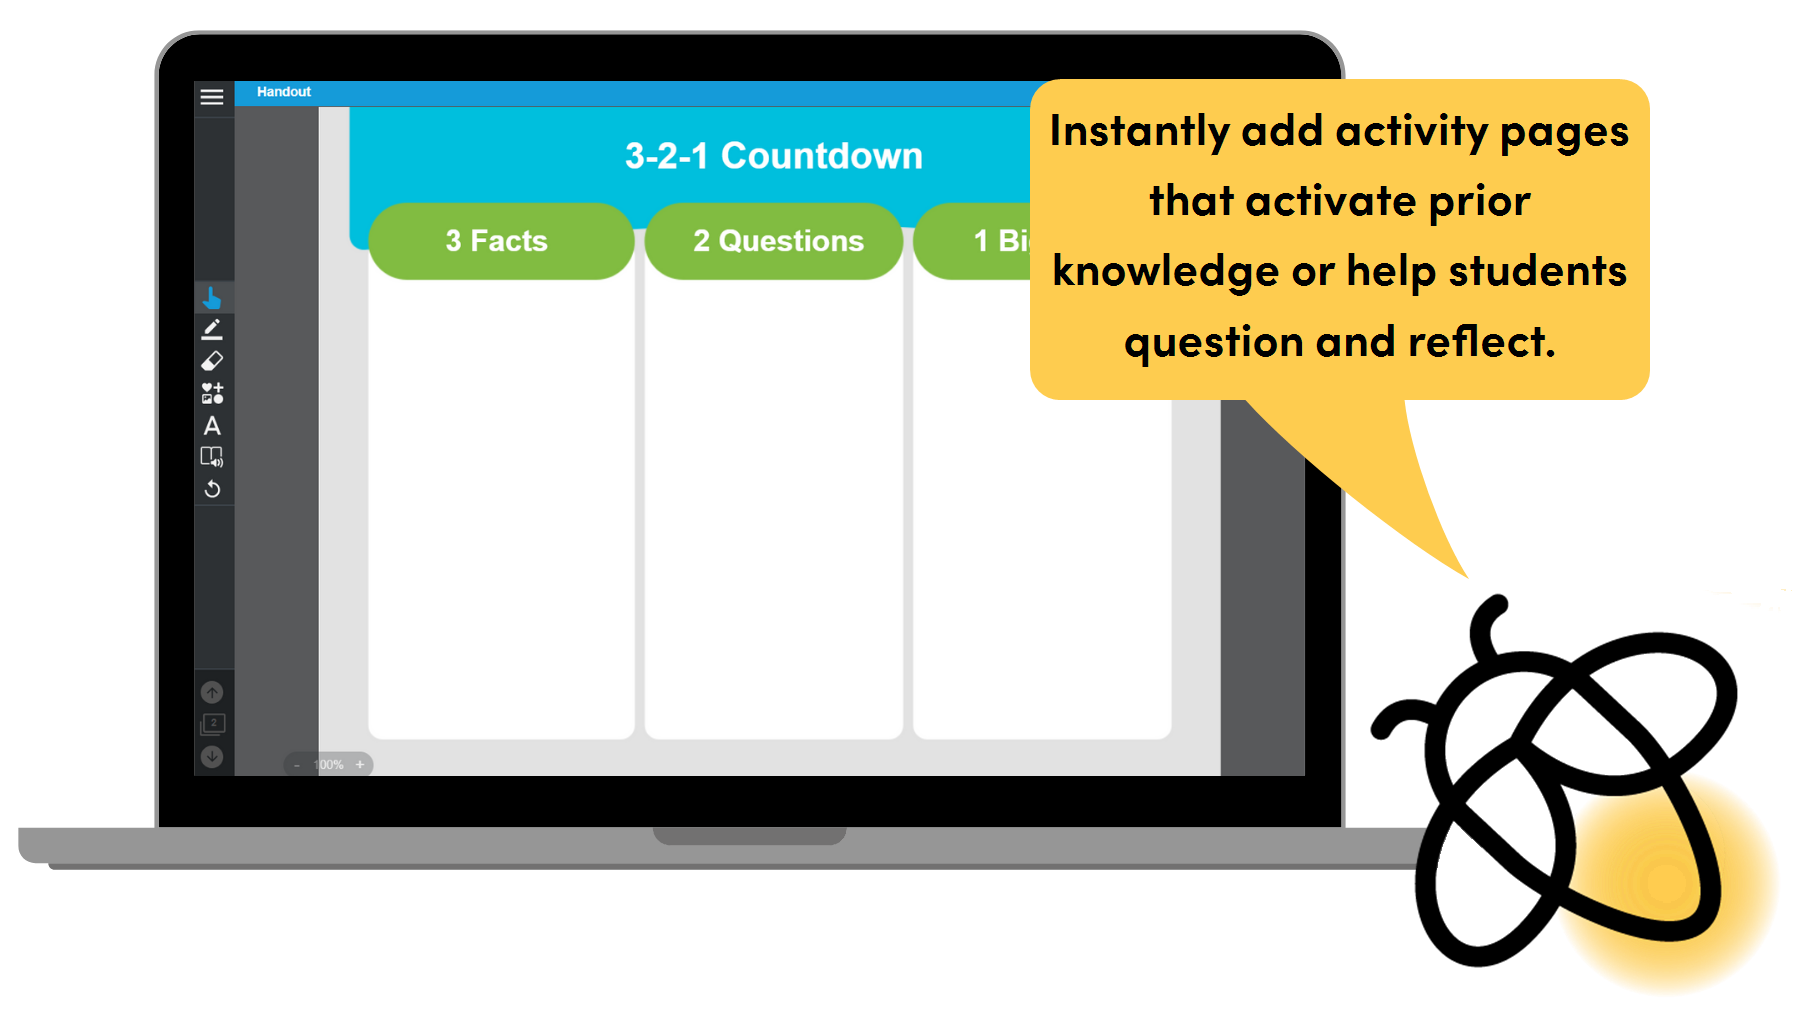
Engage your class using ready-made activities to help students demonstrate their understanding and frame their thinking.
Insert a KWLQ Chart for students to collectively share things they know, wonder about, and have learned alongside questions they still have.
Enhance your lesson by adding ready-made Handouts so students can respond on individual devices. These activities focus on activating prior knowledge or enabling students to question and reflect.
Insert the 3-2-1 Handout as an exit ticket. Have students fill it out with text and images.
Extend and differentiate learning by assessing which activity students need or letting them choose.
Provide differentiated Handout templates for students based on the results of a formative assessment.
Let students choose: Add three ready-made activity Handouts and have students choose one to complete.
TIP: If you share a student access link, students can complete the Handout in or outside of class.
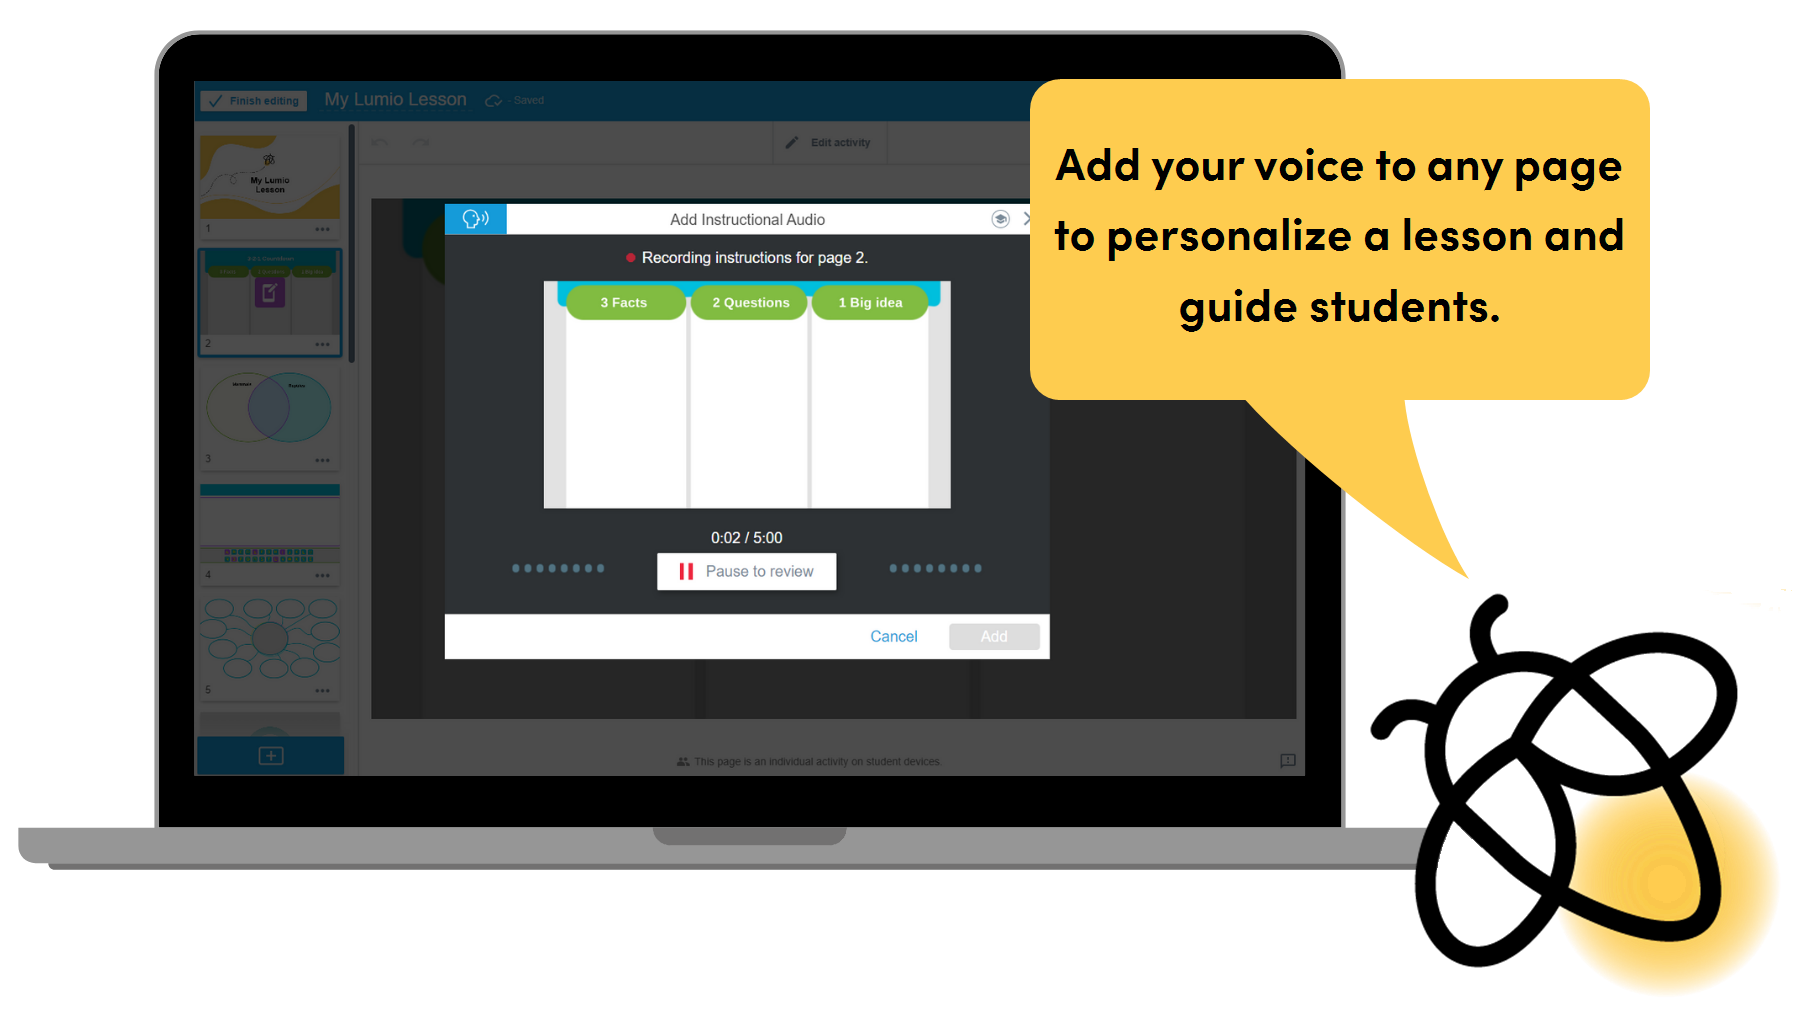
Add instructional audio for your students
Steps
| 1 | Sign in to Lumio Go to golumio.com and sign in, and then click New (or open an existing file from the My Library tab in Editing mode) and click Add OR If Lumio is connected to G Suite, open Google Drive and select New > More > Lumio. |
| 2 | Record audio  Browse to the page you want to add narration to and select Note: You must enable microphone access. |
| 3 | Review the audio  When you are finished recording, select Pause to review. You can use the controls to skip through and review the recording. You can skip to a section and re-record it using the skip controls to move to the spot in the recording you want to redo and select Continue recording. After you’ve finished reviewing the audio, click Add. An icon appears in the top-right of the page area to indicate that the page has audio. You can select this icon to review your audio or delete it. |
| 4 | Deliver to students  Open the lesson in Delivery mode and have your students open the lesson on their devices. When a page has audio, students will see a control in the top-right corner that they click to play the audio at their own pace. You’ll see the same control as your students, but your playback won’t affect theirs. |
Instructional ideas
Engage your students by adding recorded instruction and guided learning to a page.
Record yourself reading text out loud to support early readers, special needs students, and ESL learners.
Direct students to look for key concepts or new vocabulary.
Build stronger connections by adding personalized teacher guidance to lessons.
Add verbal objectives to lessons to provide clear guidance on learning goals.
Enhance lessons by using instructional audio to add guidance and questions.
Ask probing questions for students to consider.
Provide guided instructions and have students use the pause button as they work through learning tasks.
Help students make connections to previous lessons and to real-life applications.
Extend learning by using instructional audio to provide differentiation and support.
Add challenge tasks or alternative assignments in audio.
Provide extra support or background information for students who need extra guidance.
Ask students to look for real-world connections before sending students on virtual field trips with connected links.
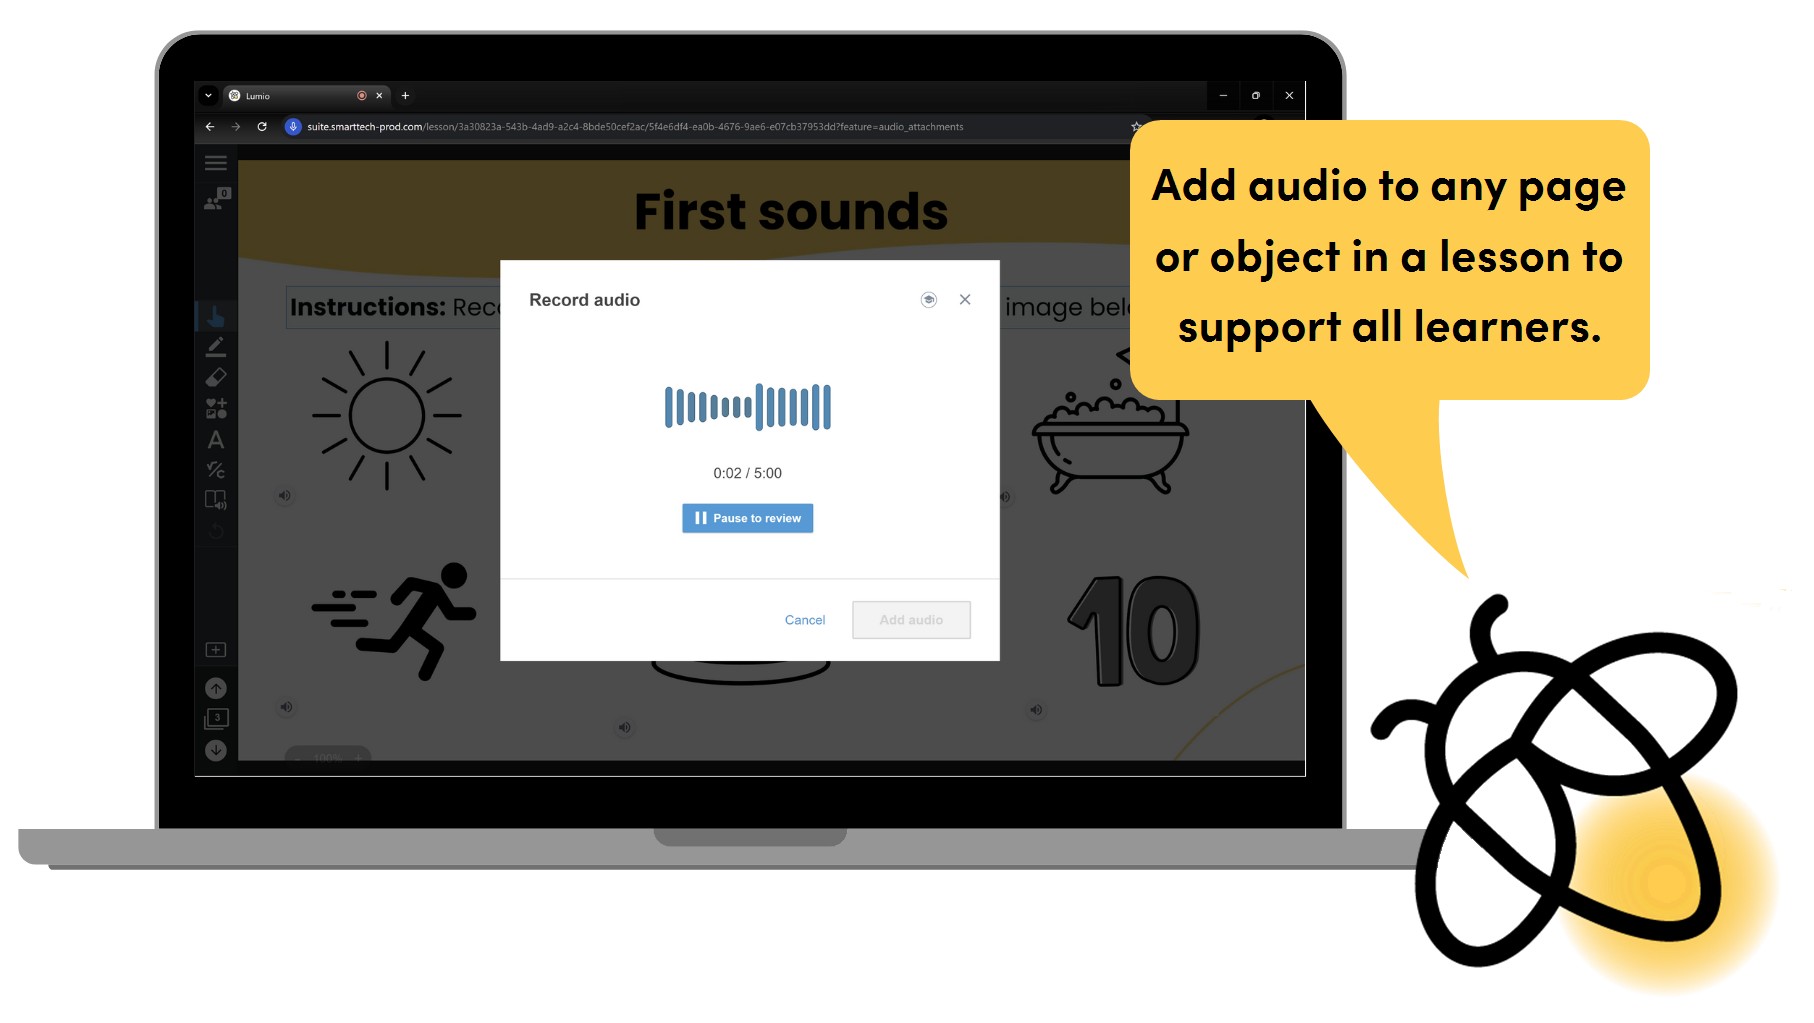
Add audio to pages and objects
Steps
| 1 | Sign in to Lumio Go to golumio.com and sign in, and then click New (or open an existing file from the My Library tab in Editing mode) and click Add OR If Lumio is connected to G Suite, open Google Drive and select New > More > Lumio. |
| 2 | Record audio 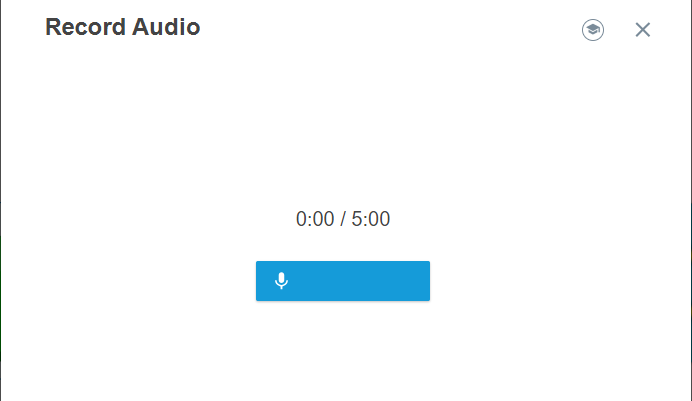 Browse to the page or the object you want to add audio to. To add audio to a page, click the Gallery icon To attach audio to an object, click the menu arrow Note: You must enable microphone access. You can record up to five minutes of audio. OR Click My computer to upload an audio file to the page or attach it to an object. |
| 3 | Review the audio 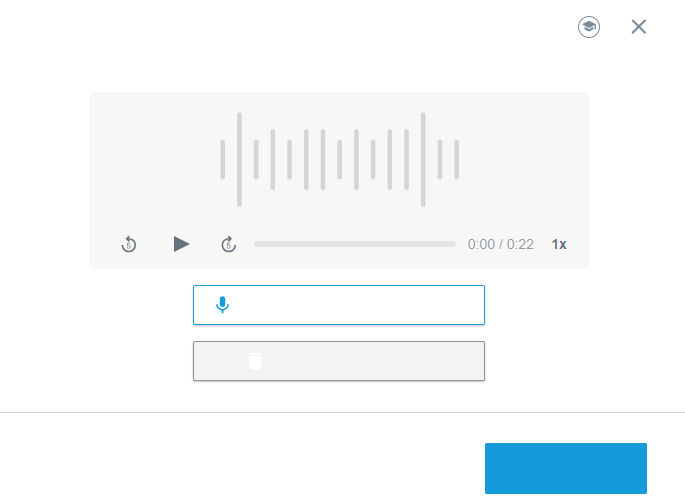 When you are finished recording, select Pause to review. You can use the controls to skip through and review the recording. You can move to the spot in the recording you want to redo and select Continue recording. After you’ve finished reviewing the audio, click Add audio. A You can select this |
| 4 | Deliver to students 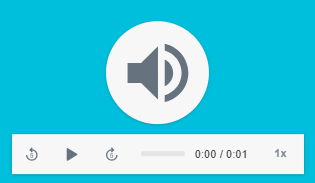 Open the lesson in Delivery mode and have your students open the lesson on their devices. When a page or object has audio, students see a |
Instructional ideas
Engage students using audio to support all learners.
Record pronunciation and definitions for key vocabulary terms.
Attach audio to written instructions to support emerging readers.
Use recorded audio for students to practice speaking with correct pronunciation, enunciation, and intonation.
Enhance lessons to create a learner-centered environment by allowing students to attach audio to pages and objects.
Ask students to record themselves reading text out loud to practice fluency.
Students record their responses to questions posed by the teacher or explanations of their thinking.
Provide audio feedback to students to support learning.
Extend student learning with opportunities for demonstrating understanding.
Students attach audio to a page to make inferences, synthesize, and connect learning for real-world application.
Provide student choice to use audio to demonstrate their learning.
Students use audio to provide constructive peer feedback to revise learning.
Make a page a Handout activity
Steps
| 1 | Open your lesson in Editing mode  Open your lesson in Editing mode by signing in at golumio.com, hovering over the lesson thumbnail, and clicking Edit. OR If Lumio is connected to G Suite, open Google Drive, right-click the lesson you want to open, choose Open with > Lumio, click |
| 2 | Convert the page  Go to the page you want to convert to a Handout and click |
| 3 | Convert to a Handout Click Individual Handout. |
| 4 | Deliver to students When you’re ready to deliver the lesson, open it in Delivery mode, ensure students are connected, and then navigate to the page containing the Handout and click Start. |
Instructional ideas
Engage students by sending existing pages to individual devices so they can write, draw, and interact with the lesson.
Encourage students to learn actively by keeping attention focused on the page you’ve converted to a Handout. Have students use the pen tool to highlight important information, circle key words, draw arrows to connect similar information, and write notes in margins.
Enhance your lesson using Student pacing and Handouts so students can refer to other pages as they create on the Handout page, demonstrating their understanding.
Put an image on a page and convert the page to a Handout. Have students create a word gallery or graffiti board of ideas that spark a dialog. Discuss and share.
Extend learning by having students respond to open-ended Handout tasks where they can demonstrate understanding outside of class with ongoing input from the teacher.
Convert multiple pages to a Handout to create a learning menu of tiered assignments. Add links to videos, activities, reading passages, and more for even greater engagement.
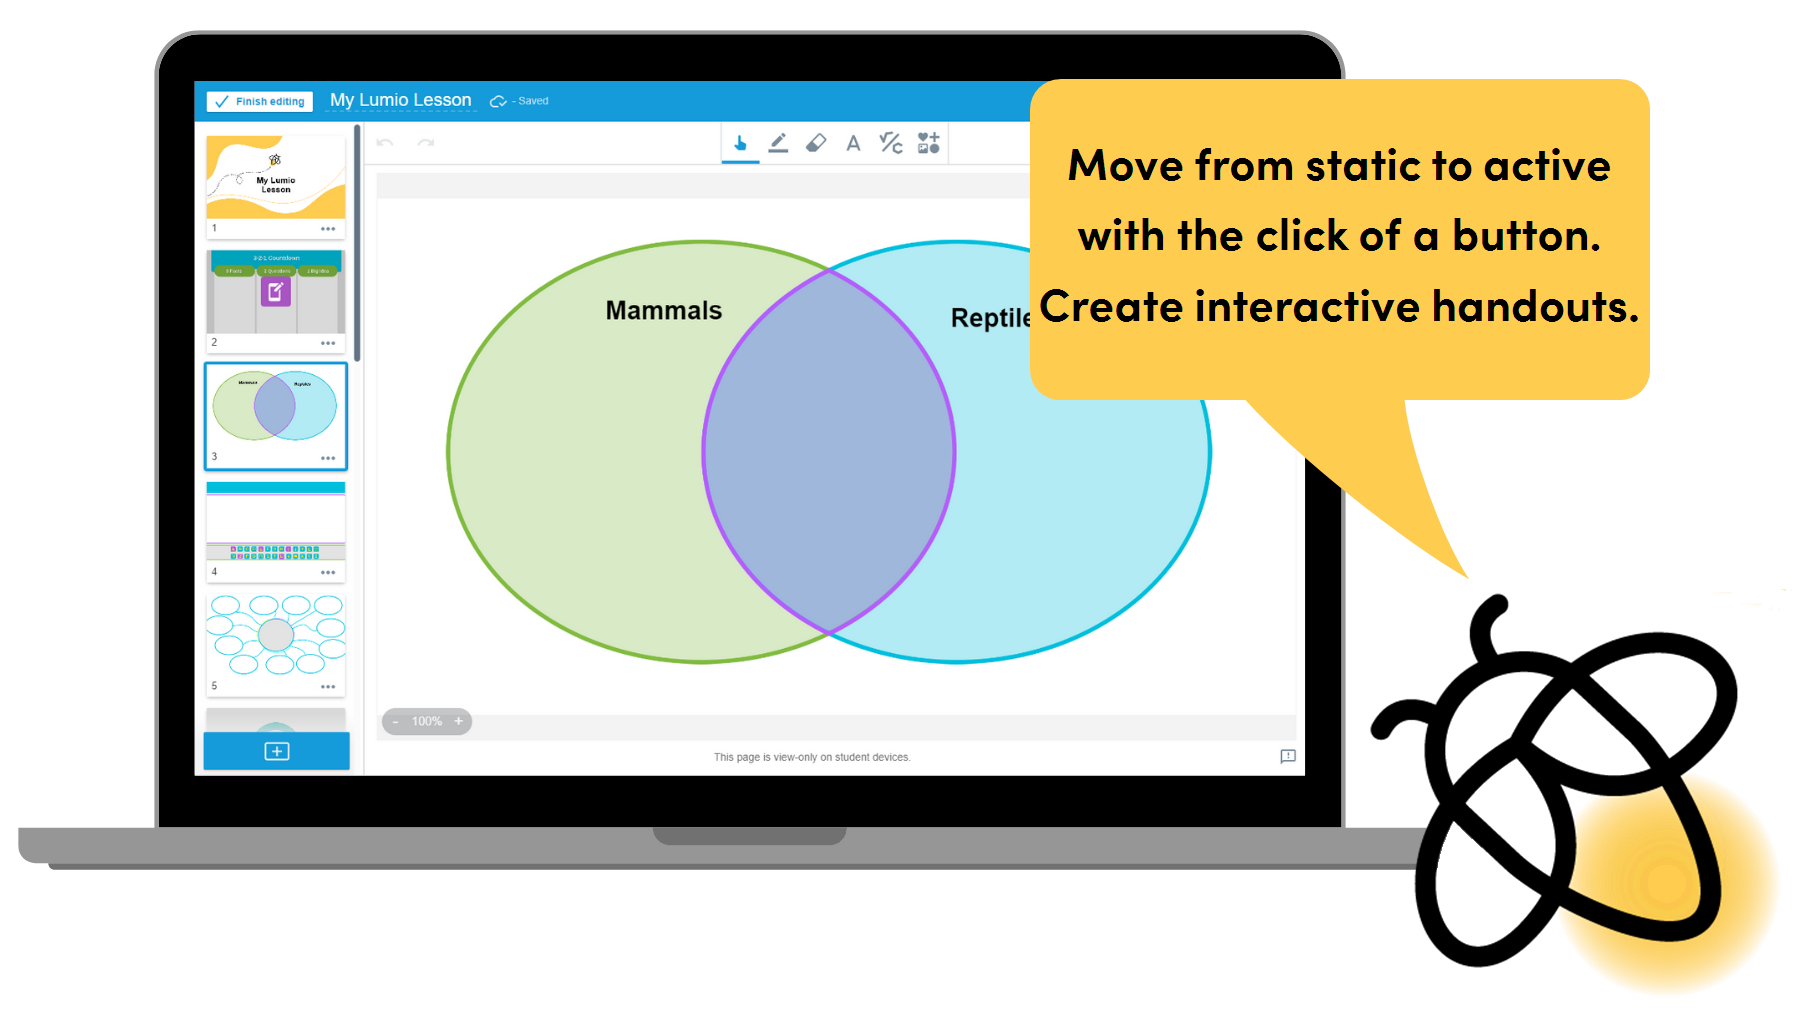
Create a collaborative Group Workspace or Whole-Class Whiteboard activity
Steps
| 1 | Open your lesson in Editing mode 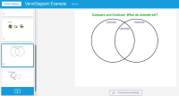 Open your lesson in Editing mode by signing in at golumio.com, hovering over the lesson thumbnail, and clicking Edit. OR If Lumio is connected to G Suite, open Google Drive, right-click the lesson you want to open, choose Open with > Lumio, click the hamburger menu in the top left corner of the screen, and select Edit Lesson. |
| 2 | Convert the page Go to the page you want to convert to a workspace and click |
| 3 | Choose the activity type Select Group Workspace or Whole-class whiteboard. |
| 4 | Deliver to students When you’re ready to deliver the lesson, open it in Delivery mode, ensure students are connected, then navigate to the page containing the Workspace and click Start for class. TIP: Once students start contributing, you can select items on the page to see which students added them. 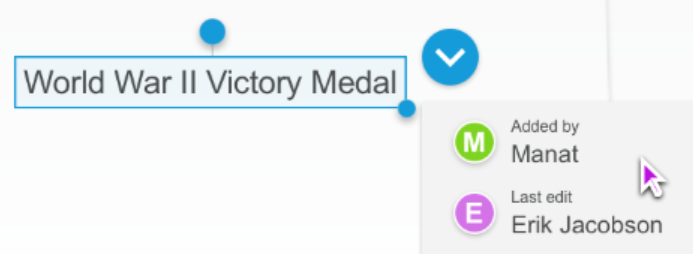 You can also supervise the activity if you like, adding your own notes and editing or deleting student contributions. |
Instructional ideas
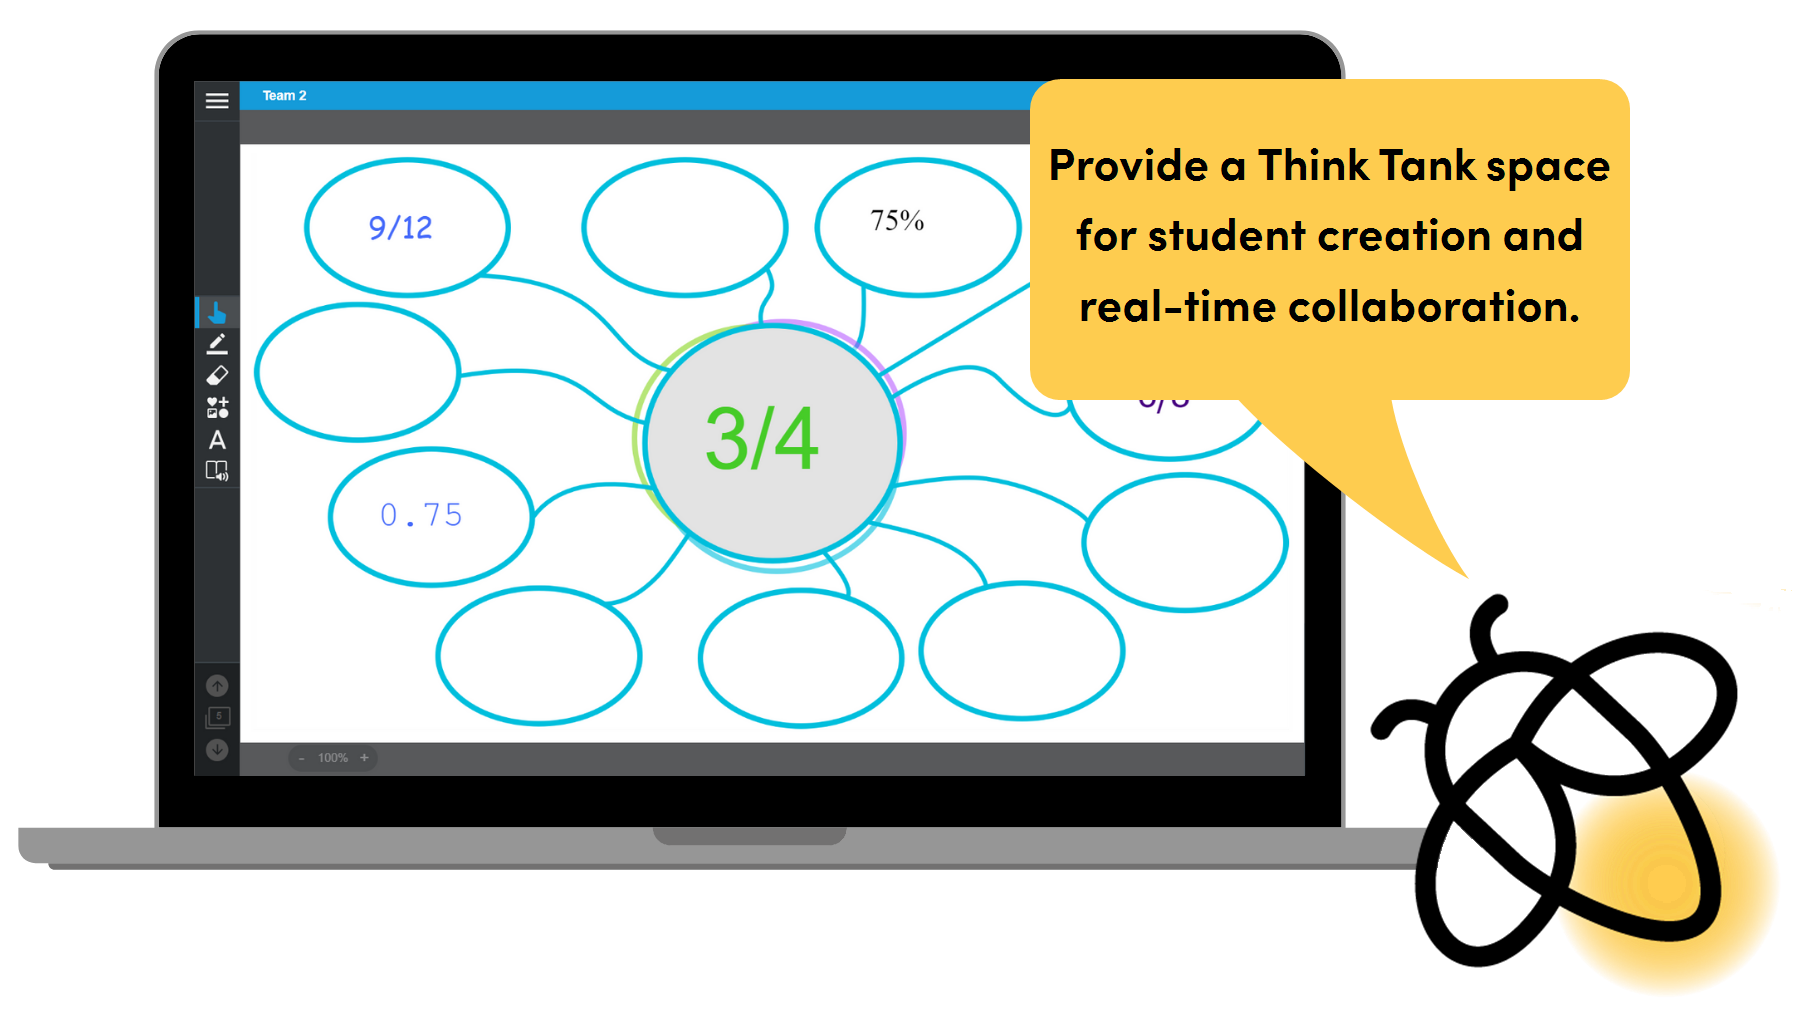
Engage students by adding a shared space for students to collaborate and demonstrate understanding in groups or as a class.
Choose a ready-made graphic organizer, such as a Venn diagram, and convert it to a Whole-Class Whiteboard. Work as a class to compare and contrast a topic.
Convert a blank page to a Group Workspace so small groups of students can collaborate on a mind map or sketch note of their learning.
Enhance your lesson by having students create in-depth presentations.
Have teams of students work with different parts of a novel or article. Each team reads a section and creates a page that covers the important information.
Add a Group Workspace where students work in teams to create a digital poster of their learning. Include a small rubric at the bottom to give feedback throughout the process.
Extend learning by having students work collaboratively to respond to open-ended tasks. Students can demonstrate understanding using images and text in Group Workspaces or a Whole-Class Whiteboard with ongoing feedback from the teacher.
Add a homework help page to your lesson and convert it to a Whole-Class Whiteboard. Have students use this space outside of class to ask peers for help with homework and assignments.
Use a Group Workspace as a place for students to create tweets for historical figures or characters.
Visualize math concepts with Desmos
Steps
| 1 | Sign in to Lumio Go to golumio.com and sign in, and then click New (or open an existing file from the My Library tab in Editing mode) and click Add OR If Lumio is connected to G Suite, open Google Drive and select New > More > Lumio. |
| 2 | Add a graphing calculator  Click desmos to open a blank graphing calculator. You can add your own expressions, notes, and more for students to interact with. When you are done adding items, click Finish. The activity loads and appears as a new lesson page where you can edit the title or add instructional audio for your students. Tip You can also add a blank graphing calculator when delivering a lesson by selecting |
 in the delivery mode command bar.
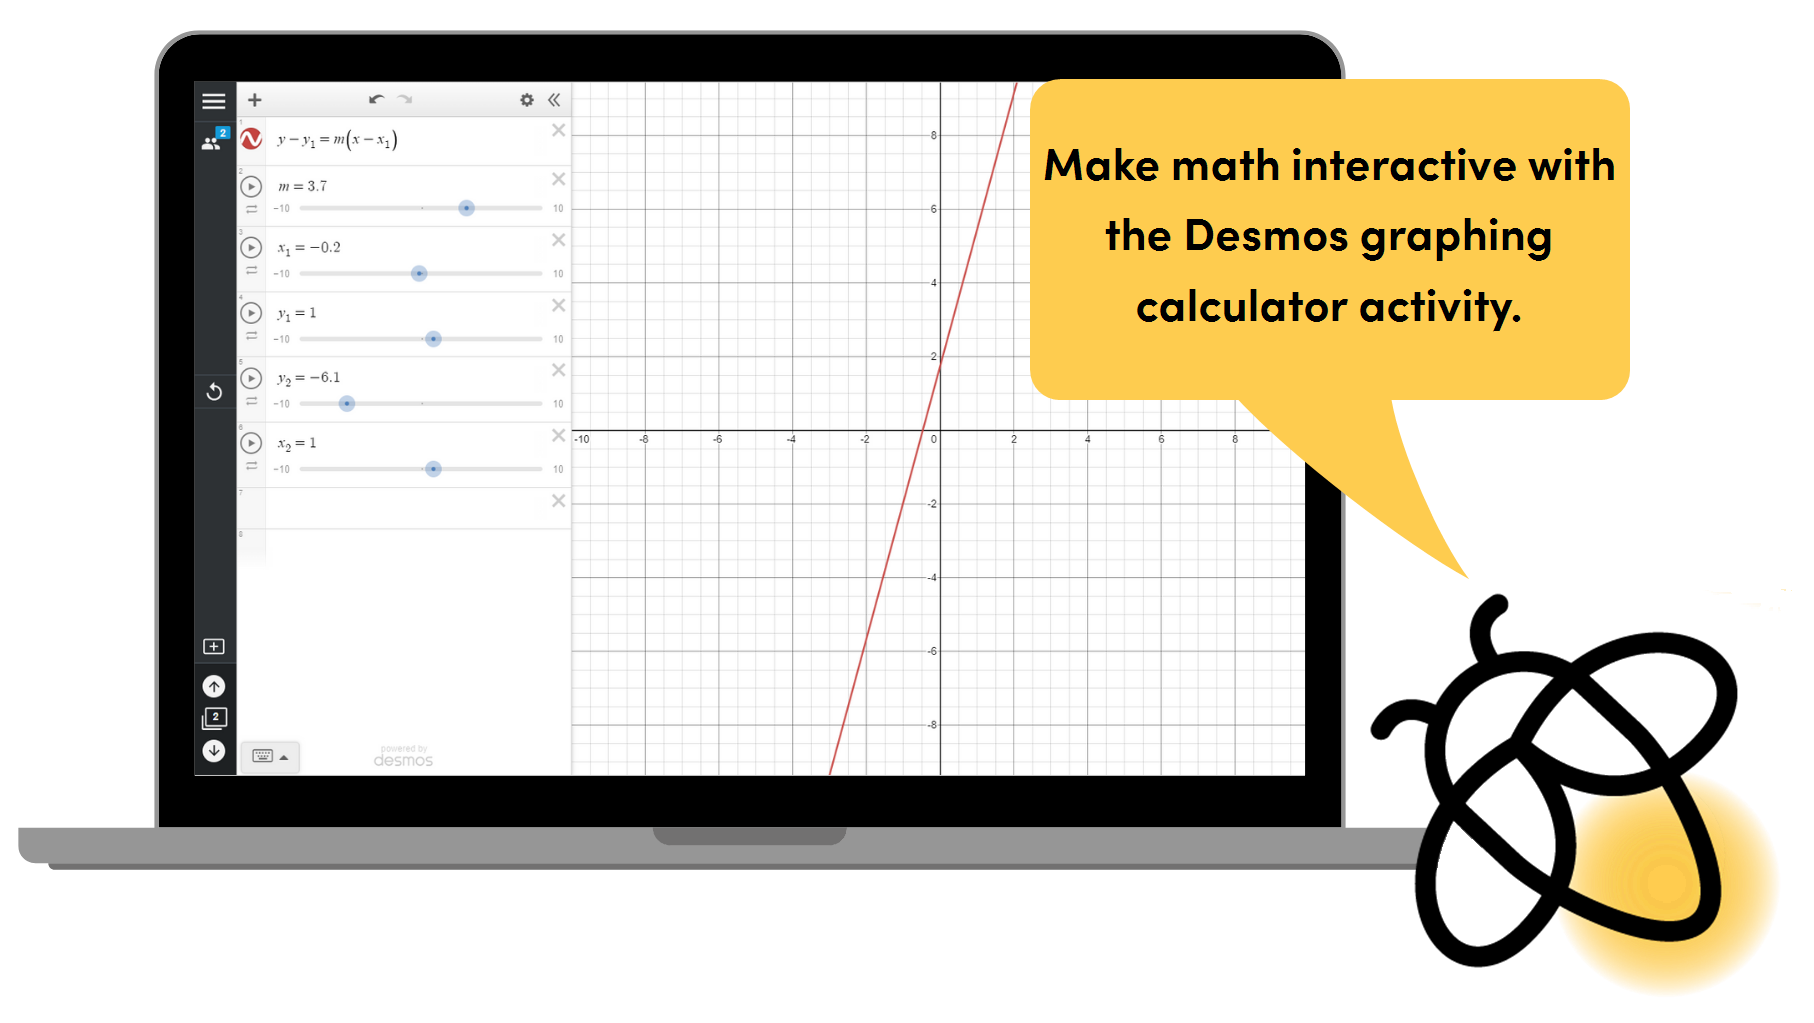
Instructional ideas
Engage students by having them explore the Desmos graphing calculator and draw connections.
Add sliders to an equation so students can take charge of their own learning. Students can share their connections in a Handout.
Give students a real-world example and have them experiment with the table and graph settings to come up with a solution.
Enhance your lesson by giving students hands-on exploration and the ability to share their connections with the class.
Students can explore the inverse relationship between functions. Using a Shout It Out! activity, they can explain their thinking about the range and domain of their functions.
Students can explore quadratics in the real world. Embed a picture on the graph, such as the Gateway Arch, and have the students use sliders to figure out what the values of the function would be.
Extend learning by having students formulate the questions and real-world applications.
Have students collect real-world data and find a regression equation for that data. Pair the task with a Group Workspace so students can interpret their findings with the help of small group collaboration.
Have students write a function to model a real-world problem, then use that function to make conjectures.
After students explore in Desmos, extend learning by adding a Individual Handout activity with multiple representations, including equations or expressions made with the equation editor.
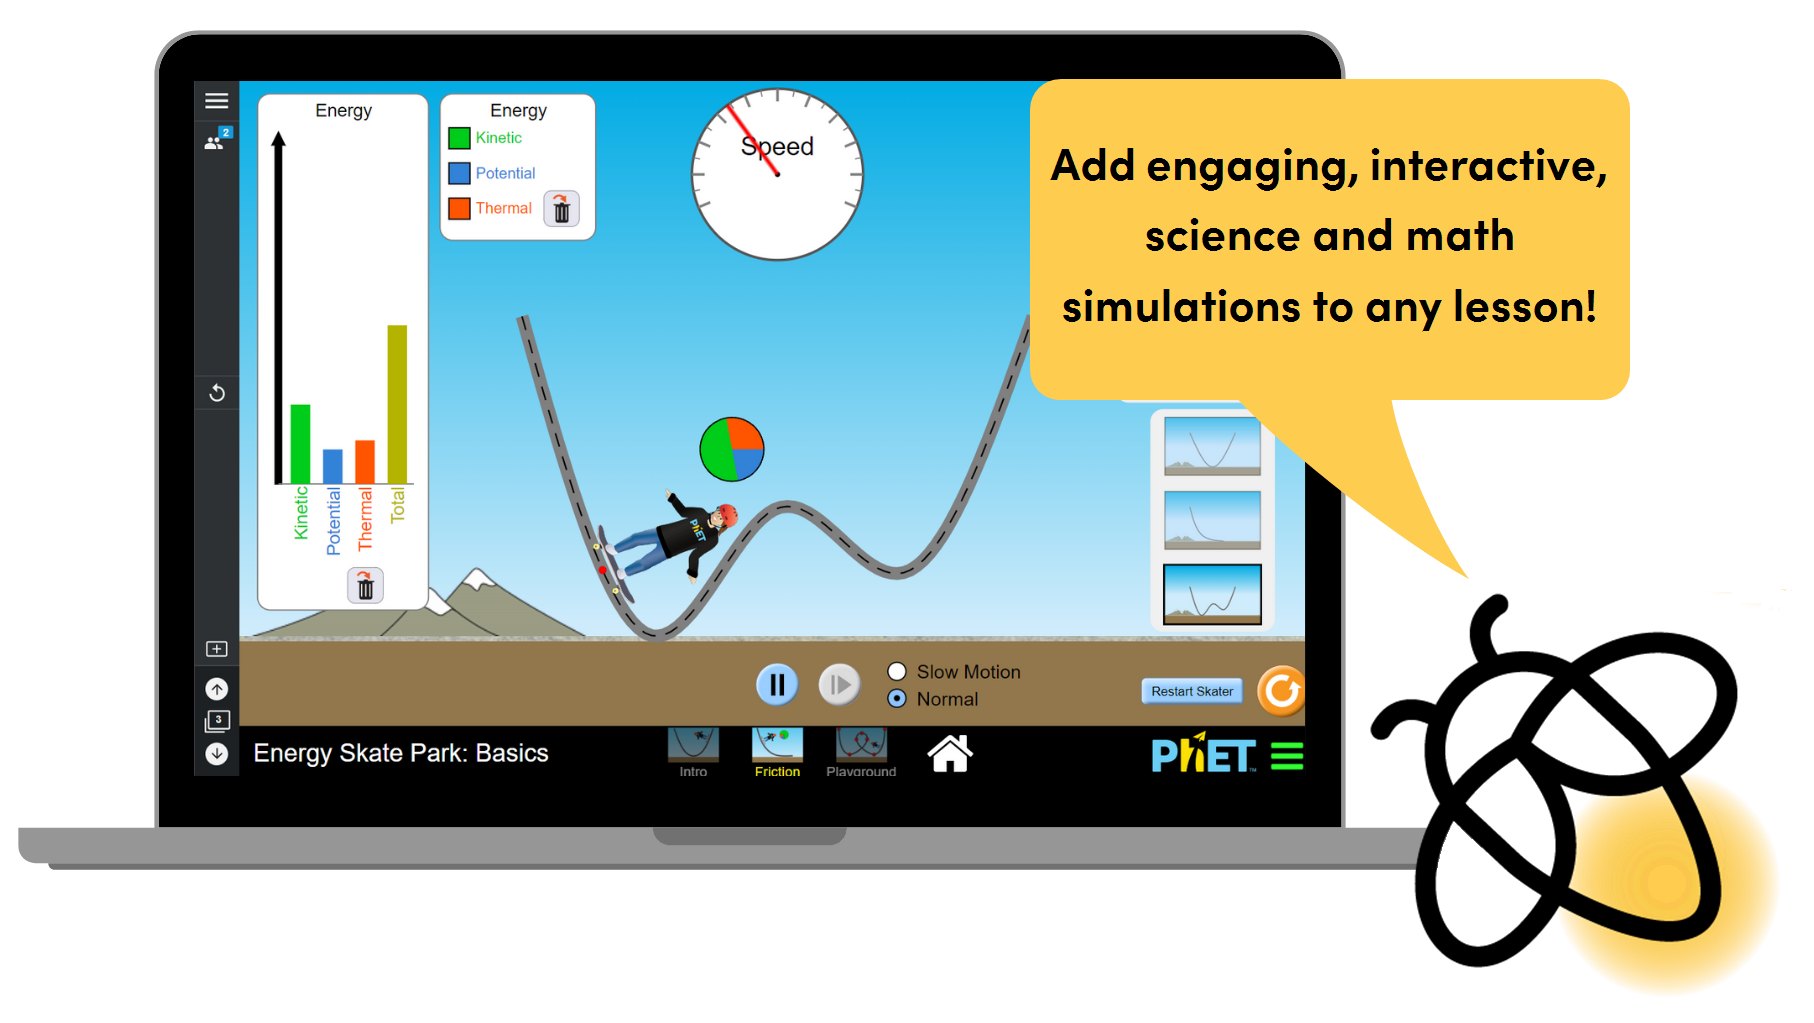
Add a PhET simulation
Steps
| 1 | Sign in to Lumio Go to golumio.com and sign in, and then click New (or open an existing file from the My Library tab in Editing mode) and click Add OR If Lumio is connected to G Suite, open Google Drive and select New > More > Lumio. |
| 2 | Add a simulation  Click PhET to view the available simulation. Use the search bar and filter options to quickly find a simulation that suits your needs. Once you find one you want, select it to see a preview. Click Save to my lesson to load the simulation into your lesson. The simulation loads and appears as a new lesson page where you can edit the title or add instructional audio for your students. |
Instructional ideas
Engage students with interactive math and science simulations embedded within your Lumio lesson
Use a simulation to show how a concept works.
Invite students to interact and practice applying knowledge.
Enhance your lesson through student exploration and class discussions.
Students can manipulate a PhET simulation then use a Shout It Out! activity as a feedback loop where students can ask questions or share their findings.
Introduce a concept by taking a screenshot of the simulation and putting it in a Label Reveal activity. Add labels that explain the parameters, settings, or other indicators to promote student understanding.
Extend learning by having students formulate the data, questions, or real-world applications.
Add a PhET simulation to your lesson and pair it with a Group Workspace activity where students collect, evaluate, and interpret the data, manipulations, and reflect on their findings from the simulation. Students can also insert a screenshot of their simulation and draw conclusions among their peers. Make sure to set lesson pacing to Student Pacing so students have full control to switch between the simulation and their workspace.
Convert Lumio’s ready-made Scientific Method graphic organizer into a Handout activity where students can insert a screenshot of the simulation and complete the activity.
Tip: You can edit the text labels in the graphic organizer. Unlock the label by tapping the lock icon, selecting Unlock, and typing in the label.
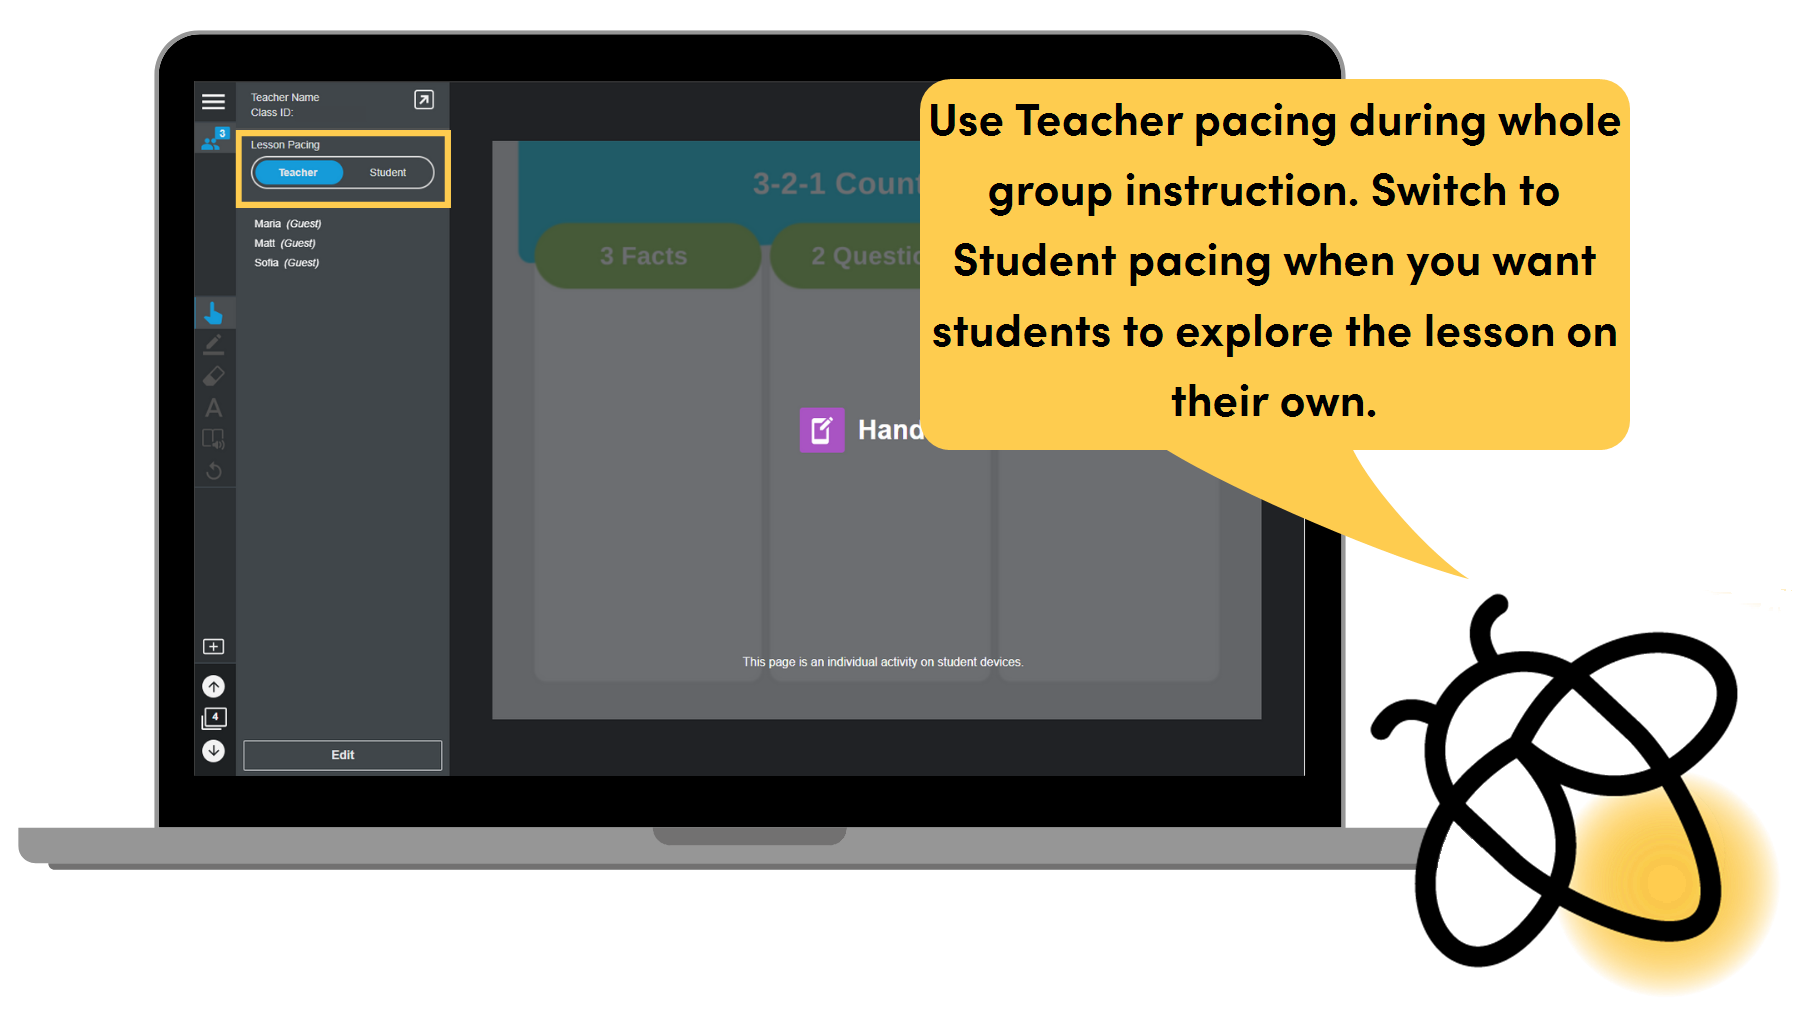
Direct the lesson or make it self-paced
Steps
| 1 | Open your lesson Start a lesson by signing in at golumio.com and clicking the lesson thumbnail in your library. OR If Lumio is connected to G Suite, open Google Drive, right-click the lesson you want to open, and choose Open with |
 Lumio.
| 2 | Open the Class Panel Tap the Manage Class button in the top left corner of the screen to open the class panel. |
| 3 | Connect students  Ensure students are connected to your class. See Get your students signed in. |
| 4 | Change the lesson pacing When teacher pacing is on, you are in control of lesson navigation. Tap Student to let students navigate the lesson independently on their own devices. Take back control of lesson navigation at any time by tapping Teacher. |
Instructional ideas
Engage students using Teacher pacing to guide them through the lesson. Switch to Student pacing when it’s time for students to apply what they’ve learned.
Design your lesson to include a series of activities that students can use to test their knowledge after you’ve taught a new concept. Switch to student pacing when you arrive at the activity pages, then move around the classroom to assist individual students as they explore the activities at their own pace.
TIP: If you start a Monster Quiz, Team Quiz, or Shout It Out!, all students will be brought into the activity. All other activities can be played individually.
Enhance your lesson by organizing activities so students can self-select an activity that matches their level of understanding.
Have your activities follow the pattern of Review, Practice, and Extend. For example: Super Sort or Match ’Em Up for review, a Handout activity for practice, and a choice board for extension.
Extend learning by adding spontaneous discussions and checks for understanding. Switch freely between Teacher and Student pacing to create flexible grouping and learning experiences.
During a discussion, switch between Student and Teacher pacing to direct attention.
Add instant Shout It Out! activities to document discussion points.
Create a Group Workspace where students can respond and draw conclusions at the end of the discussion.
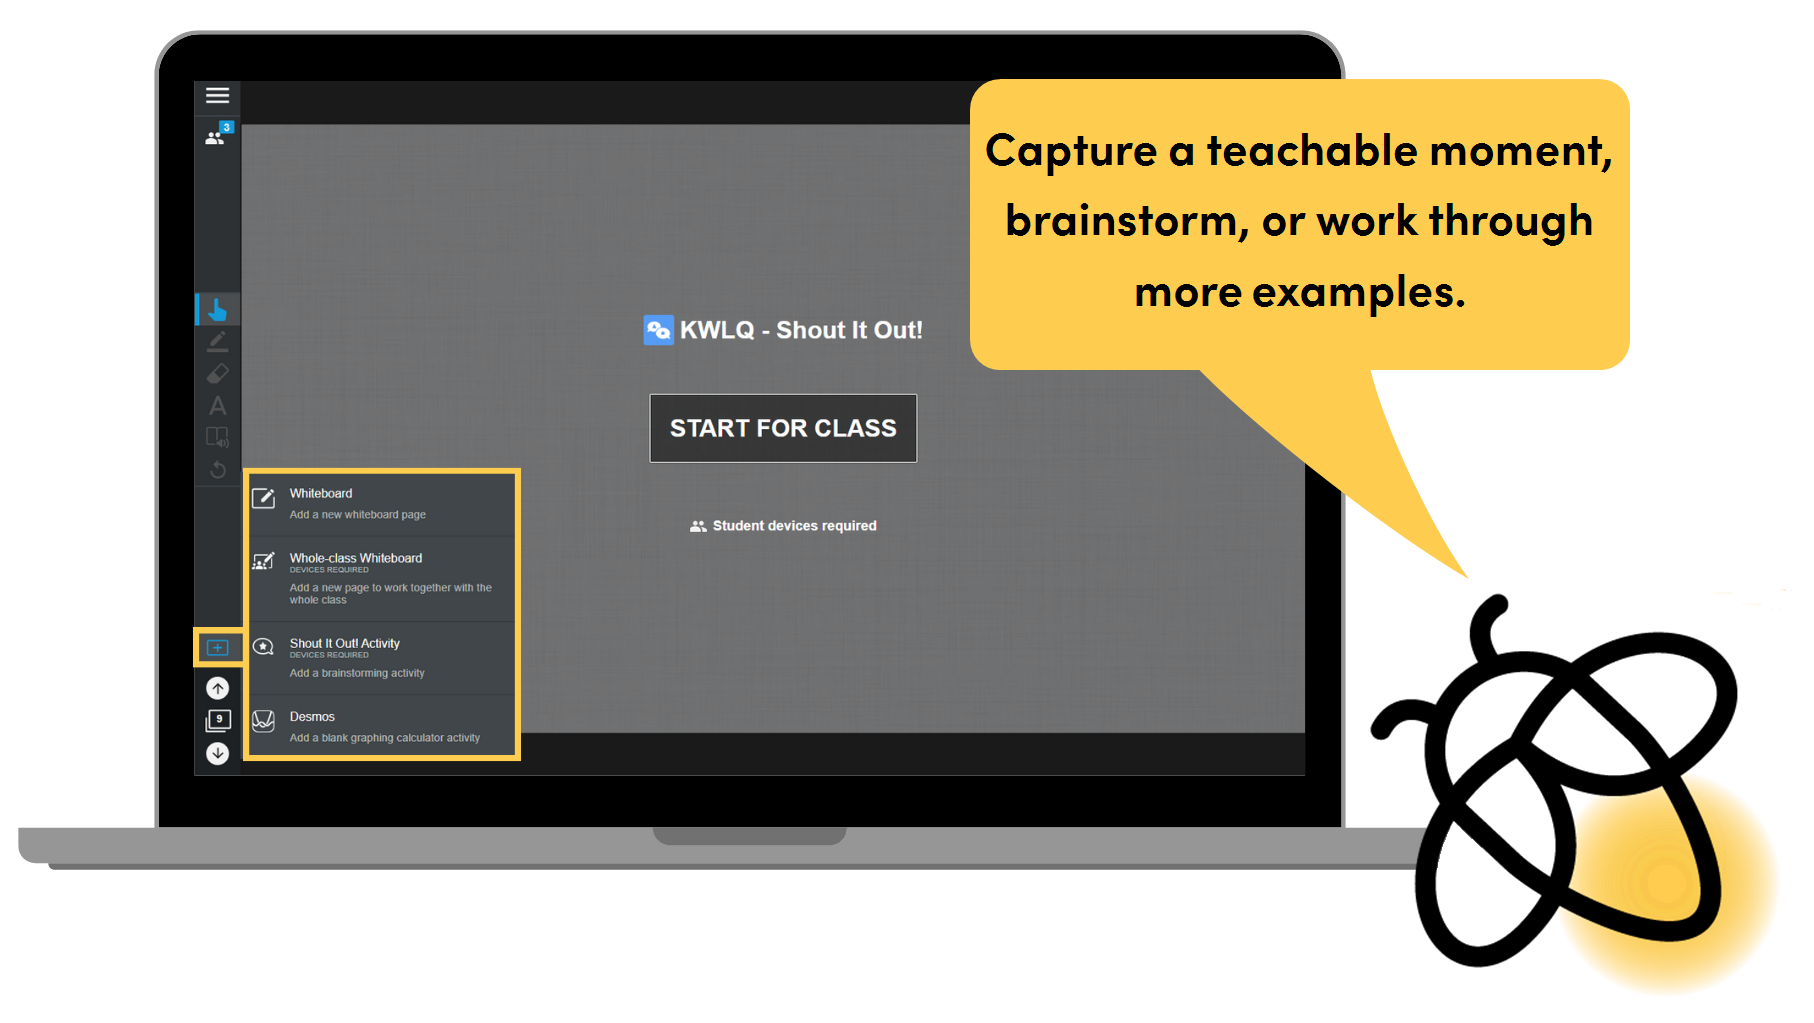
Add interactivity in delivery mode
Steps
| 1 | Open your lesson Start a lesson by signing in at golumio.com and clicking the lesson thumbnail in your library. OR If Lumio is connected to G Suite, open Google Drive, right-click the lesson you want to open, and choose Open with |
| 2 | Add interactivity on the fly  Click the + button to see the options for adding pages in delivery mode. |
| 3 | Convert pages in delivery mode 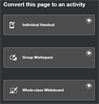 You can convert blank pages to a Handout, Group Workspace, or Whole-class Whiteboard activity or leave them as-is for teacher modeling. |
| 4 | Capture teachable moments You can write and draw on a blank whiteboard or a Whole-class Whiteboard, add an instant Shout it Out! activity, or demonstrate math concepts with a Desmos activity. |
Instructional ideas
Engage students by adding a blank whiteboard page to a lesson for brainstorming or gathering ideas.
Add a Whole-class Whiteboard for group brainstorming.
Create an instant Shout it Out! activity for students to share opinions on the lesson’s topic.
Enhance your lesson by turning a blank page into a Handout or Whole-Class Whiteboard activity for students to demonstrate their understanding of a topic.
Turn a blank page into a Handout for students to showcase their understanding of a lesson by creating a mind map.
Add a quotation or question to a blank page and then convert the page to a Whole-Class Whiteboard activity to start a digital discussion board.
Extend learning with opportunities for students to model their learning.
Add a blank whiteboard page and ask a student to model a concept for their peers.
Use a Desmos activity to model relationships between functions.
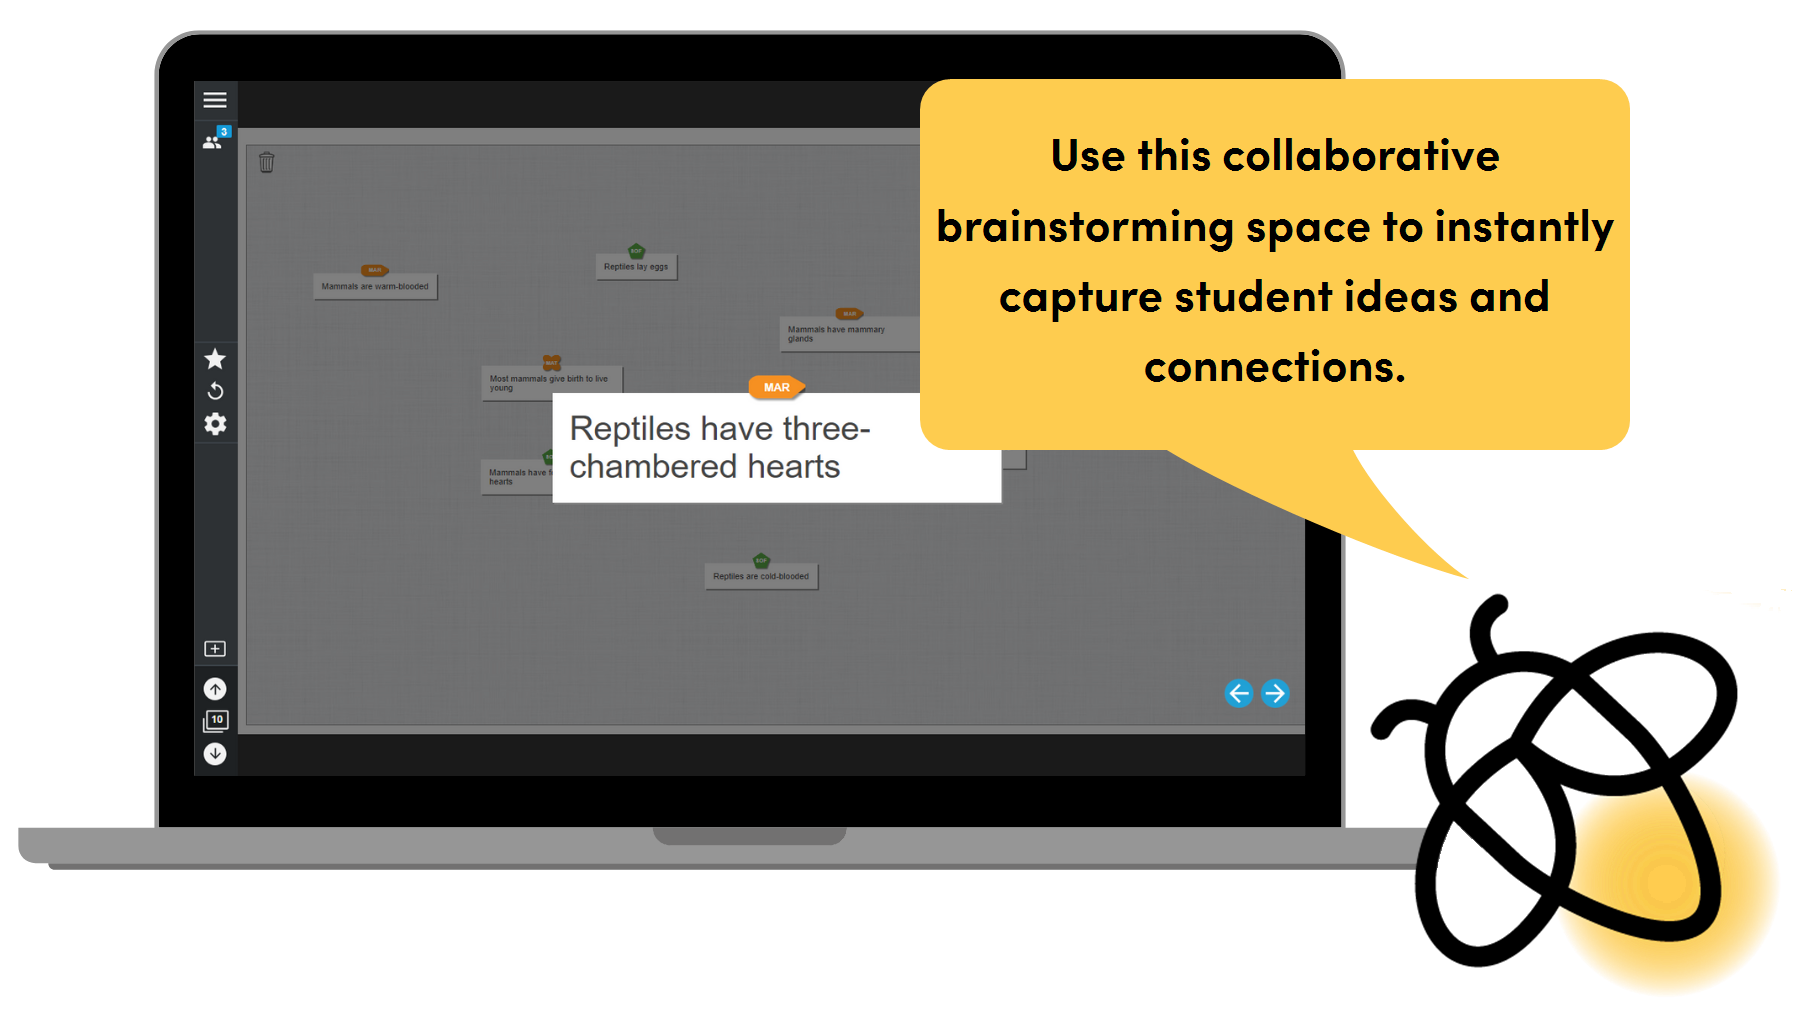
Gather student thoughts with a Shout it Out! activity
Steps
| 1 | Sign in to Lumio Go to golumio.com and sign in, and then click New (or open an existing file from the My Library tab in Editing mode) and click Add OR If Lumio is connected to G Suite, open Google Drive and select New > More > Lumio. |
| 2 | Add Shout It Out!  Click Shout It Out! to add the activity. You can add a question, select the contribution format, and select other settings for the activity. |
| 3 | Connect students Open the lesson in Delivery mode. Click the student icon in the top left corner to display the class ID and directions for joining the class. Students join the activity on their devices. |
| 4 | View responses After students join, select the arrow in the top left corner to hide the directions and see responses. |
Instructional ideas
Engage students with a space where they can instantly contribute ideas and questions to a lesson. This will help capture teachable moments and check for student understanding.
Have students use a Shout It Out! activity to share vocabulary connected to the lesson.
Have students use a Shout It Out! activity to provide examples connected to a lesson’s main idea. For example, they can share the first line of the book they’re reading when you’re discussing story starters.
Enhance your lesson by having students contribute images to a Shout It Out! to share metaphors that explain their thinking. Tap an image to enlarge it, and have students categorize responses.
Have students share one-word summaries or connections and sort them into meaningful categories.
Students use images to capture the main idea or share how different perspectives see a scenario.
Extend learning by using a Shout It Out! activity to turn a controversial or confusing part of the lesson into an authentic student-led discussion, structuring debate while giving every student a voice.
Ask students to share key ideas, quotes, or questions for classroom discussion.
Have students capture main ideas of discussion in real time for collaborative note taking.
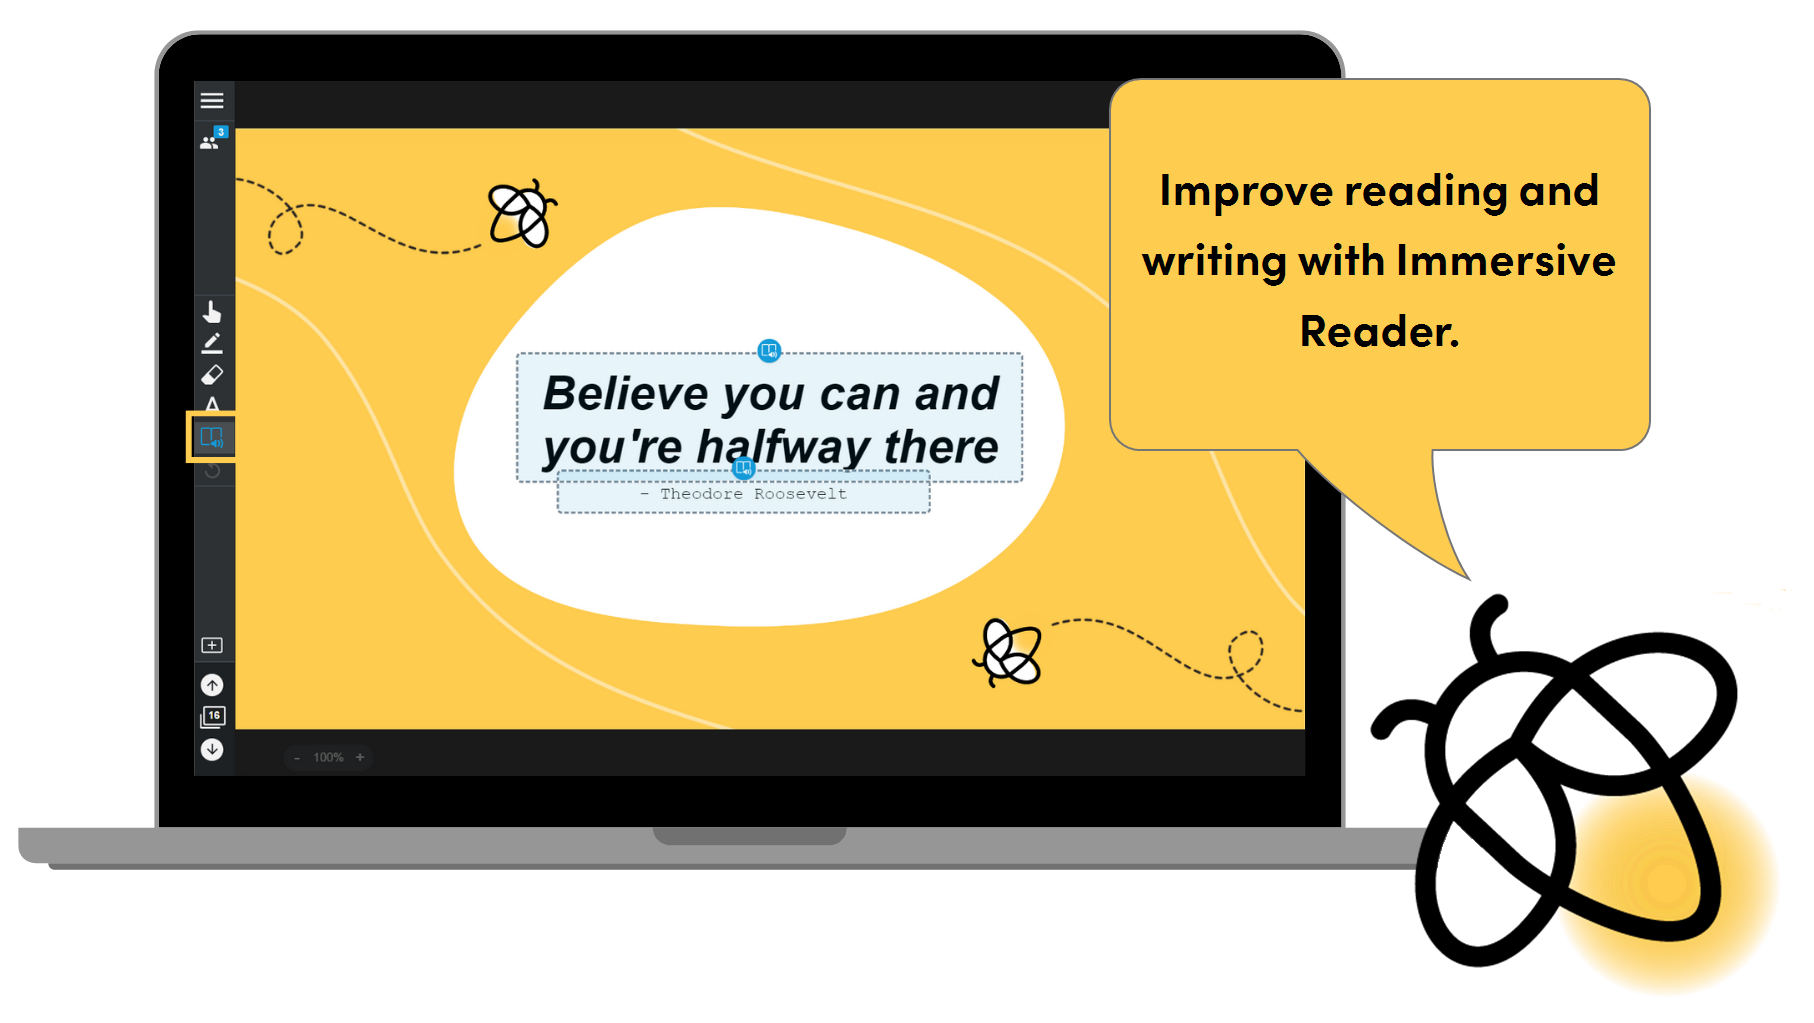
Use the Immersive Reader to make lessons accessible to all students
Steps
| 1 | Enable the Immersive reader for the class  From the My Library tab, click Edit class |
| 2 | Open your lesson Start a lesson by signing in at golumio.com and clicking the lesson thumbnail in your library. OR If Lumio is connected to G Suite, open Google Drive, right-click the lesson you want to open, and choose Open with |
| 3 | Connect students Click the student icon in the top left corner to display the class ID and directions for joining the class. Students join the activity on their devices. |
| 4 | Turn on the Immersive Reader After students join, they can tap the Immersive Reader When they tap it, Immersive Reader mode is turned on. Available text will be highlighted and students can tap it to open the Immersive Reader tool for that text.  |
Instructional ideas
Engage students in reading activities by enabling Immersive Reader for your lesson.
Encourage student self-efficacy by including written instructions on each page. Students can use Immersive Reader to listen to the directions as many times as needed.
Enhance your lesson by having students use the Immersive Reader to improve their reading proficiency.
Enable native language translations for English Language Learners to support deeper reading comprehension. Using Immersive Reader, the English words can be shown alongside other languages by selecting a language to translate into under Reading Preferences.
Introduce new vocabulary with related pictures for each word. When the Immersive Reader is on, students select one of the new words and have it read out to them. Create a Handout activity for the new vocabulary and ask students to search and add additional images to help reinforce the new vocabulary.
Extend learning to higher level concepts and vocabulary.
Insert text to explain a new concept. When students access the lesson independently, they can use Immersive Reader to understand your explanation.
Share a resource link to your lesson with teachers
Steps
| 1 | Open the lesson editing options in Lumio  On the lesson file you want to share, click the ellipses to reveal the Share link options. OR If Lumio is connected to G Suite, open Google Drive, right-click the lesson you want to open, choose Open with > Lumio, and then click |
| 2 | Choose Share link 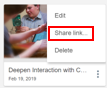 Choose Share link to open a menu with sharing options. This creates a resource link that teachers use to save a copy of your lesson to their Lumio lesson libraries. |
| 3 | Copy the link to share  Click Copy to add the link to your clipboard. You can now share the resource link with your colleagues. Tip If you’d prefer to provide a printable copy of the lesson, you can export it to a PDF. |

Instructional ideas
Engage your colleagues by sharing lessons with them using a teacher resource link.
Import a file and add a few activities, then share with your team.
Create a lesson aligned to your Scope and Sequence and share it with a teacher at another school in your district.
Enhance your teaching by organizing lessons by standards. You can refer to the collection and adapt lessons as needed.
Add lessons you’ve created or shared to Lumio to a shared lesson plan, spreadsheet, or folder that colleagues can access.
Extend learning beyond your classroom. Share a Lumio lesson on social media. Align it with high-impact teaching practices and relevant educational conversations.
Create a resource or lesson aligned to an educational topic you’re passionate about and share it on social media using #GoLumio.
Based on professional reading that you have done, build a tool or lesson in Lumio and share it on social media using #GoLumio.
Share a session link to your lesson with students
Steps
| 1 | Find the lesson in Lumio you want to share 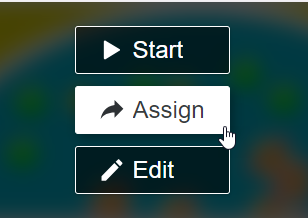 Hover over the lesson you want to share and click Assign new. A new session is created. OR If Lumio is connected to G Suite, open Google Drive, right-click the lesson you want to open, choose Open with |
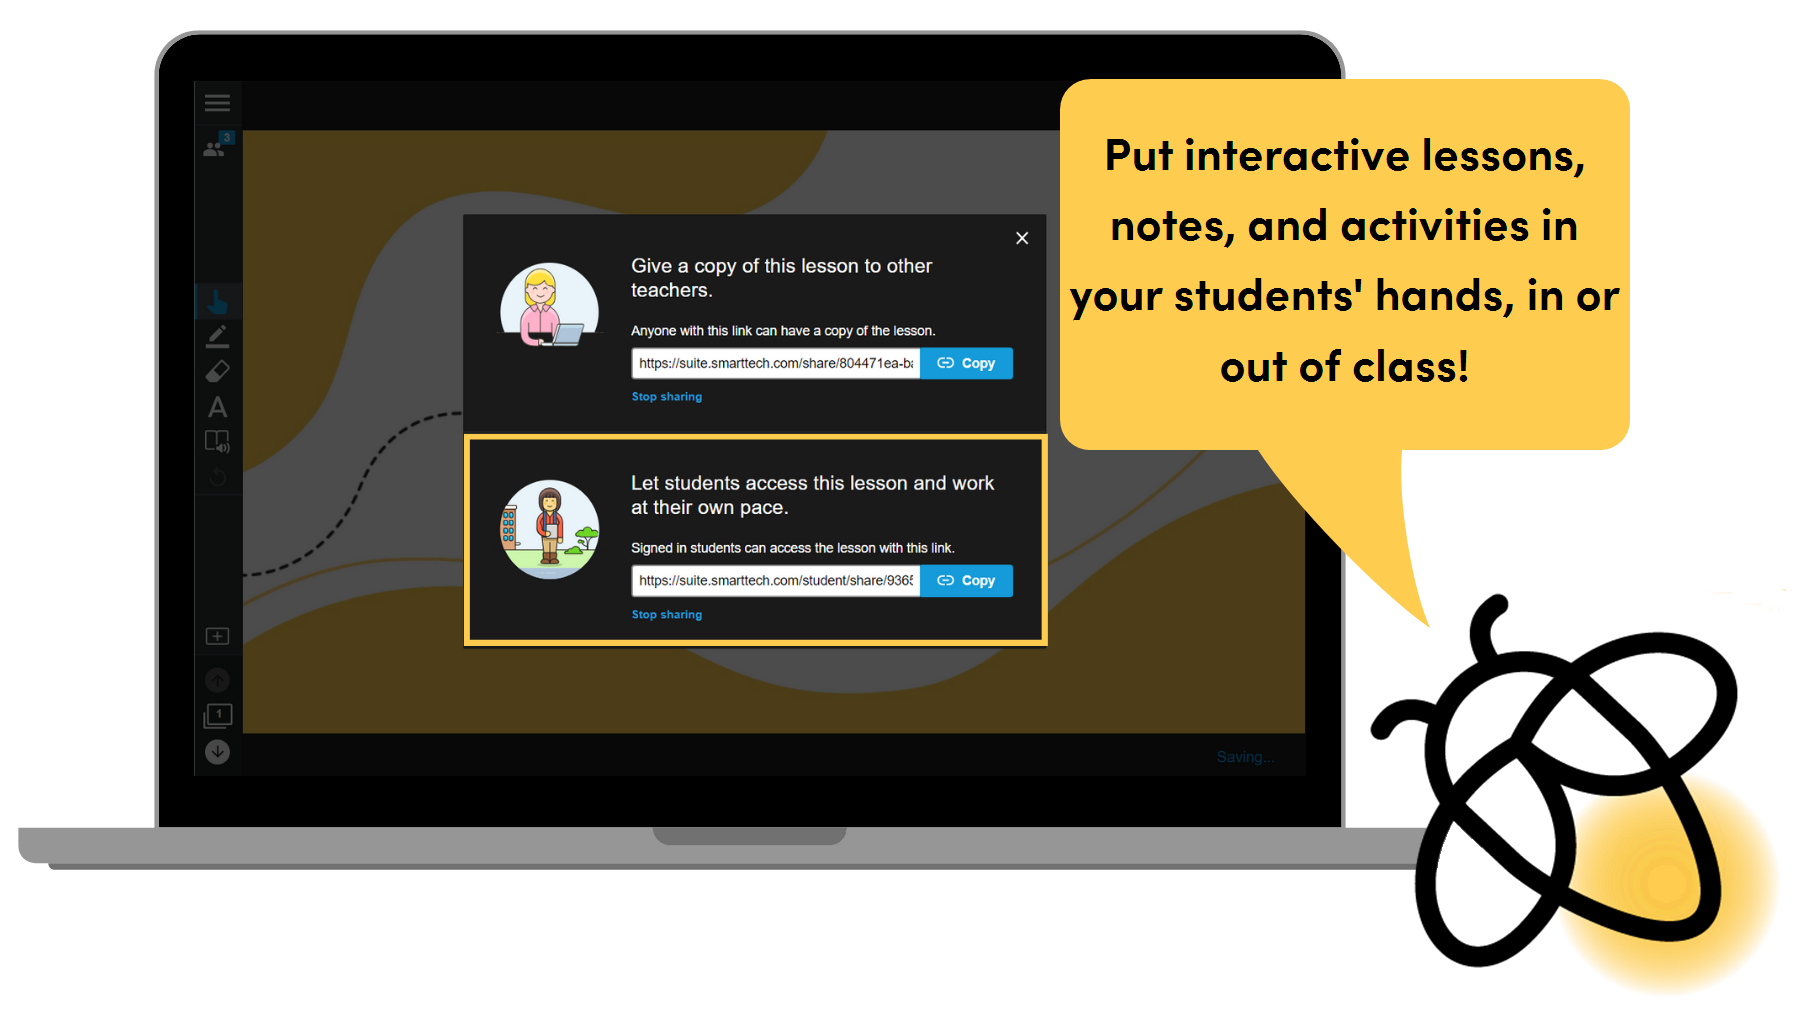
| 2 | Copy the link to share  Click Share assignment. A dialog opens. Then click Copy to add the link to your clipboard. Paste the link into an email or messaging app to share it with your students so they can access the lesson independently. Tip If you’d prefer to provide a printable copy of the lesson, you can export it to a PDF. |
Instructional ideas
Engage your students by sharing review material, notes, and activities for students to refer to at their own pace.
Create and share activities for students to use for practicing and reviewing after class.
Import a file that includes information students can refer to for homework or to review before a test.
Enhance your lesson and make it self-paced and differentiated by adding activities and Handouts for students to continue to reference and work through outside of class.
Add manipulatives (made with the infinite cloner option in the drop-down menu in Editing mode) to your lesson so students can practice skills at home (especially good for tactile students).
Add choice boards in Flip-Out and Label Reveal so students can respond to reading or reflect on what they’ve learned.
Extend learning by sharing student-centered projects with real-world applications in a flipped classroom setting so students can work independently and collaboratively.
Make digital notes available outside of class.
Use a blank Whole-Class Whiteboard activity as a homework help desk where students help each other with questions about assignments.
Collaborate with colleagues using shared libraries
Steps
| 1 | Create a shared library If you have a Lumio Spark subscription, you can create your own shared library. Click the Shared Libraries tab, then click New Library A Team Library is best for collaboration with colleagues in your organization, while a Shared Library is best for peer-to-peer collaboration outside of your organization. |
 .
.| 2 | Add resources  Open the shared library and click Import. Choose the location you want to import from and then select the resource you want to import. Follow the on-screen prompts to complete the import. Learn more about adding and managing resources in a shared library. |
| 3 | Invite others A Team Library can have unlimited members within your organization, while a Shared Library can have up to 20 members. If you are the admin for any shared library, you can invite new members and choose what type of access you want them to have (either an editor or a viewer). From the shared library, click Invite new member |
 and follow the onscreen prompts to add others.
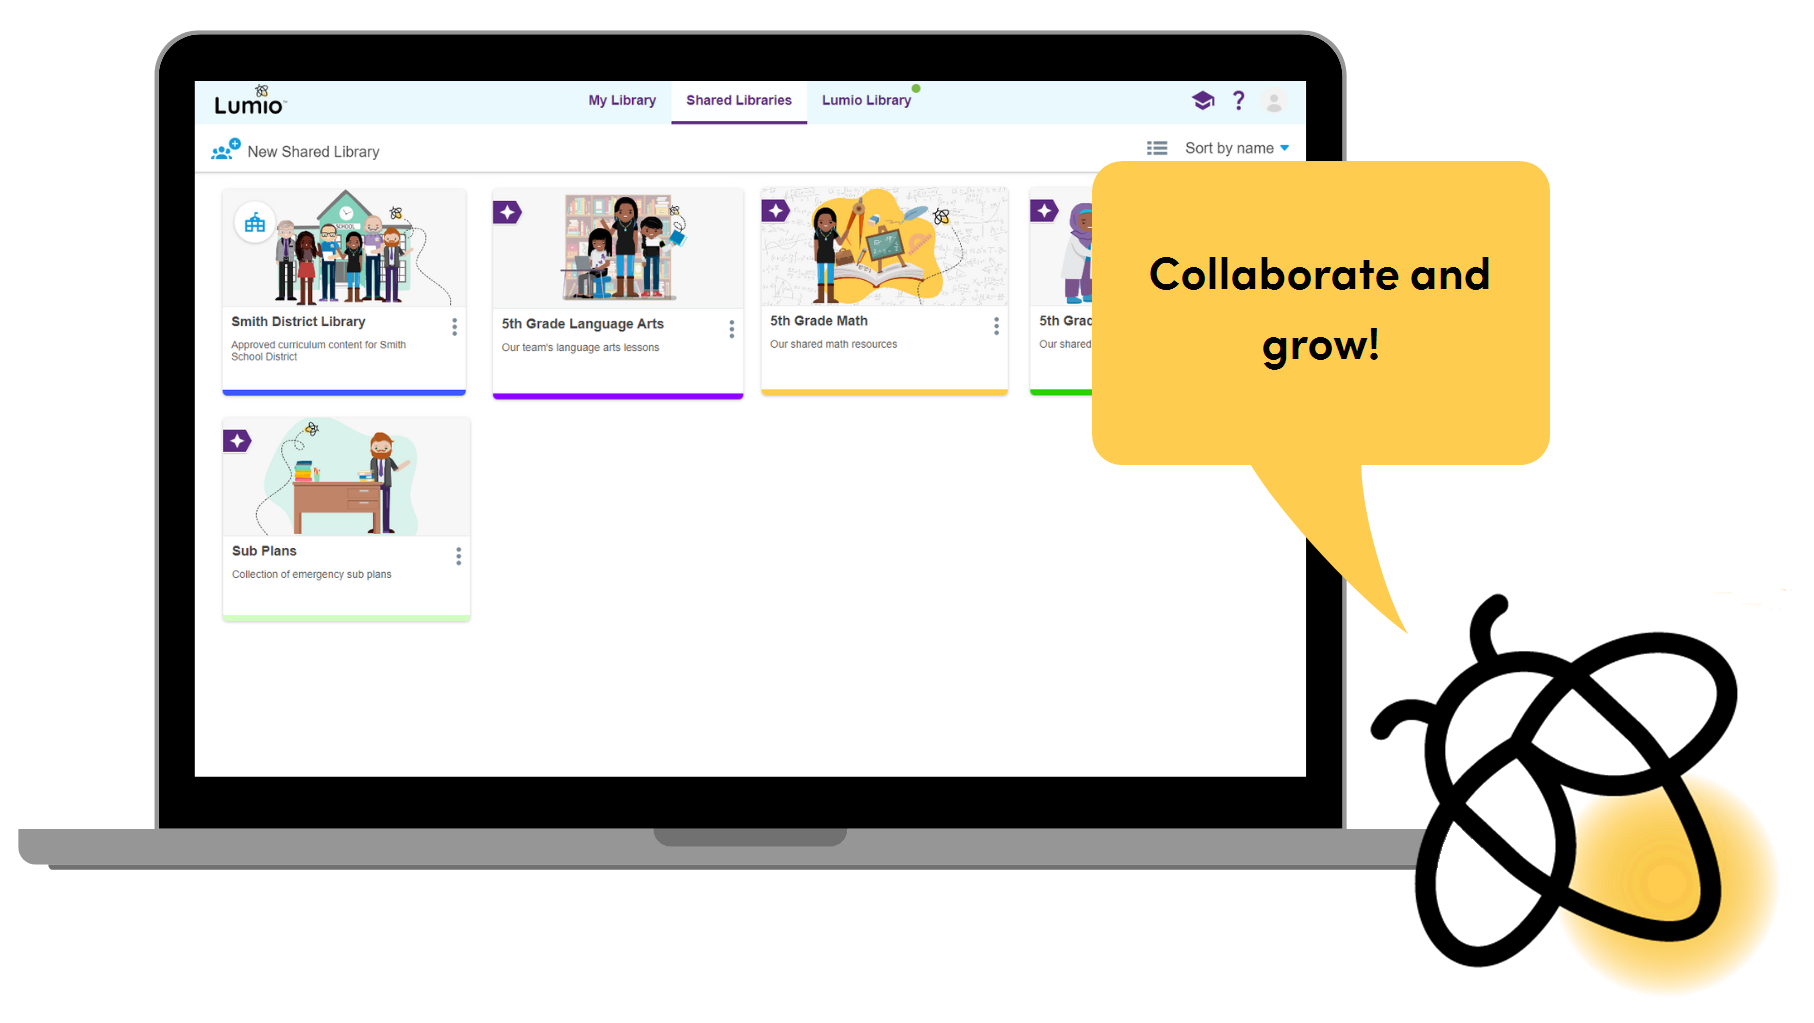
Instructional ideas
Engage the colleagues you work closely with by collaborating in a shared library.
Add members as editors or viewers.
Share common resources to save time and support instructional consistency.
Create folders for each standard or unit. Encourage shared library editors to add lessons or resources for each standard or unit to applicable folders.
Share instructional resources and lesson plans with colleagues to support student transfer of knowledge and skills from one setting to another.
Enhance your lesson resources by co-editing with colleagues your shared library by organizing lessons using folders.
Create folders for each standard or unit. Encourage shared library editors to add lessons or resources for each standard or unit to applicable folders.
Add folders for instructional strategies, Social Emotional Learning activities, substitute plans, and more.
Leverage one another’s expertise and experiences by co-editing lessons in your Shared Library.
Collaboratively create lesson resources to amplify best practices, creating consistency across classrooms and content areas/grade levels.
Enhance accessibility by co-editing lesson resources in your Shared Library to provide appropriate services to students with various needs.
Extend your learning by creating a shared library to collaborate with educators outside of your school or district.
Connect with like-minded educators through Lumio’s communities.
Create shared libraries to share resources around content areas, standards, instructional strategies, and more.