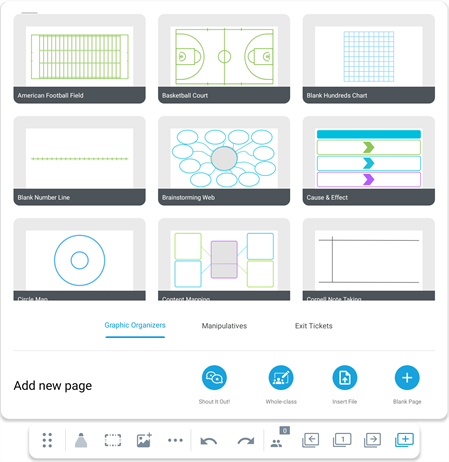
Add pages, ready-made resources, and activities
Tap Add page on the toolbar to view options for inserting a page. You can insert:
A Shout it Out! page
A Whiteboard
A ready-made resource such as a graphic organizer, manipulative, exit ticket, or external file
A blank whiteboard page
Use Shout It Out! as a brainstorming activity for generating ideas.
Note
This is a device-enabled activity. Make sure students are connected to the activity before starting.
To add a Shout It Out! activity
Tap Add page
 Shout It Out!.
Tap Start.
Once you start the activity, tell students to begin contributing using their devices, and then guide a discussion as their responses appear on the display.
When the activity is complete, tap End. Everyone’s contributions are saved in the whiteboard file unless you reset the activity.
To add text contributions
Students enter their contributions in the text window that appears on their devices when the teacher starts the activity.
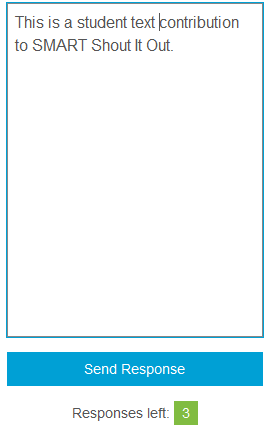
Contributions can include up to 150 characters including spaces. You can contribute the number of times specified by the teacher.
Note
If the teacher created categories for your contributions, the text window includes a category menu.
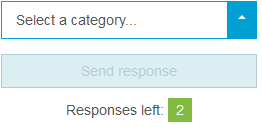
After composing a contribution, select the category to which you wish to contribute from the Select a category drop-down menu.
Tap Send response to send your contribution to the activity page.
Your contribution appears on the activity page.
To add image contributions
When the teacher starts the activity, the Activity response window opens on student devices.
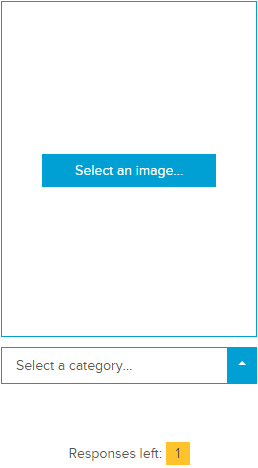
Tap Select an image.
Browse to and select an image, then tap Open.
Note
If the teacher created categories for student contributions, the text window includes a category menu.
After selecting an image, select the category to which you wish to contribute from the Select a category drop-down menu.
Tap Send to send your contribution to the activity page.
The image contribution appears on the display at the front of the class.
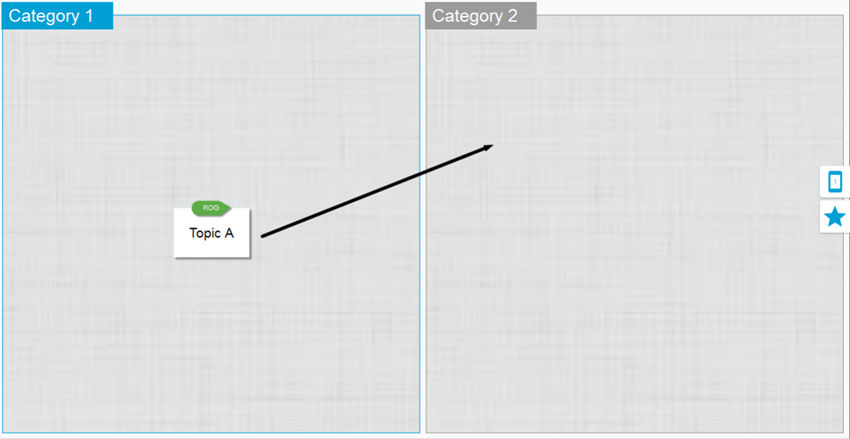
- At the classroom display, select and drag student contributions to move them around on the page.
For example, if you set up the activity with two categories for students to contribute to, you may want to move a student contribution from one category to another.
If you want to focus on individual contributions, enlarge an image or text contribution by tapping it.

When the item is enlarged, you can use
 to cycle through all student contributions in this expanded view.
To return an item to its contribution size and leave the expanded view, tap outside the item, or tap
 in the top right corner of the item.
You can delete a contribution by dragging it to the Recycle bin
 at the top left corner of the activity page.
 After a contribution is deleted, it cannot be retrieved.
In Whole-class Whiteboard activities, all students collaborate from their own devices. Once they have connected their devices to the activity, students work together on the shared whiteboard page by contributing and editing content, such as images and digital ink.
Create Whole-class Whiteboard activities by converting an existing page, or add a new activity page instantly.
To add a Whole-class Whiteboard activity
Tap Add page
Whole-class Whiteboard.A blank whiteboard page opens with a blue bar at the top.
Tap Class panel
 to view any students currently connected and display the information students need for connecting to the activity from their device.
Once connected, all connected students can add and edit content on the page.
Tip
To pause student contributions and focus the class' attention, tap the Everyone can edit
 option in the blue bar to turn it off.
Use graphic organizers and manipulatives to help students activate prior knowledge or question and reflect on what they've learned. You can also add an exit ticket activity to prompt students to share and reflect on what they've learned.
Tap Add page
.Select Graphic Organizers or Manipulatives. A list of available graphic organizers or manipulatives are shown for you to choose from.
Tap the ready-made activity you want to add.
Exit tickets are ready-made activities that prompt students to share what they've learned and respond to questions about the lesson. Use exit tickets during or at the conclusion of a lesson to deliver instant polls and assessments of students.
Note
This is a device-enabled activity. Make sure students are connected to the activity before starting.
To add and use an exit ticket
Tap Add page
Exit Tickets.Choose one of the following ready-made exit tickets:
Agree/Disagree
Ask students to assess the validity of the statement.
Facts/Questions
Prompt students to record their comprehension by giving three facts, two questions, and one opinion about the subject.
How do you feel?
Assess how students feel about the subject and how confident they are in their understanding.
KWLQ
Asks students what they know, what they want to know, what they learned, and what they have questions about.
Plus/Minus
Have students offer pluses, minuses, and interesting takeaways from the subject.
True/False
Ask students if they think the statement is true or false.
What did you learn?
Prompt students to explain what they learned about the subject.
What do you know?
Ask students what they already know about the subject.
What do you want to know?
Ask students what they want to know about the subject.
Tap Start for Class when you're ready to start the assessment or survey.
Students with connected devices can now add their responses.
To insert a file to your whiteboard
Tap Add page
Insert File.The Files Library opens, showing files that have been downloaded or shared on the display.
You can search the library to quickly find the file you want to open or connect a USB drive to open a saved file. Selecting a PDF or SMART Notebook file imports each page in the PDF or SMART Notebook file onto the whiteboard as a new page. PDF pages are imported as images.