Creating a Shout It Out! activity
Create a class-wide brainstorming session with Shout It Out! This is a mobile device enabled activity where students can use their own device or school supplied devices to contribute to peer or teacher-curated discussion. The teacher can select between categorized arrangements, where students contribute to teacher created categories, or random arrangements, where student contributions are placed randomly. The contributions can then be moved freely on the activity page and arranged in groups if desired.
Important
If you are using a trial version of SMART Notebook software, you might receive a reCaptcha notification. Validate the trial version to use Shout It Out!. For more information, see Shout It Out! user validation.
To create a Shout It Out! activity
Tap Activities
 in the SMART Notebook toolbar.
The Select an Activity dialog box opens.
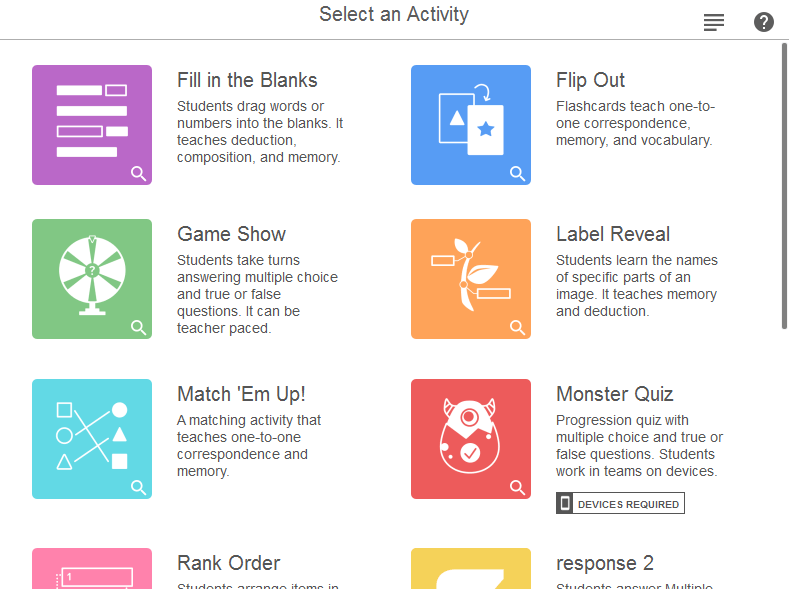
Select Shout It Out!.
The activity’s Add Content dialog box opens.
Select a contribution format. You can choose Randomized or Categories, based on the type of dialog you want to encourage with your students.
If you selected Categories placements, you’ll need to give names to the categories that will contain student contributions.
In the Contributions section, select either Text or Images as the type of contribution students will make.
Enter the maximum number of contributions allowed per device. This feature ensures everyone has an equal opportunity to contribute and prevent more talkative students from dominating the discussion.
In the Student Names section, select whether to Show or Hide student names. Keeping contributor names private can encourage greater participation.
Click Finish.
Tip
If you’re delivering the activity at the classroom display, you can add a buzzer, timer, or randomizer game element to facilitate group play. Tap
 to open the game element selector, and select the game element you want to add.
Navigate to the page with the Shout it Out! activity and have students connect to the activity using their devices. See Connecting student devices.
Once all students are connected, tap Start.
The activity icon turns blue
 to indicate that an activity is in progress. Student contributions appear on the activity’s page in SMART Notebook.
Tell students to begin contributing, and then guide a discussion as their responses appear on the display.
Depending on how you have set up the activity, students will contribute either text or images.
You can interact with student contributions in a variety of ways as you guide discussion.
Tip
To pause the activity for additional discussion or classroom management, tap Pause. An Activity Pause notification appears on each student’s device. To continue, tap Resume and students can make contributions again.
When the activity is complete, tap End. Student contributions are saved in the lesson file. If you don’t reset the activity, you can close the lesson and return to it later to review your students’ contributions.
Tip
The activity controls appear in the top right corner of the page:
Use
 to turn activity sound on or off.
Use
 to restart the activity.
 Use
 to modify the activity.
Students enter their contributions in the text window that appears on their devices when the teacher starts the activity.
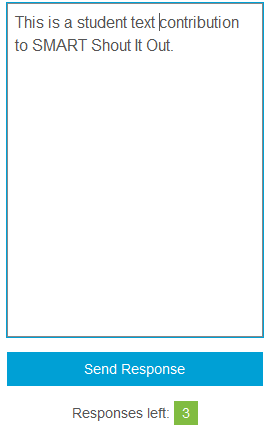
Contributions can include up to 150 characters including spaces. You can contribute the number of times specified by the teacher.
Note
If the teacher created categories for your contributions, the text window includes a category menu.
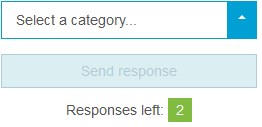
After composing a contribution, select the category to which you wish to contribute from the Select a category drop-down menu.
Tap Send response to send your contribution to the activity page.
Your contribution appears on the activity page.
When the teacher starts the activity, the Activity response window opens on student devices.
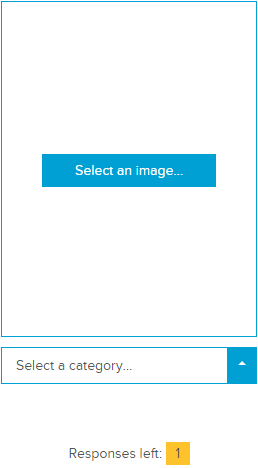
Tap Select an image.
Browse to and select an image, then tap Open.
Note
If the teacher created categories for student contributions, the text window includes a category menu.

After selecting an image, select the category to which you wish to contribute from the Select a category drop-down menu.
Tap Send to send your contribution to the activity page.
The image contribution appears on the display at the front of the class.
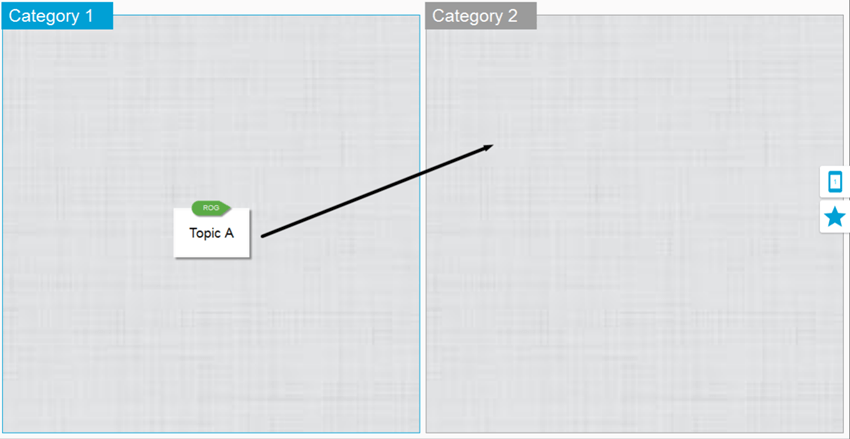
- At the classroom display, select and drag student contributions to move them around on the page.
For example, if you set up the activity with two categories for students to contribute to, you may want to move a student contribution from one category to another.
If you want to focus on individual contributions, enlarge an image or text contribution by tapping it.
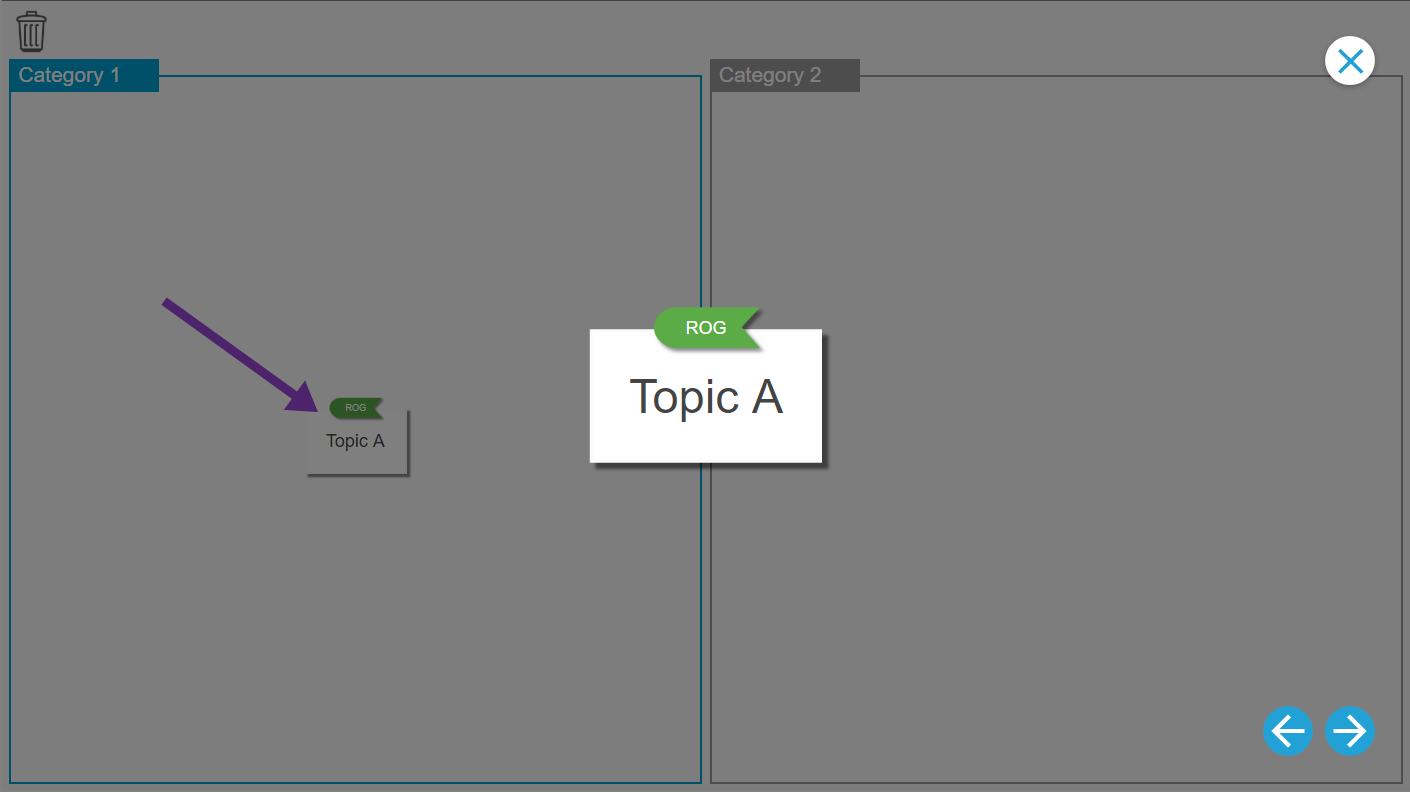
When the item is enlarged, you can use
 to cycle through all student contributions in this expanded view.
To return an item to its contribution size and leave the expanded view, tap outside the item, or tap
 in the top right corner of the item.
You can delete a contribution by dragging it to the Recycle bin
 at the top left corner of the activity page.
 After a contribution is deleted, it cannot be retrieved.
If you are using a trial version of SMART Notebook collaborative learning software, you might receive a reCaptcha notification when you open Shout It Out! for the first time.
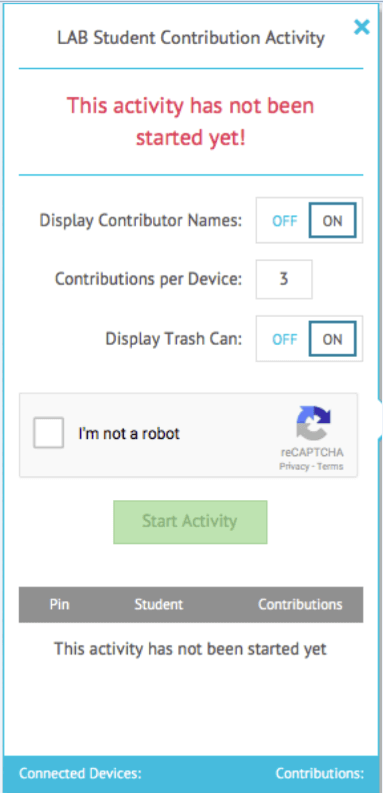
If you receive this notification, you must first validate the trial version before Shout It Out! features will work. After you have registered as a trial user, you will no longer receive reCaptcha notifications.
To validate as a trial user
If you receive a reCaptcha notification In the Student Contribution Activity dialog box, select the I’m not a robot check box.
An image questionnaire appears.
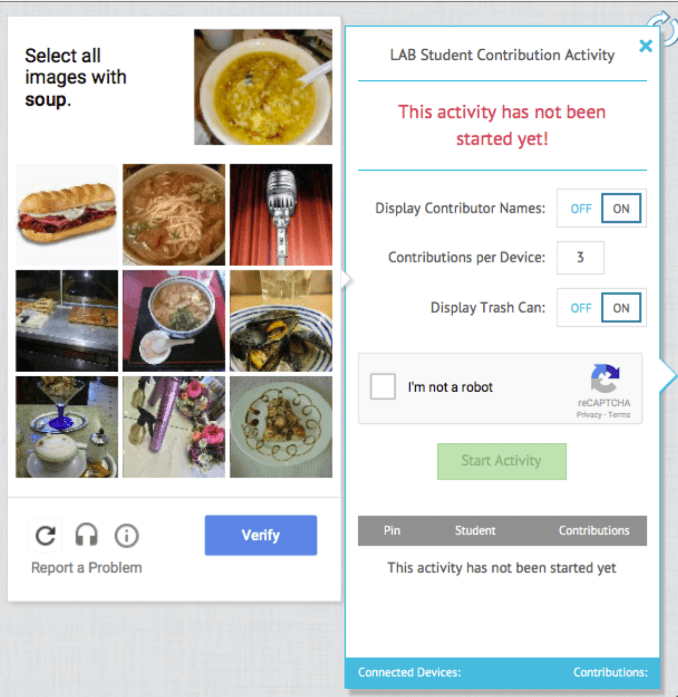
Complete the questionnaire and press Verify.
If you answer the questionnaire correctly, a green check mark will appear in the I’m not a robot check box.
Tap Start Activity to begin adding the Shout It Out! activity.
Keywords |
|
Related documents |