Creating a Game Show activity
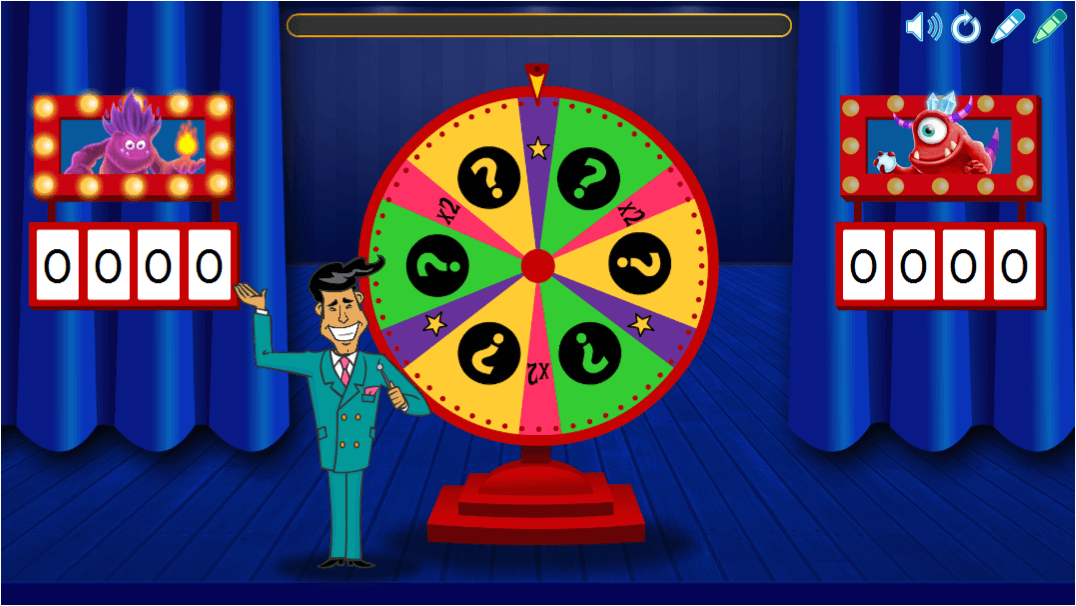
With Game Show, students take turns spinning a game show wheel and answer multiple choice or true and false questions to gain points and bonuses for their teams. The team with the most points earned after all questions have been answered wins the game show!
To create a Game Show activity
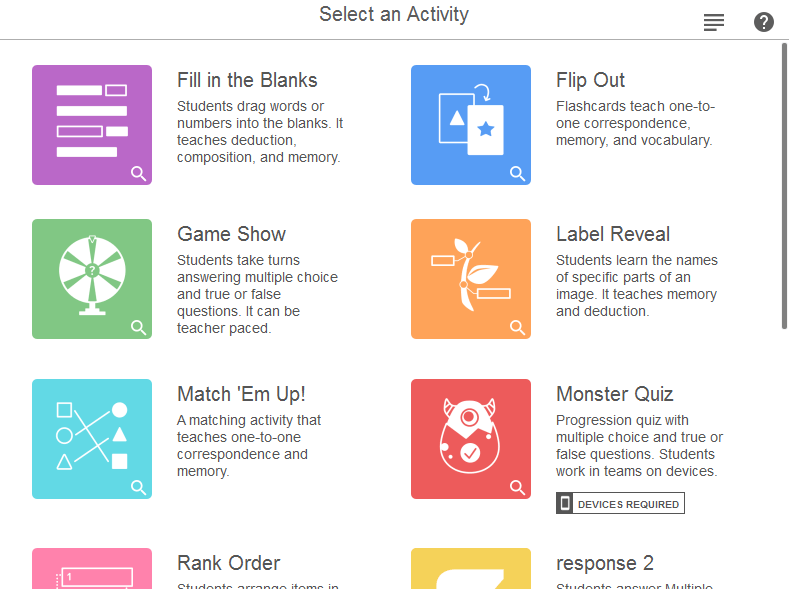
Tap Activities
 in the SMART Notebook toolbar.
The Select an Activity dialog box opens.

Select Game Show.
The activity’s Add Content dialog box opens.
Select a question type: Multiple Choice or True or False.
The Game Show Add Content question and answer dialog box opens.
Type a question and set it’s answers.
Questions can contain up to 150 characters, including spaces.
Use the Add question button on the right to add another question.
When you’re done adding questions, tap Next.
Tip
Before finalizing the activity, you can review the questions you’ve added by selecting them from the list below the Add question button.
Tap Finish.
The activity loads and appears on a new lesson page.
To play a Game Show activity
Navigate to the lesson page that contains the activity.
Tap the spinning wheel to begin the game.

The wheel spins, and the pointer will land on:
a Power Up star that lets the current player remove an incorrect choice
x2 (times 2) which allows the current player to spin again for more points
a question mark, which opens a question window
Students answer the questions. When the questions are all answered correctly, the Results screen displays each team’s point total.
Tip
The activity controls appear in the top right corner of the page:
Use
 to turn activity sound on or off.
Use
 to restart the activity.
 Use
 to modify the activity.
To review a Game Show activity
When the game ends, the results screen appears displaying each team’s point total. Tap the Review button to display the answers alongside the points for each question.
Keywords |
|
Related documents |