Calibrating and orienting your interactive whiteboard
Perform the brief calibration and user orientation procedures to ensure the interactive whiteboard interprets the location of your touch accurately.
Digital cameras in the corners of the interactive whiteboard track the position of the pens, eraser and your finger on the interactive surface, and then send the information to the SMART software. SMART software interprets this information as mouse clicks, digital ink or ink removal in the appropriate location.
The first time you connect the interactive whiteboard, you should see a pop-up bubble telling you to calibrate the interactive whiteboard. If you don’t, press the Help button on the pen tray to start the calibration process as described below. This process ensures that the cameras accurately track your finger and the pens on the interactive surface.
Important
If you have not used the interactive whiteboard before, you must perform a calibration. If the system detects incorrect calibration parameters, a warning bubble may also appear recommending that you perform a calibration.
Make sure the projected image fully spans the interactive surface.
To calibrate the interactive whiteboard
Click the SMART Board icon in the Windows notification area or Mac Dock, and then click SMART Settings.
Select SMART Hardware Settings.
If you have more than one SMART product connected, select the appropriate interactive whiteboard.
Click Advanced Settings, and then click Calibrate.
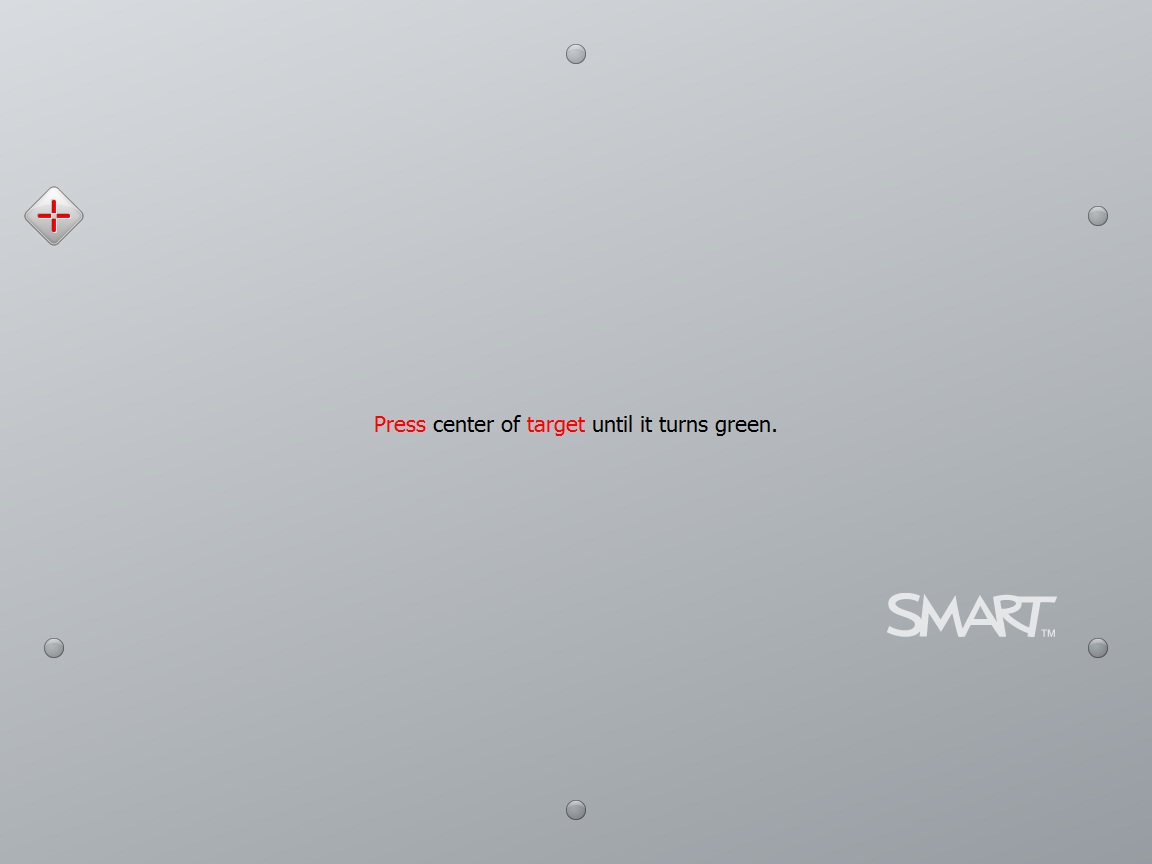
The Calibration window opens. This can take a few moments while the system sets up.

Use the tip of a pen tray pen to press the red targets as they appear. Move the tip to the center of each target until the target turns green, and then lift the pen. When you remove the pen, the target moves to the next calibration point.
Note
You can re-calibrate a target by pressing the left arrow key on the keyboard, or the Keyboard or Right-click buttons on the pen tray.
Continue until you have pressed all the targets.
When you’ve pressed all the targets, a message appears saying that the calibration was successful, and then the orientation screen appears.
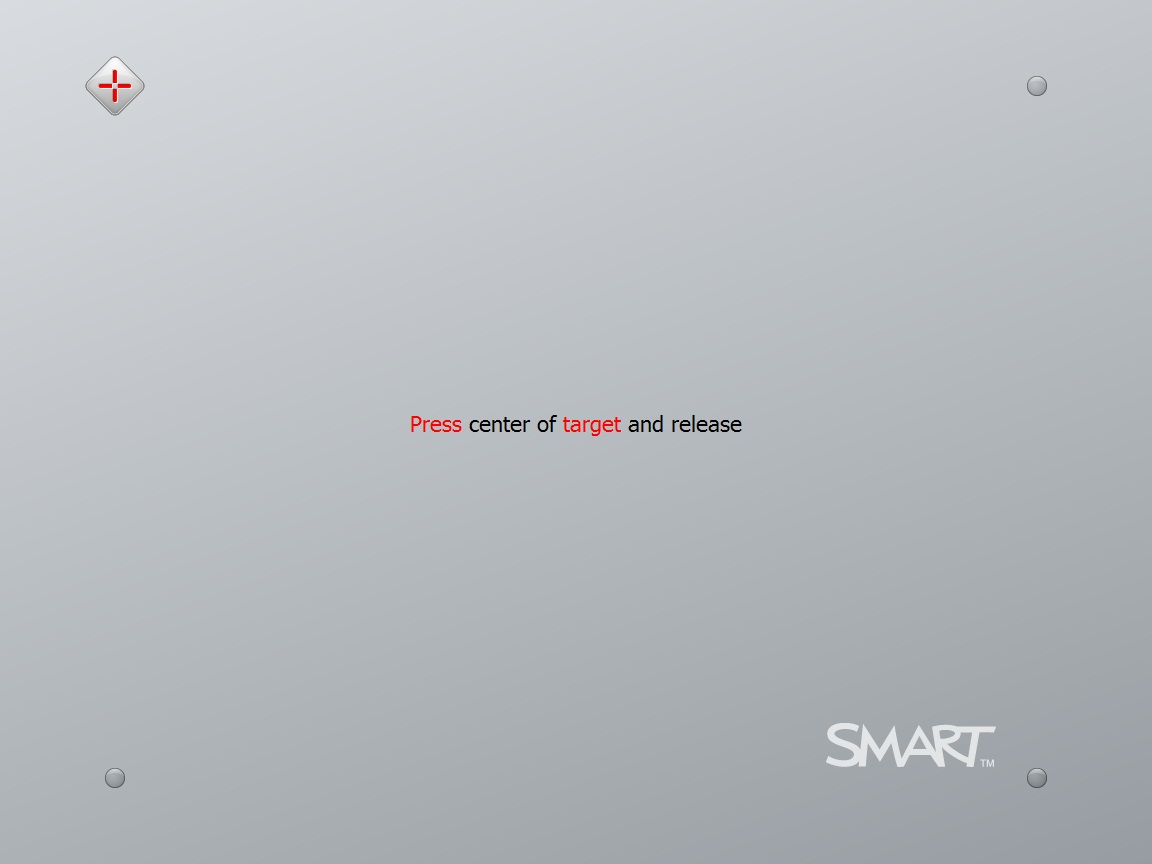
After you install SMART Product Drivers on the computer and calibrate the interactive whiteboard, an orientation screen appears. The 4-point orientation process ensures that the calibration coordinates are accurately associated with the relative location of the projected image on the interactive surface.
Orient the interactive whiteboard if the projector or interactive whiteboard has moved since you last used it, or whenever the mouse pointer isn’t properly aligned with your finger or a pen tray pen when you touch the interactive whiteboard’s surface.
To orient the interactive whiteboard
Press the Orientation button on the pen tray (see Power buttons and indicators).
The orientation screen appears.
Pick up a pen from the pen tray.
Beginning at the upper-left corner of the screen, touch the center of the target firmly with the tip of the pen. When you remove the pen, the target moves to the next orientation point. Try not to flick the pen when you lift it from the interactive surface, and make sure that you lift it from the screen at a 90° angle.

Note
Although you can use your finger to orient your interactive whiteboard, a fine-point tool such as a pen tray pen provides greater precision when touching the targets. The more precisely you touch the targets, the more accurately your finger or pen tray pen appears on the interactive screen.
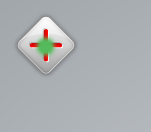
Good orientation point

(The pen touches the center of the target.)
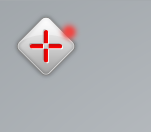
Poor orientation point

Repeat step 3 until you complete the orientation process.
The orientation screen closes.
Note
You can re-orient a target by pressing the left arrow key on your keyboard, or the Keyboard or Right-click buttons on the pen tray.