Writing and drawing in the whiteboard
Use the SMART Board interactive displays to add digital ink to the whiteboard page. Depending on how drawing mode was configured for the whiteboard, you may need to tap  on the whiteboard toolbar to enter draw mode. Once in draw mode, you can use the SMART Board interactive display’s pens, your finger, or other interactive touch tool to draw in the whiteboard.
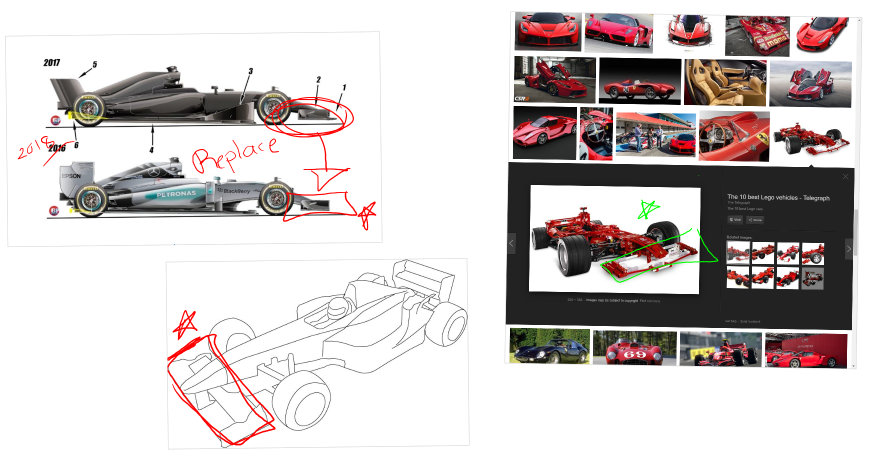
In SMART TeamWorks, digital ink is added as a vector. This means you can add ink directly in a file and it stays with that file, scaling to adjust if the object is resized or moved.
When you write on the whiteboard or draw shapes in digital ink, you can use the lasso tool to select the ink then convert it to either text or a shape. You can also draw more complex shapes and use the auto-draw feature to select a graphic to convert the ink to.
To convert ink to text
Write your text in digital ink.
Tap
 and draw a circle around the ink you want to convert to text.
From the object toolbar that appears, tap To Text.
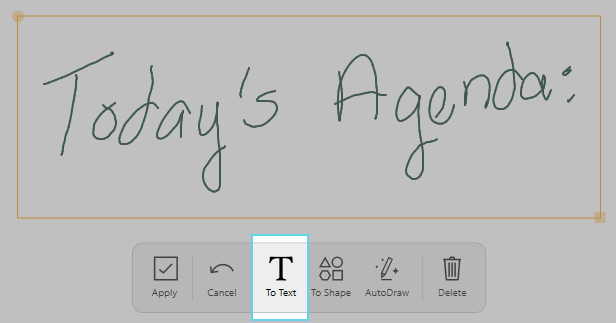
The ink is converted to text.
Tip
Tap Edit to make changes to the text after it’s been converted.

Draw a shape in digital ink.
Tap
 and draw a circle around the ink you want to convert to a shape.

From the object toolbar that appears, tap To Text.
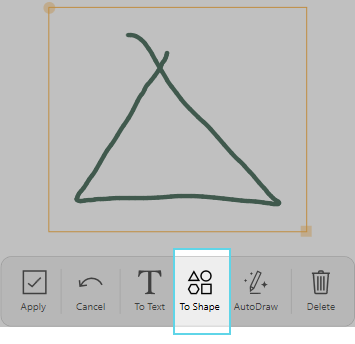
The ink is converted to a shape.
Tap Apply to accept the conversion.
OR
Tap Cancel to revert the shape back to the original ink drawing.
To convert ink to an auto-drawn graphic
Draw and object in digital ink.
Tap
 and draw a circle around the ink you want to convert.

From the object toolbar that appears, tap AutoDraw.
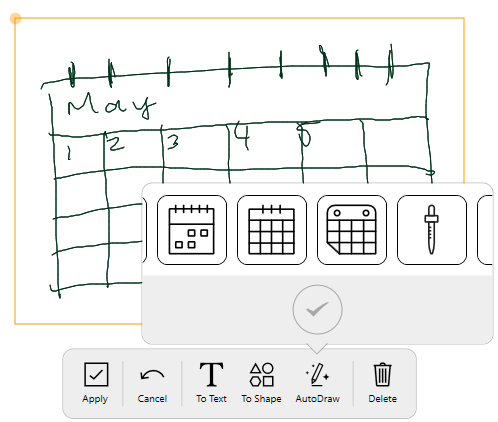
Swipe left to view options, select the one you want and tap
 to apply.
Keywords |
|