Changing SMART Board interactive display pen default setting
The SMART Board interactive display’s pens come with default settings for ink color, thickness, and style. Use the SMART Settings dialog box to change the default pen settings for all applications.
Note
On a SMART Board 6000 or 7000 series interactive display, returning a pen to the tray resets the pen's properties to match the pen's physical color. To change these original settings, use the SMART Settings dialog box.
To change pen defaults for all applications (Windows)
In Windows operating systems, tap
 in the Windows notification area on the right side of the Taskbar, and then select SMART Settings.
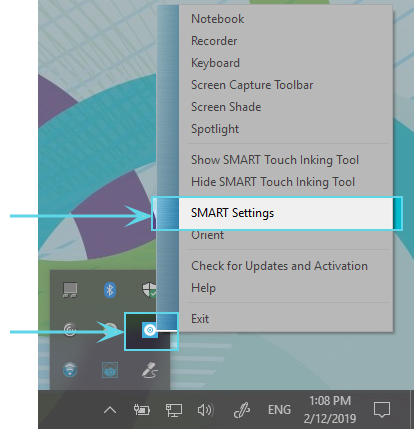
OR
In macOS software, tap
in the Mac menu bar, and then select SMART Settings.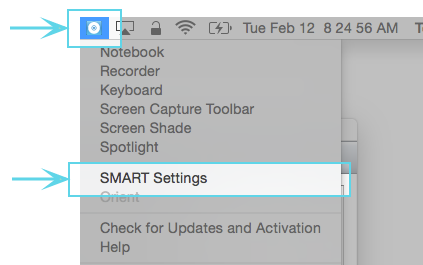
Note
If your computer isn’t currently connected to a SMART interactive product, the SMART Board icon includes an X in its lower-right corner
 .
.Select SMART Hardware Settings. If more than one SMART hardware product is connected to the computer, select SMART Board.
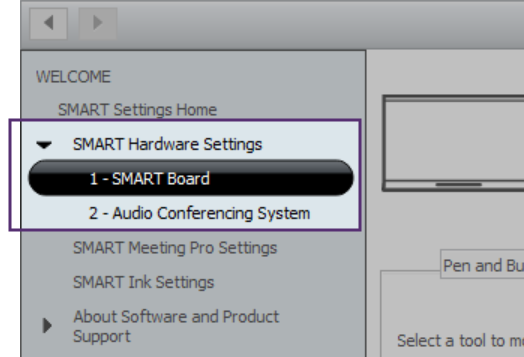
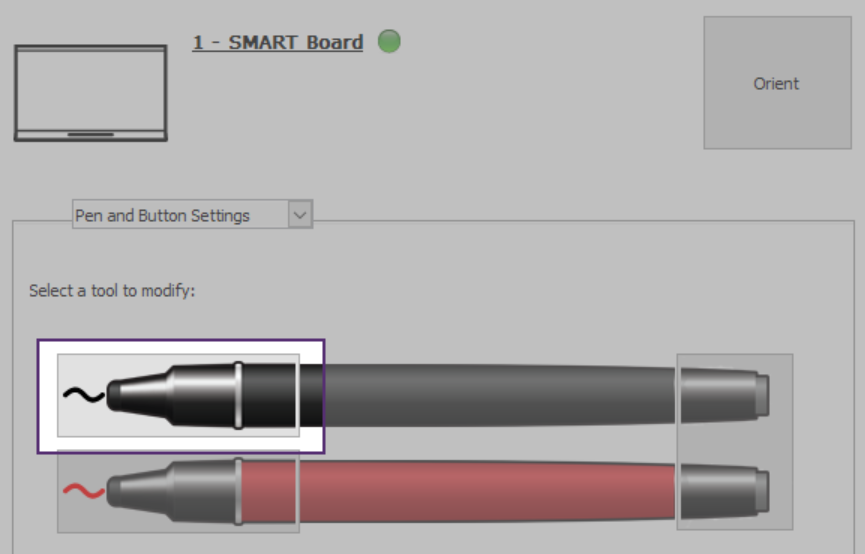
The settings for the SMART Board are displayed.
Select Pen and Button Settings from the drop-down menu to show the available pens for your SMART Board.
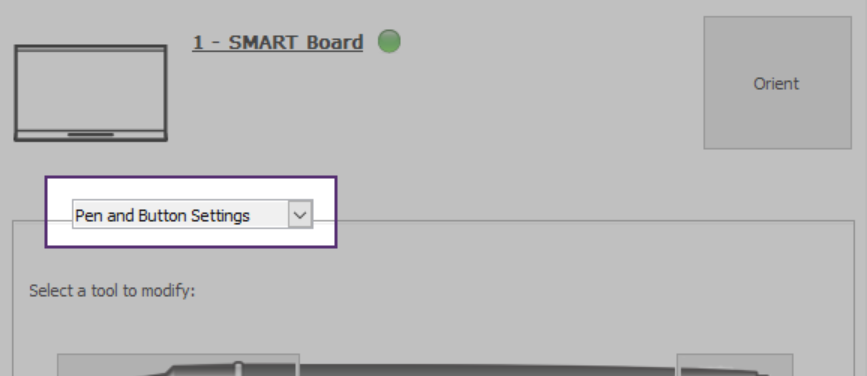
Select the pen whose defaults you want to change by tapping the pen's writing end. The pen colors shown in this window match the physical pens’ color to help you easily identify which pen you’re modifying.
In the Properties window that opens, tap Line Style and then select the new default properties you want to use.
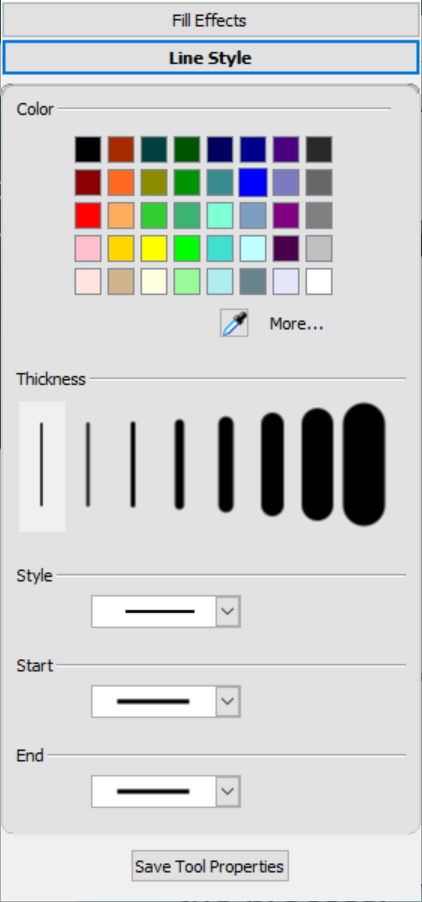
Tap Save Tool Properties. The new default settings are applied to the pen.
Tip
To return the pen to its factory default settings, tap Defaults in the bottom-right corner of the window, then tap Apply.
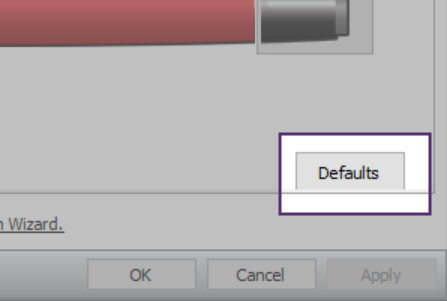
Tap OK to close the SMART Settings window.
Keywords |
|
Related documents |