Organizing, searching, copying, and managing lessons
In the My Library tab, you can search for and delete files, make copies, and choose how files are displayed and sorted. This page displays recently opened, modified, or created files at the top of the page, followed by folders and individual files.
Folders appear after the Recents row and are organized alphabetically or by date (depending on how you’ve chosen to sort lessons). You can also create subfolders to help organize your lessons for different classes or units within a topic. Watch the video below to learn about using folders to organize your lessons.
Note
If you’ve enabled Google integration with Lumio, you can use folders in Google Drive to organize your lessons alongside other teacher materials already in your drive. Also, although Lumio files appear in Google Drive after integration, folders created in Lumio will not appear and are separate from folders and the organizational structure established in Google Drive.
To create a new folder
Click New folder
 .
.The New folder window opens.
Type a name for the new folder and click Create.
To create a subfolder
Open the folder you want to create a subfolder in.
Click New folder
.The New folder window opens.
Type a name for the subfolder and click Create.
To move lessons into a folder
To move a single lesson, click More
 to open the lesson’s More menu and select Move to.
OR
To move multiple lessons, select the check boxes for the lessons you want to move. Click Move to
 OR More and select Move selected to.
The Move to folder window opens.
Navigate to the folder you want to move the lesson file(s) into.
Tip
Click New folder to create a new folder to move the file(s) into.
Click Move here.
A message appears confirming your files have been moved.
Click Search
 .
.The search text box appears.
Type the name of the lesson you’re searching for.
A list of results appears.
Lumio automatically saves contributions to your lesson as they're made, enabling you to capture formative, teachable moments. When students complete activities, all of their work is available for review as soon as you end the activity. Student contributions are still there whenever you return to the lesson, and they remain available until you reset the activity and deliver it again.
If you want to deliver a lesson to a new set of students but you’d like to keep the completed activity data from the previous class, make a copy of the lesson and rename the copied file. The data for the two classes is saved in separate files.
Note
A copy of a lesson does not include student data from the original.
To make a copy of a lesson
Click More
to open the lesson’s More menu.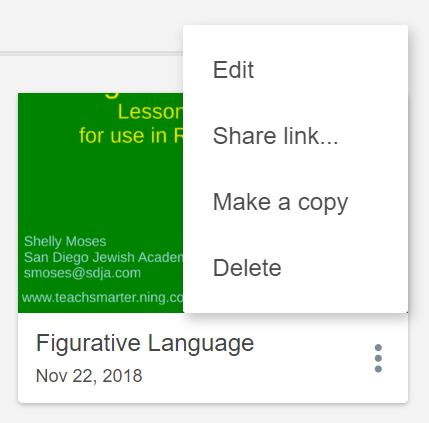
Select Make a copy.
Tip
To help keep track of which lessons belong to which class, rename the original and copied lessons by adding the class name to the lesson titles.
To delete a single lesson
Click More
to open the lesson’s More menu.Click Delete.
To delete multiple lessons
Select the check boxes for the lessons you want to delete.
The number of lessons selected appears in a message in the top bar.
Click Delete
 .
.OR
Click More
on any of the selected lessons and click Delete all selected from the menu.
You can display your lessons either as a list or as tiles.
Note
The View button changes appearance to show the view that’s not currently selected. You can switch to the other view by clicking the button.
To display lessons as tiles
Click
 .
.Your lessons appear in tile view.
To display lessons as a list items
Click
 .
.Your lessons appear in list view.
You can sort your lessons either by the date they were added to Lumio or by name.
To sort lesson files by date
Select Sort by name.
A drop-down menu appears.
Select Sort by date.
Your lessons are sorted by the date they were last modified.
To sort lessons by name
Click Sort by date.
A drop-down menu appears.
Select Sort by name.
Your lessons are sorted by their file name.