Setting up and playing a Super Sort activity
Create an activity where students sort items into two categories.
This activity teaches classification and grouping.
Here is an example of a Super Sort activity where students sort examples like “car” and “run” into the categories “Nouns” and “Verbs.”
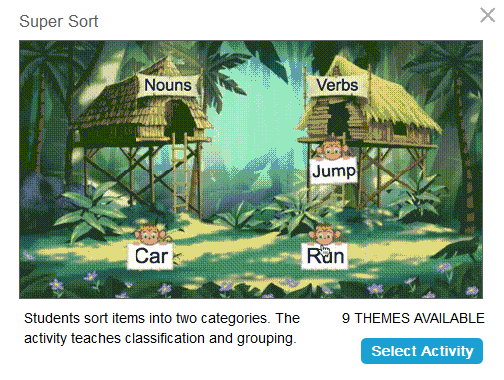
This example was created by naming the categories, listing the items to be sorted, and then choosing the Jungle theme for the background.
Follow these instructions to create your own version of this activity. When you’re done, tap Preview to see how the activity will appear to students.
Click
 New to start creating a new lesson file.
OR
Add the activity to an existing lesson by opening the lesson in Editing mode. Browse to the page that you want the activity to follow and click Add
 . Select Game Based Activities.
The Game Based Activity Templates window opens.
Select Super Sort.
The activity’s editor opens.
Type names for two sorting categories in the Required Category Name fields.
Enter text or add images
 to each category. You can enter up to 10 pairs of items for students to sort.
Note
When you start the activity, the items are randomized and students sort them into the correct categories.
When you’re satisfied with the activity's setup, clickNext.
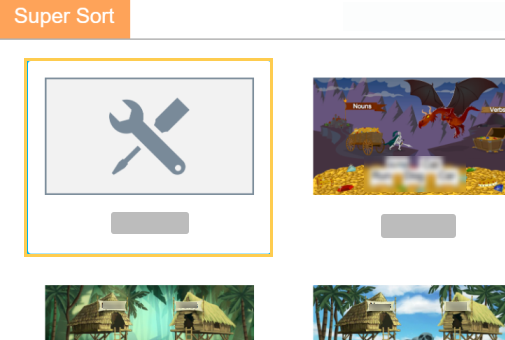
Select a theme for your activity and click Finish.
Tip
You can create a custom theme by uploading your own images for the background, categories, and items to be sorted.
The activity loads and then appears on a new lesson page.
After you’ve defined the activity’s sorting categories and the items that belong in each category, the Select a Theme screen appears. Choose the Custom template type and click Next.
The Edit Theme screen appears.
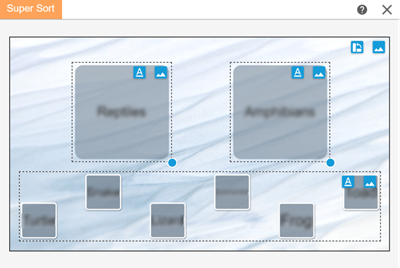
Customize the theme:
Use
 to upload a custom image for the background, categories, and the sorting items.
 Use
 to switch between black or white text (to keep text visible against a custom image).
Use
 in the top right corner to rotate the activity, changing the orientation of the category and items.
After you’re satisfied with the template you’ve created, click Finish.
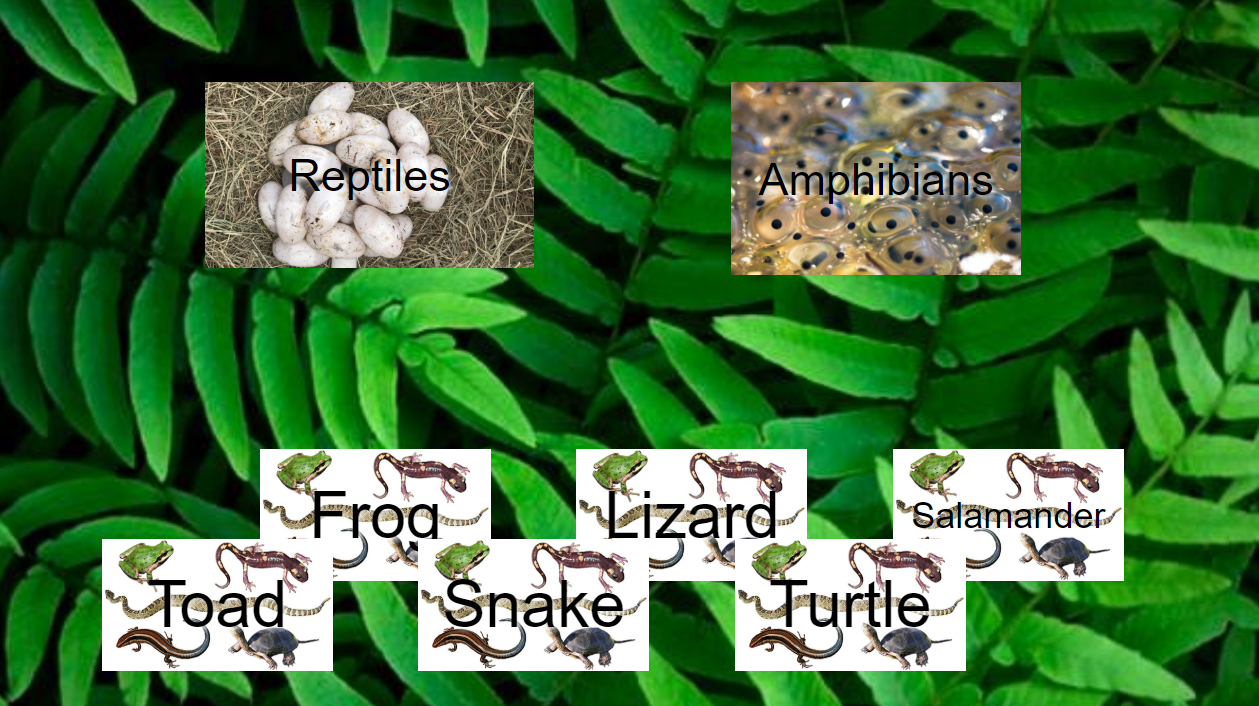
The wizard closes and the finished activity appears.
Click Preview.
The customized activity appears.
Open the lesson inDelivery mode, and then browse to the page that contains the activity.
Tap Model Activity to demonstrate the activity to students.
Have students drag items into the two categories to sort them. Students can work independently on their own devices, or divide the class into teams and have students take turns at the classroom display.
After all items are correctly sorted, the activity is over.
Tip
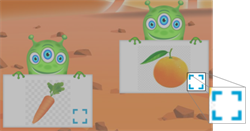
If the activity contains an image, you can magnify it to view it full screen. Tap anywhere to exit full-screen mode.
Use the activity dashboard to track student progress.
Ending the activity stops it for students and they can no longer interact with it. Student data is saved in the activity dashboard unless you reset the activity.
To end the activity
From the activity dashboard, tap Activity settings
 on the Delivery mode toolbar to open the activity status dialog.
Tap End.
To reset the activity
From the activity dashboard, tap Activity settings
on the Delivery mode toolbar to open the activity status dialog.Tap End.
Tap Start.
A confirmation message appears.
Tap Start new activity to confirm your choice.
The activity resets.