Setting up and playing a Rank Order activity
Create an activity where students rank items in a list according to the criteria you set. This activity teaches comparison, deduction, sequencing, and arrangement.
Here is an example of a Rank Order activity where students arrange a list of chemical elements according to their atomic weight.
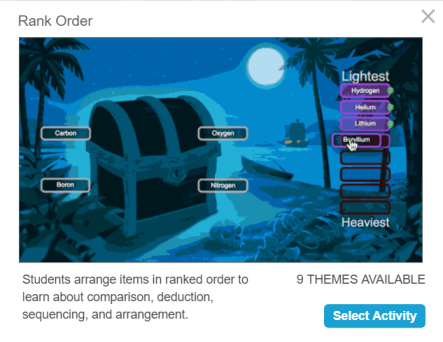
This activity was created by entering a list of chemical elements for students to rank and then defining the list's order as “lightest” to “heaviest.”
Follow these instructions to create your own version of this activity. When you’re done, tap Preview to see how the activity will appear to students.
Note
After an activity is completed, you can export student results as a CSV file.
Click
 New to start creating a new lesson file.
OR
Add the activity to an existing lesson by opening the lesson in Editing mode. Browse to the page that you want the activity to follow and click Add
 .
.Select Game Based Activities.
The Game Based Activity Templates window opens.
Select Rank Order.
The activity’s editor opens.
List up to ten items for students to rank. You can enter text or click Image
 to add images.
In the Check Answerssection to the right of the text box, select one of these options:
Instantly: See immediately whether the answers are correct.
When Prompted: Include aCheck Matchesbutton in the activity so players can decide when to check their work.
Don’t check: Answers will not be checked.
In the Ranking Labels section, enter the terms you would like to use to indicate the order, such as First and Last, Small and Big, Old and New, and so on.
Tip
Click Reverse
 above the list of items to reverse the order of the items.
Click Next.
Select a theme for your activity and click Finish.
The activity loads and then appears on a new lesson page.
Open the lesson in Delivery mode, and then browse to the page that contains the activity.
Click Model Activity to demonstrate the activity to students.
Have students drag and drop the items in the correct order from top to bottom. When the items are sorted correctly, all the answers jump up and then come back to rest in their places to indicate completion.
Use the teacher dashboard to track student progress.
Depending on the Check Answers option you selected when you created the activity, answers may appear immediately or after students have answered all the questions. If you selected:
Check answers right away: Answers are checked as they are given. Correct answers are accepted, and incorrect answers are rejected.
Check answers after students have finished: A Check Ranking button appears after students answer all the questions, giving you the option to discuss the answers students have chosen before pressing the button.
Either
 or
or appears beside each ordering answer to indicate correct or incorrect. The order may be changed until all answers are correct.
Ending the activity stops it for students and they can no longer interact with it. Student data is saved in the activity dashboard unless you reset the activity.
To end the activity
From the activity dashboard, tap Activity settings
 on the Delivery mode toolbar to open the activity status dialog.
Tap End.
To reset the activity
From the activity dashboard, tap Activity settings
on the Delivery mode toolbar to open the activity status dialog.Tap End.
Tap Start.
A confirmation message appears.
Tap Start new activity to confirm your choice.
The activity resets.