Using Editing mode
Use Editing mode to make changes to an existing lesson, such as renaming the lesson, adding and deleting pages or activities, editing existing pages, and so on.
Editing mode opens when you add a lesson file, which you can do by importing an existing lesson, selecting a ready-made activity, or by building your own activity or assessment. You can also open saved lessons in Editing mode by either hovering over the lesson thumbnail and selecting Edit (if you’re using a computer) or by selecting Edit from the More![]() menu (if you’re using a touch device or display).
menu (if you’re using a touch device or display).
Click each label to learn about Editing mode features:

Editing mode includes the following controls:
Feature | Description | ||||||||||||||
|---|---|---|---|---|---|---|---|---|---|---|---|---|---|---|---|
Leave Editing mode | Click Finished Editing to leave Editing mode and return to your My Library tab. 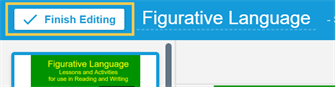 Note If you’ve connected Lumio to G Suite, selecting Finished Editing takes you to Delivery mode. | ||||||||||||||
Lesson title | To rename the lesson, select the lesson title that appears in the top-left corner of the Editing mode. 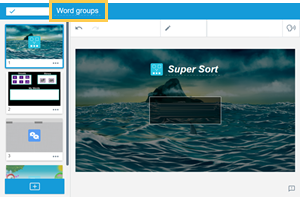 You can also change the title of individual pages by selecting the page’s title in the page view and typing a new name.  Tip To undo or redo your changes, click Changes are saved automatically. | ||||||||||||||
Save status | 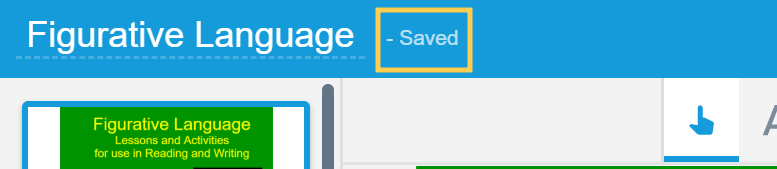 Changes to the lesson are saved automatically. The save status that appears in the blue panel at the top of the lesson indicates whether changes are saving or have been saved. | ||||||||||||||
Undo / redo | Use | ||||||||||||||
Editing tools | Use the tools in the presentation page toolbar to add text, images, shapes, lines, and links to the page.  After you add something to the page using the text tool or media panel, it becomes a page object that you can select and manipulate using the selection tool. 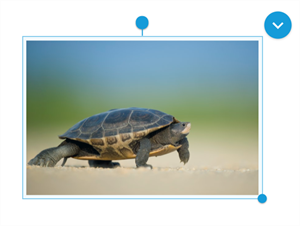 See Editing presentation pages for more about adding and manipulating page objects. | ||||||||||||||
Page area | This area shows a preview of the page selected in the page sorter. 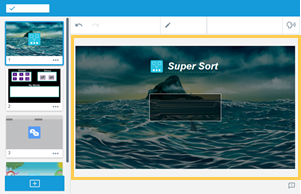 When you select an activity page, Edit and Preview buttons are available for the activity. See Editing and previewing activities and assessments. | ||||||||||||||
Page Sorter and more menu | The page sorter shows you all the pages in your lesson. 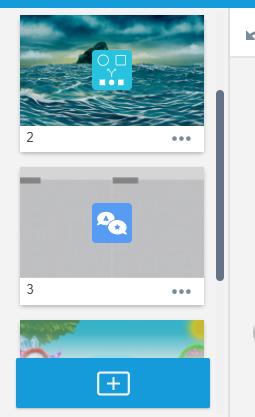 The page sorter also provides a variety of other options:
Changes are saved automatically. Tip Each page has an icon that indicates the page type. For example, a Shout it Out! activity page is overlaid with the Shout it Out! icon, and YouTube pages have a YouTube play button icon. Presentation pages have no icon. | ||||||||||||||
Add Page | Select See Adding lessons and resources to learn more about your options, which include a YouTube video page, a new presentation page, an activity that you build by filling in a template, and more. After you select a page type, the new page appears in the Page Sorter just below the page that was selected when you clicked 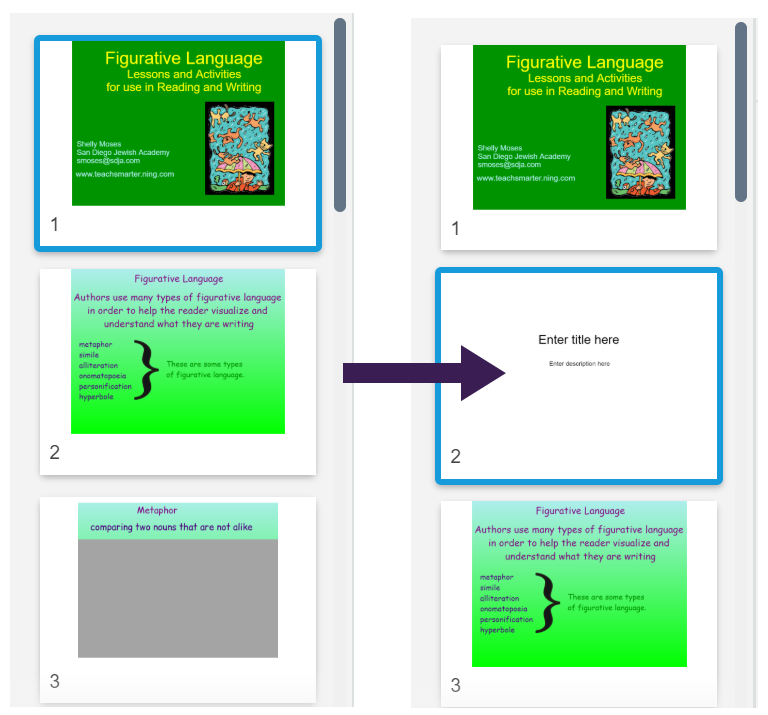 | ||||||||||||||
Selected page object | When you add text, an image, or a link to a presentation page, it becomes a page object you can manipulate. Use the selection tool  Click | ||||||||||||||
Add instructional audio | Add audio to a lesson page to provide instructions to students about completing the activity. You can use the page narration feature to record your own voice and add the recording to the page. 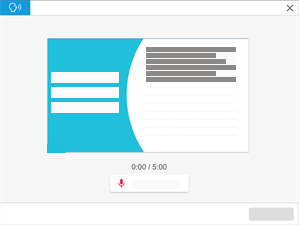 When viewing the lesson, students can play the audio instructions at their own pace. | ||||||||||||||
Convert to Activity page | You can convert presentation pages to activity pages so that students can interact with them. There are three types of activity pages to choose from:
Learn how to convert presentation pages to activity pages. Not sure what a presentation page is or what these activities are? See Understanding lesson page types. |
 to add a new page, YouTube video, game-based activity, ready-made resources, and more.
 to select the object you’ve added. You can rotate and resize the object using the circular handles.
To open a lesson in Editing mode on a computer
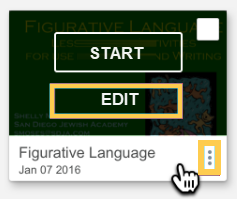
From the My Library tab, scroll to the lesson you want to edit.
Hover over the lesson thumbnail and click EDIT.
To open a lesson to edit from a touch display or device
From the My Library tab, scroll to the lesson you want to edit.
On the bottom right corner of the lesson thumbnail, tap More
 and select Edit from the menu.
To close a lesson
Select Finish Editing in the top-left corner of the lesson to return to the My Library tab.
Changes you make while editing the lesson are saved automatically.