Creating a SMART Account as a student
Create a student SMART Account so that next time you join your teacher’s class, it’s easier and quicker to do! When you create an account and sign in, hellosmart.com saves your screen name and a list of the classes you sign in to.
Having a SMART Account also lets you access lessons your teacher shares with you outside of class time.
To set up a SMART Account as a student
In a web browser, go to hellosmart.com.
Tap SIGN IN.

The welcome screen appears.
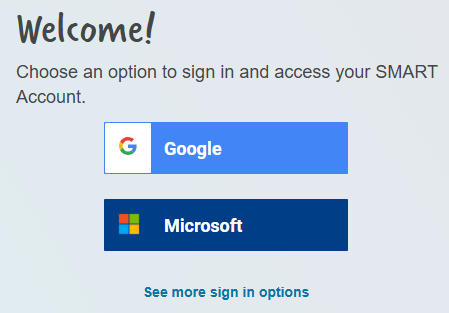
You will be asked to sign in with an existing school account. Select the option that applies to you and follow the on-screen instructions to finish signing in.
Note
If you're in the European Service Region, you can select See more sign in options.
Account type
Steps
Google
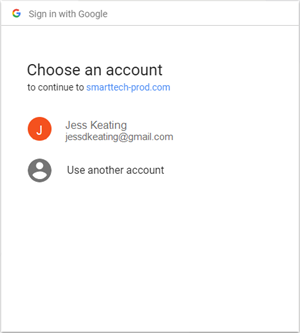
Select Google.
Select your school email address from the list of accounts or tap Use another account and enter your school email and password.
Microsoft
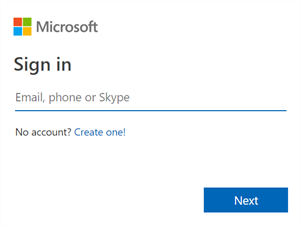
Select Microsoft.
Enter your school email and password and tap Sign In.
Feide
Select Feidi.
Search or choose from the list to find your school and tap Continue.
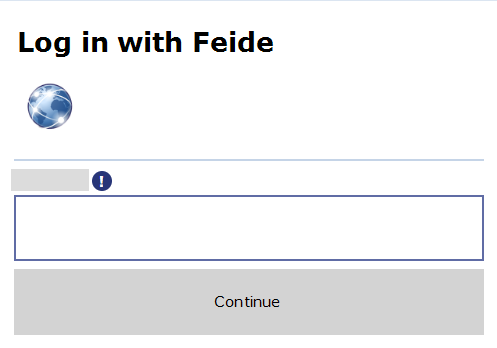
Enter your school email and password and tap Log in.
VIDIS
Select VIDIS.
Search or choose from the list to find your school and tap Sichere Anmeldung über....
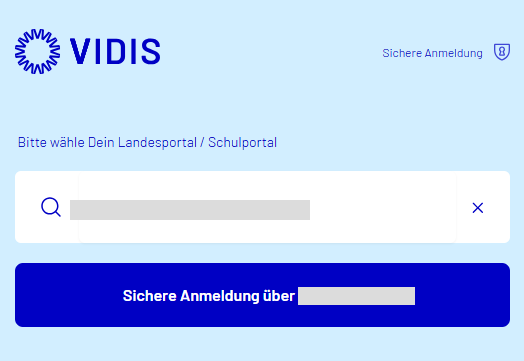
Enter your school email and password and tap Sign In.
After you sign in to your account, the next screen asks you to provide some basic information for setting up your SMART Account.
Fill out the required information, agree to the terms of use, and then tap Finish.
Type the class ID into the text box and tap Join.
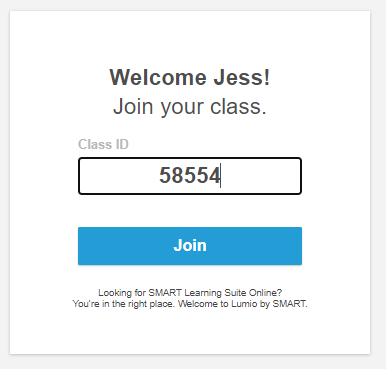
If your teacher has started a lesson, it appears on your device.
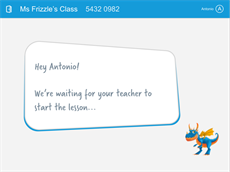
OR
If your teacher hasn’t started a lesson yet, the student lobby appears.
Keywords |
|