Use tags
Tags are a way of classifying devices enrolled in SMART Remote Management. For example, you could use tags to identify:
Which devices are SMART Board interactive displays, which are computers, and which are mobile devices
Where devices are located
The intended purposes of the devices
The department, team, or group that uses the devices
Assigning tags to devices is a prerequisite for creating groups. You can use tags, along with groups, to filter devices in the Devices view.
Typically, you assign tags to devices when you first enroll those devices in SMART Remote Management. After enrolling devices, you can also assign tags to them in the Devices view.
Notes
By default, tags are not synchronized automatically when you enroll a device. The tags that appear in SMART Remote Management do not reflect changes you make directly to the device.
The enrollment wizard includes an option to make sure the tags displayed in SMART Remote Management for a device match those defined on the device during daily synchronization. For example:
Time
Tags (as displayed in SMART Remote Management)
Tags (as defined on the device)
Before daily synchronization
Classroom – Math – Grade 5
Classroom – Math – Grade 5 – Interactive – Tablet
After daily synchronization
Classroom – Math – Grade 5 – Interactive – Tablet
Classroom – Math – Grade 5 – Interactive – Tablet
To add tags to a single device
Click Devices
 to open the Devices view.
Click the row of the device to which you want to add a tag.
The device’s dashboard window appears.
Click Manage, and then click Tags.
The Tags window appears.
For each tag you want to add to the device, type a name for the tag in the Add tag, then press enter box and press ENTER.
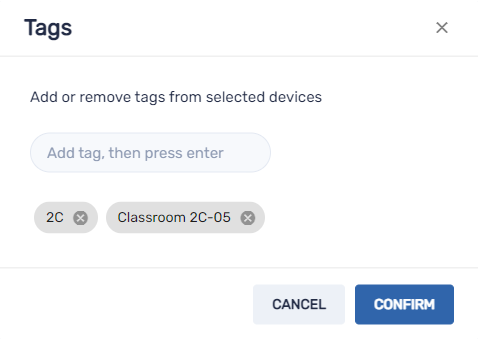
Click Confirm.
You’ll see the tags added for the device in the Tags column.

To assign tags to multiple devices
Click Devices
to open the Devices view.Select the devices’ check boxes.
Click More actions
 and select Tags.
The Tags window appears.
For each tag you want to add to the devices, type the name for the tag in the Add tag, then press enter box and press ENTER.
Click Confirm.