Share this guide
#WeareSMART
Tips for using this guide

Use this guide anytime, anywhere, on any device.
Try one page at a time with your class. Learn, try, and reflect!
Make existing content more interactive.
Share and reflect! Review a page a week with your teaching team.
Are you campus leadership? Email a page a week as a challenge. Prizes help!
Collaborate with other teachers online @SMARTpln
Connect and share on social media #SMARTchampion
Display posters
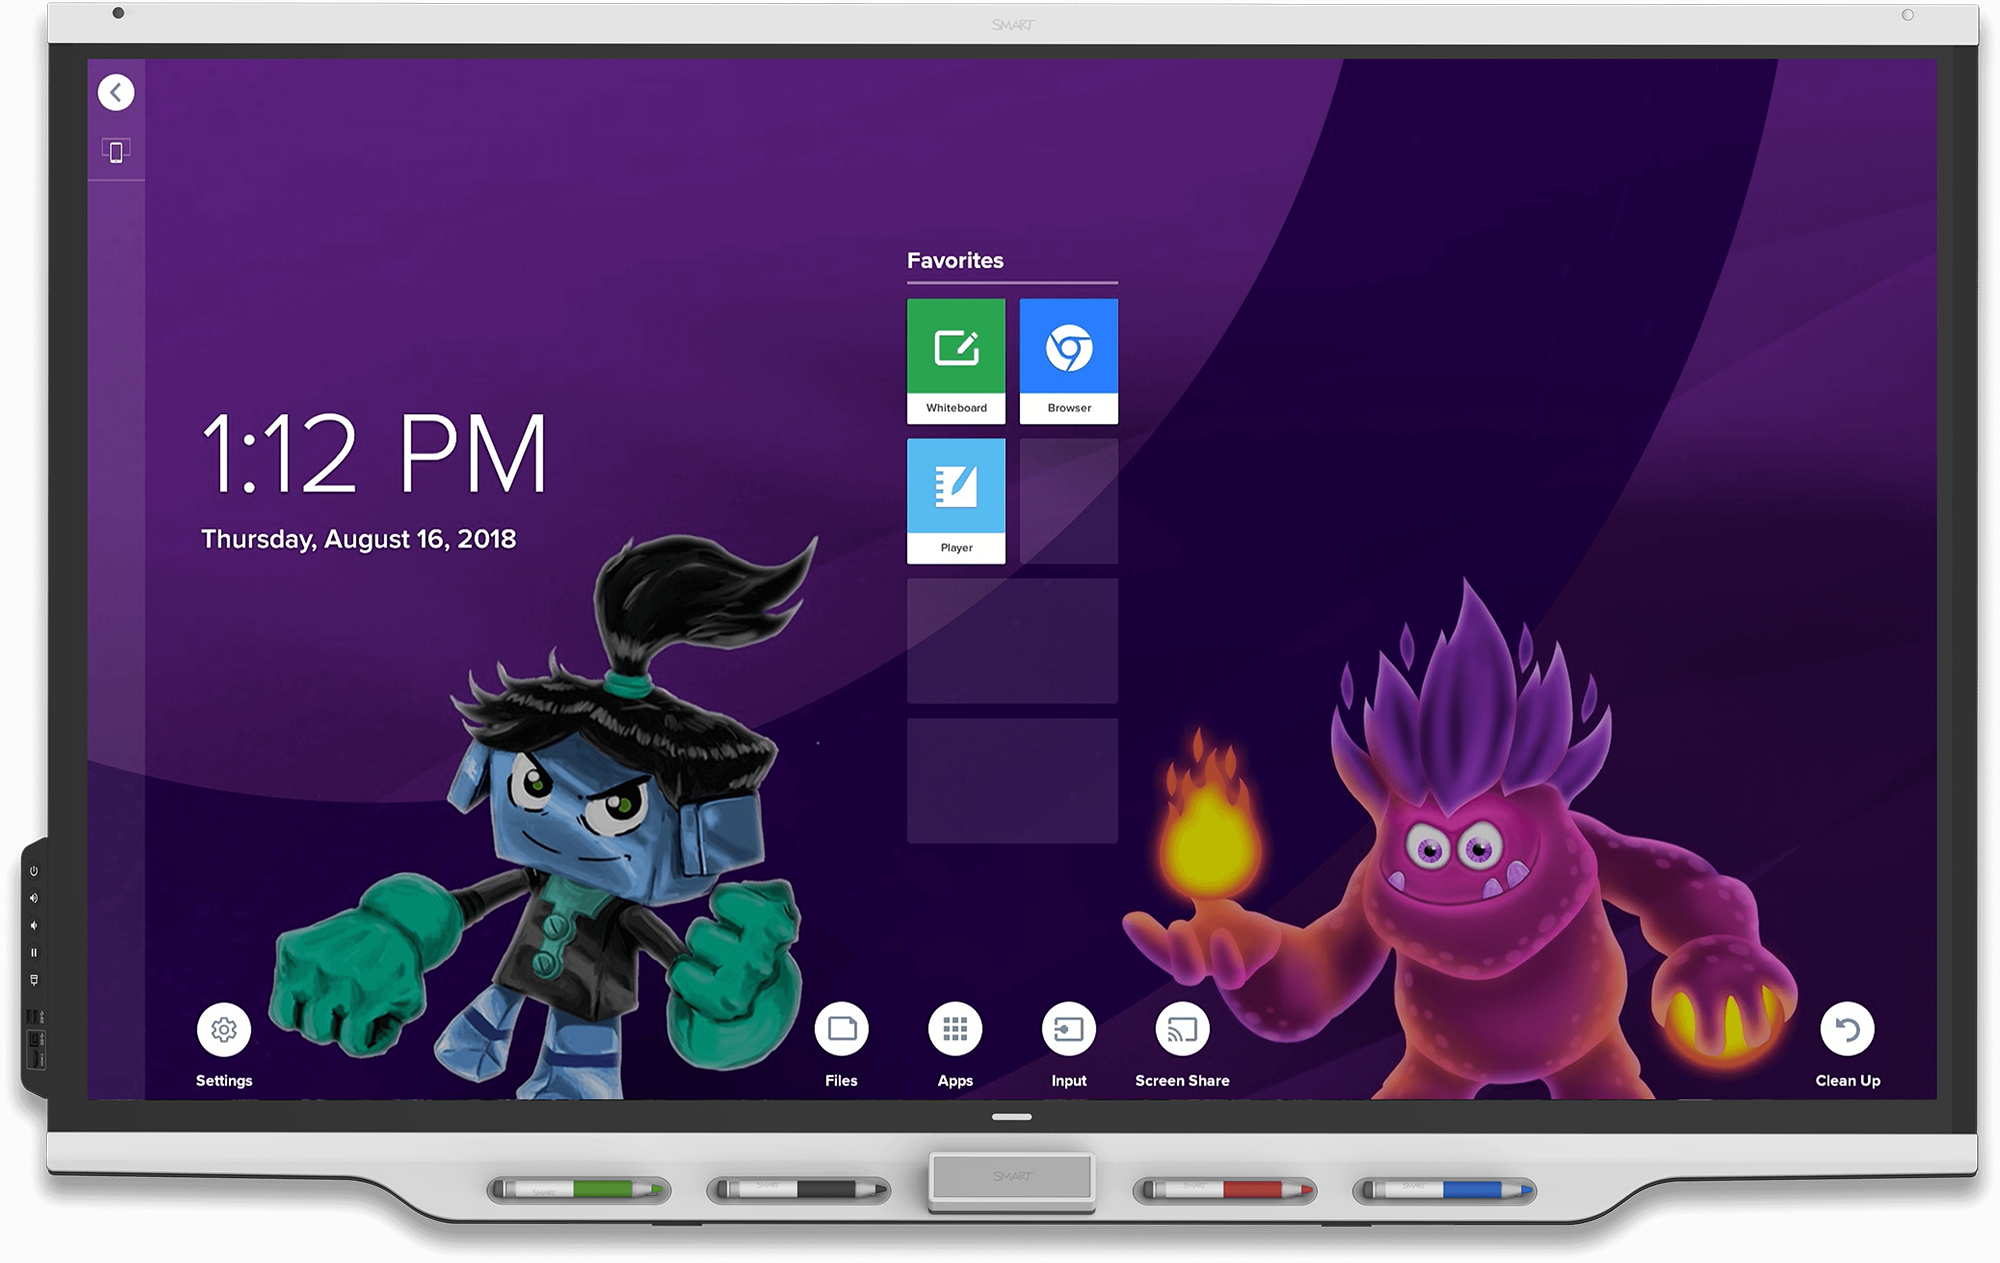
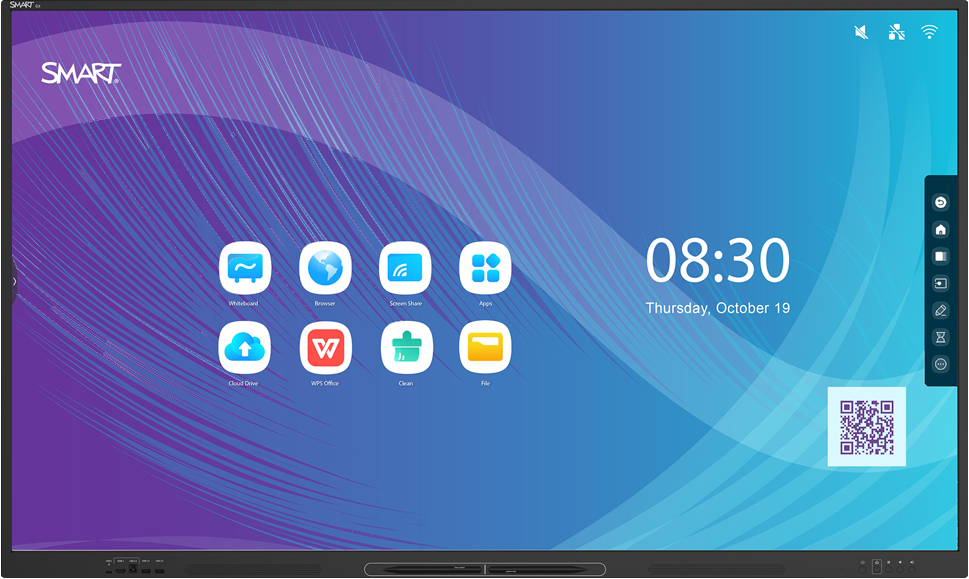
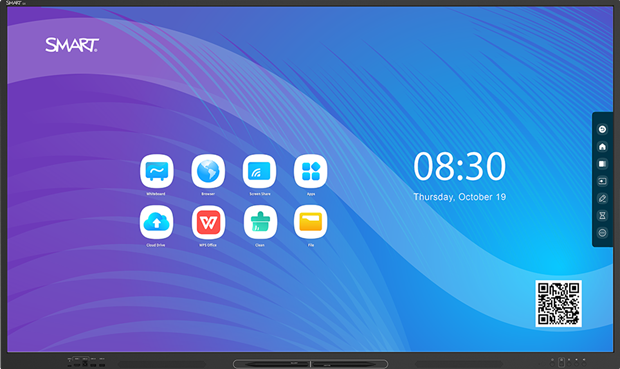
Get started using your display! Print the poster for the SMART Board display in your classroom and post it next to the board for quick reference. Make sure to continue scrolling down on this page to learn how to use the various features in your class.
Not sure which display you have? Learn how you can tell
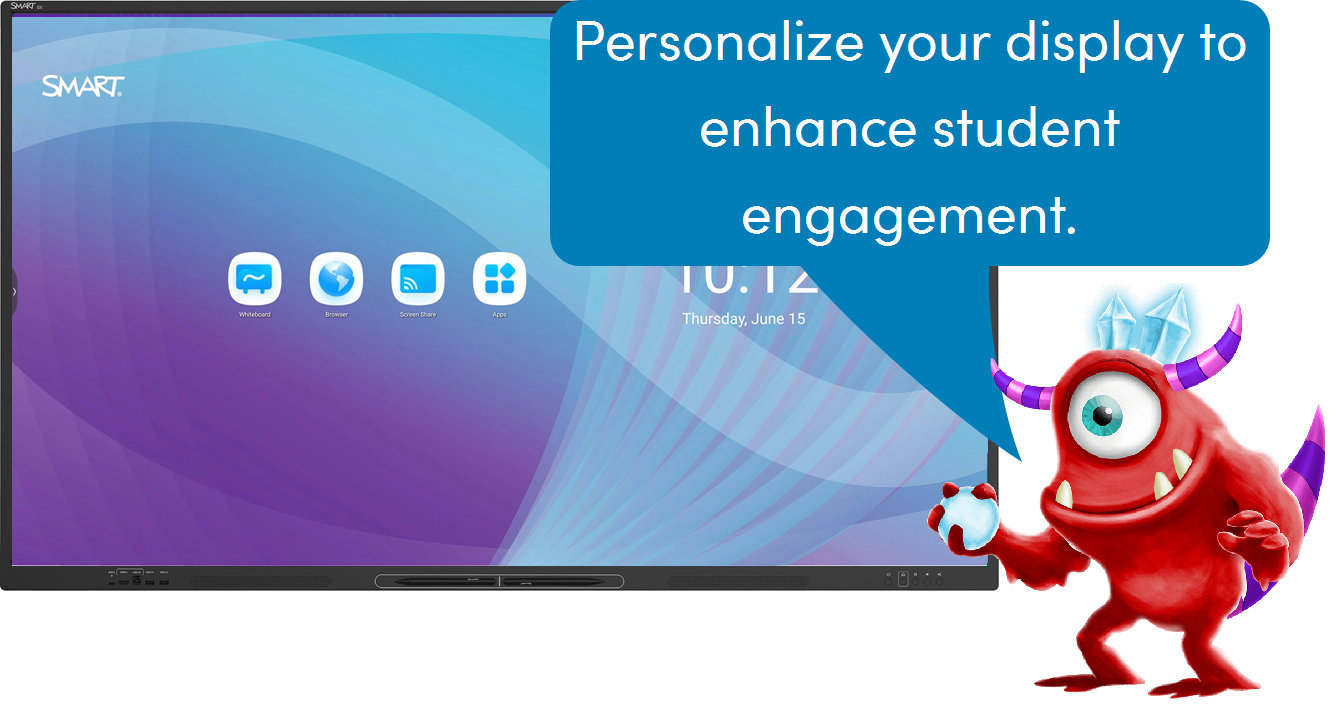
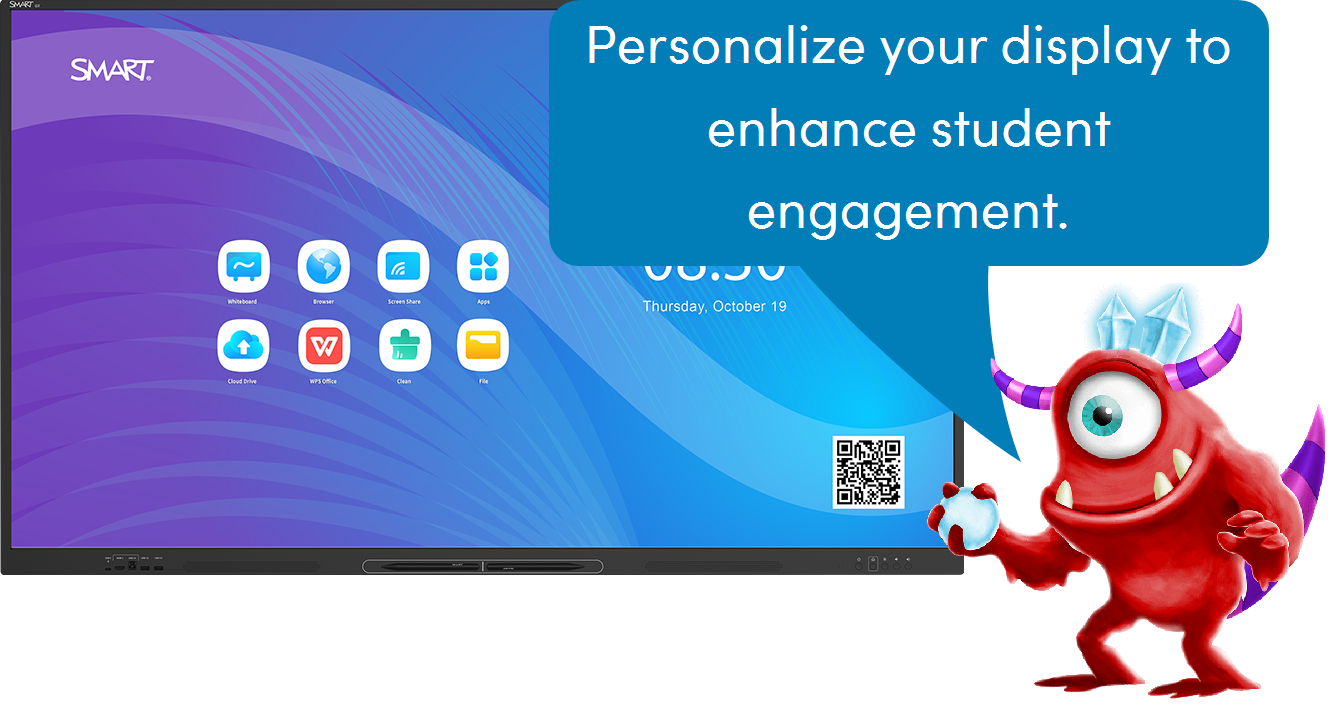
Change your wallpaper
Steps
| 1 | Change the wallpaper You can personalize the display by changing the background. On the Home screen, tap |
 , and then
 . In the settings dialog, tap Personalization and scroll to Wallpaper to select a new wallpaper.
| 2 | Upload your own wallpaper image You can insert a USB drive and select an image from the drive to set it as your background. Note For best results, use a .jpg or .png file with 3840 × 2160 resolution. |
Instructional ideas
Engage your class by adding a picture of your classroom, school events, or the school mascot to infuse school spirit into your classroom.
Enhance classroom culture by using student-created art, digital posters, or photographs as the display's background.
Extend learning by using a background image that represents a unit of study, a mission statement, or a metaphor.
Sign in to a Cloud Drive
Steps
| 1 | Open the Cloud Drive app and add an account On the display’s Home screen, tap Tap Add account and select OneDrive or Google Drive. Enter your account email and password, and Allow permissions when prompted. To set an account as the display’s default account, select the account and tap Set as default. After you’ve added a cloud account, you can use File Manager to move or copy a file from a cloud drive to the display. To learn more about using File Manager to save or retrieve items from a cloud drive, see Using a Google Drive or OneDrive account. |
 .
.| 2 | Copy lesson materials from a USB drive You can copy your lesson materials from a USB drive to the display. Connect a USB drive to the display, tap Note You can tap Select to select multiple files. A check box appears next to the selected files. Browse to the folder you want to move the file to, double tap the folder to open it, and tap Paste. |
 . Tap the name of the USB drive and browse to the files you want to move. Tap a file to select it and then tap Copy > Storage.
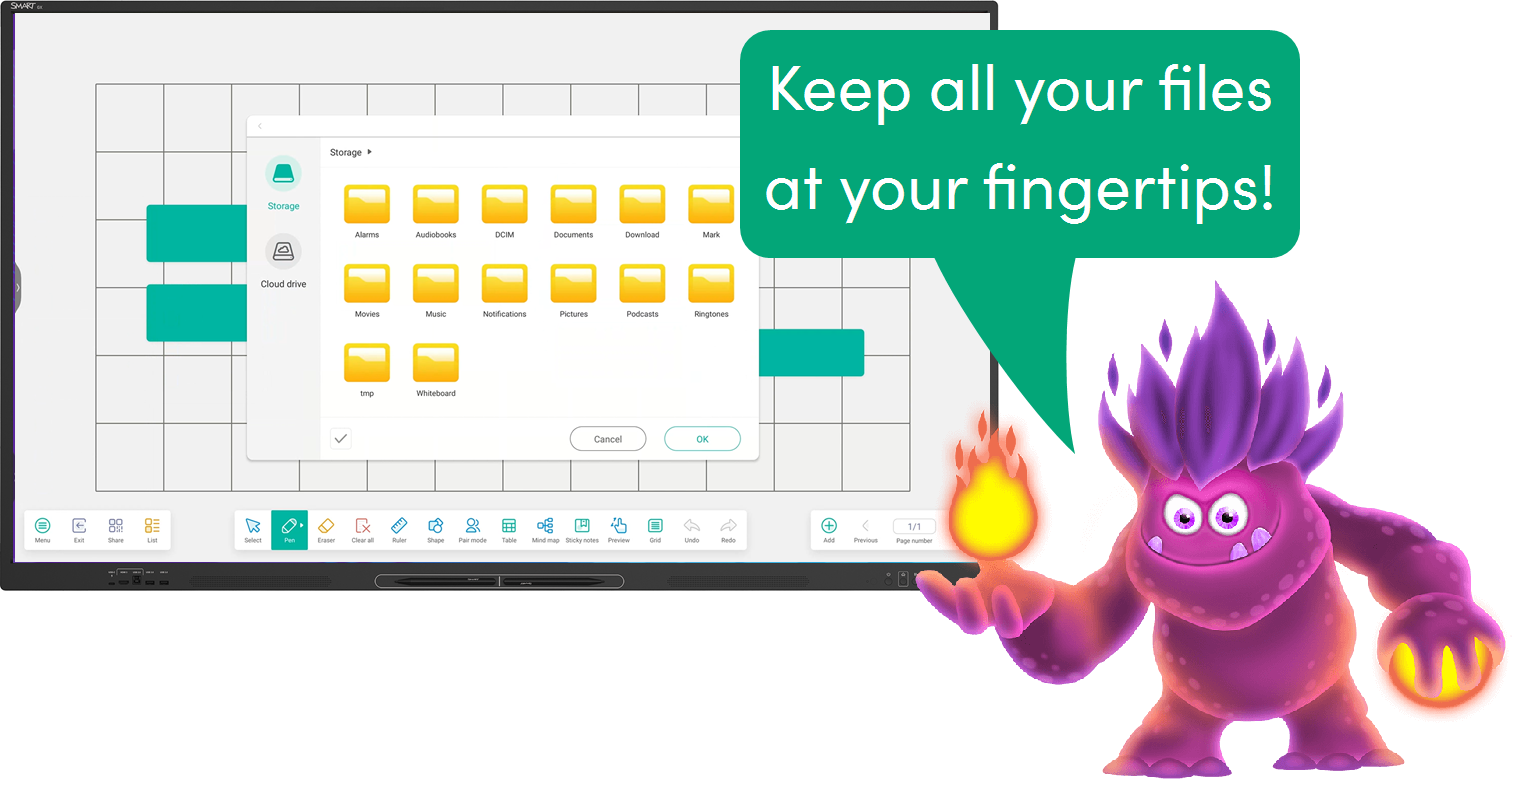
Instructional ideas
Engage students using materials you’ve already created.
Copy your lesson materials from a USB drive, or download files from OneDrive or Google Drive.
Save or export created lesson files to your cloud storage for repeated use.
Enhance your teaching by adding interactivity to your lesson materials.
Open a practice PDF page in the Whiteboard app for students to access in centers or small groups.
Use pen tools to make notes on your downloaded lesson materials.
Extend learning by creating open-ended challenges and task cards for students to access.
Create a choice board (such as a tic-tac-toe choice board) with extension activities, and save to OneDrive or Google Drive.
Add a PDF to your lesson that contains riddles, math problems, or logic problems.
Use the whiteboard app
Steps
| 1 | Tap Whiteboard Choose a page background (pages can have different backgrounds). To change the page background, tap |

 in the lower left corner, then tap
 . Add grids, preset lines, or change the background’s color. You can also add a background image saved on the display, on a USB drive or in your cloud drive.
| 2 | Partition the screen Tap |
 to divide the screen into equal non-overlapping parts to enable students each to have their own space for writing and drawing. You can have up to four partitions.
| 3 | Customize your pen Tap |
 to change the pen’s thickness, color, and writing style.
| 4 | Manipulating objects Tap Tap images to enable cropping, change a picture’s orientation, arrange pictures' order, or copy or delete them. |
 and then tap an object to manipulate it by moving, rotating, resizing, or copying, or deleting it. You can also add color to an object, convert an object to text, change an object’s orientation, arrange the order of objects, copy or delete an object, and more.
| 5 | Add shapes You can add a variety of two- and three-dimensional geometric shapes to a whiteboard. Tap |
 to add a shape and then fill the shape or change its color.
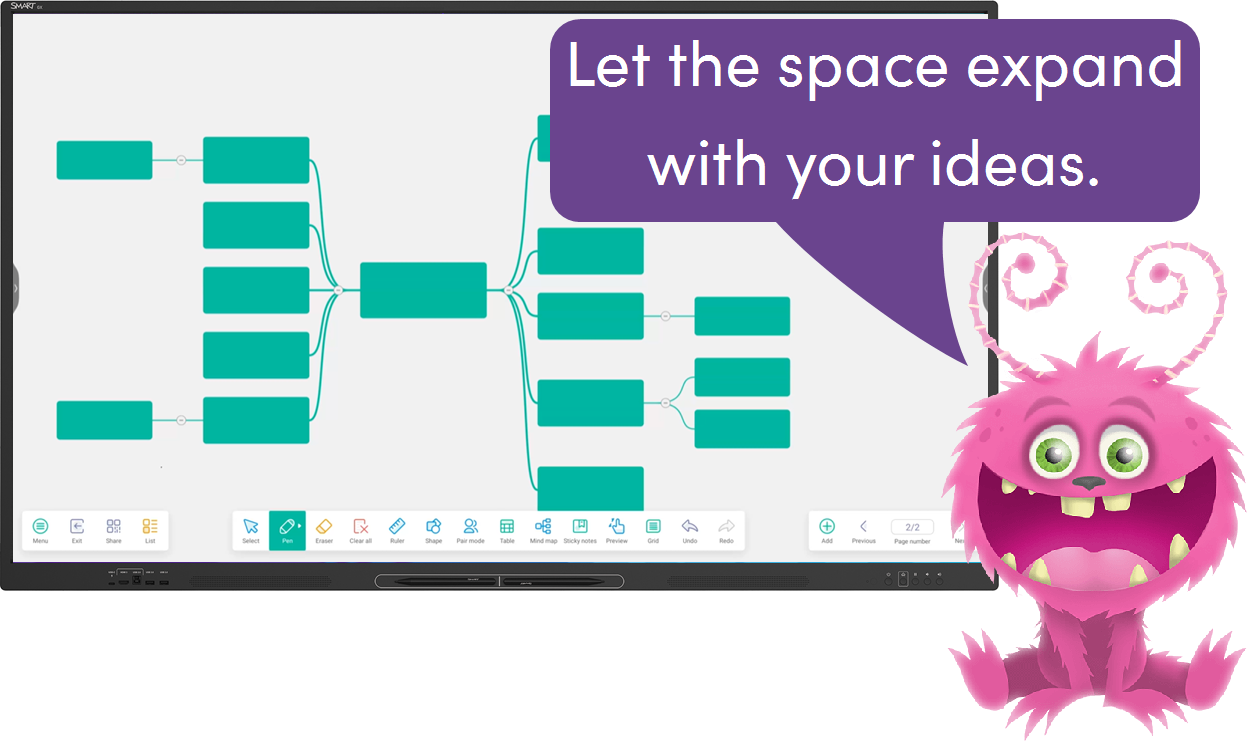
| 6 | Add a mind map or table Tap |
 to add a mind map to a whiteboard. Add text to a node and drag the nod into position. Add or delete nodes as ideas develop.
| 7 | Add sticky notes Add a sticky note to a whiteboard. Tap |
 and start writing on the note. You can move notes around as needed. To delete the notes, tap
 .
.
Instructional ideas
Engage your class by using digital themes to capture student ideas, show student thinking, and create artifacts of meaningful discussions.
Create graphs or tables to organize data, and have students evaluate the information.
Brainstorm ideas, questions, examples, and nonexamples, and record them on a whiteboard page.
Enhance your lesson by using the built-in whiteboard tools.
Add 3D shapes, and use the pen and ruler tools to calculate volume, area, length, angles, and more.
Allow students to write their observations on sticky notes and add them to lesson material to explain their thought processes.
Extend learning by putting your students in the lead.
Use the GX Whiteboard as a student collaboration area to compare and contrast their work with Pair mode.
Students create mind maps to brainstorm solutions to problems, organize and synthesize information, and work collaboratively in student-led stations.
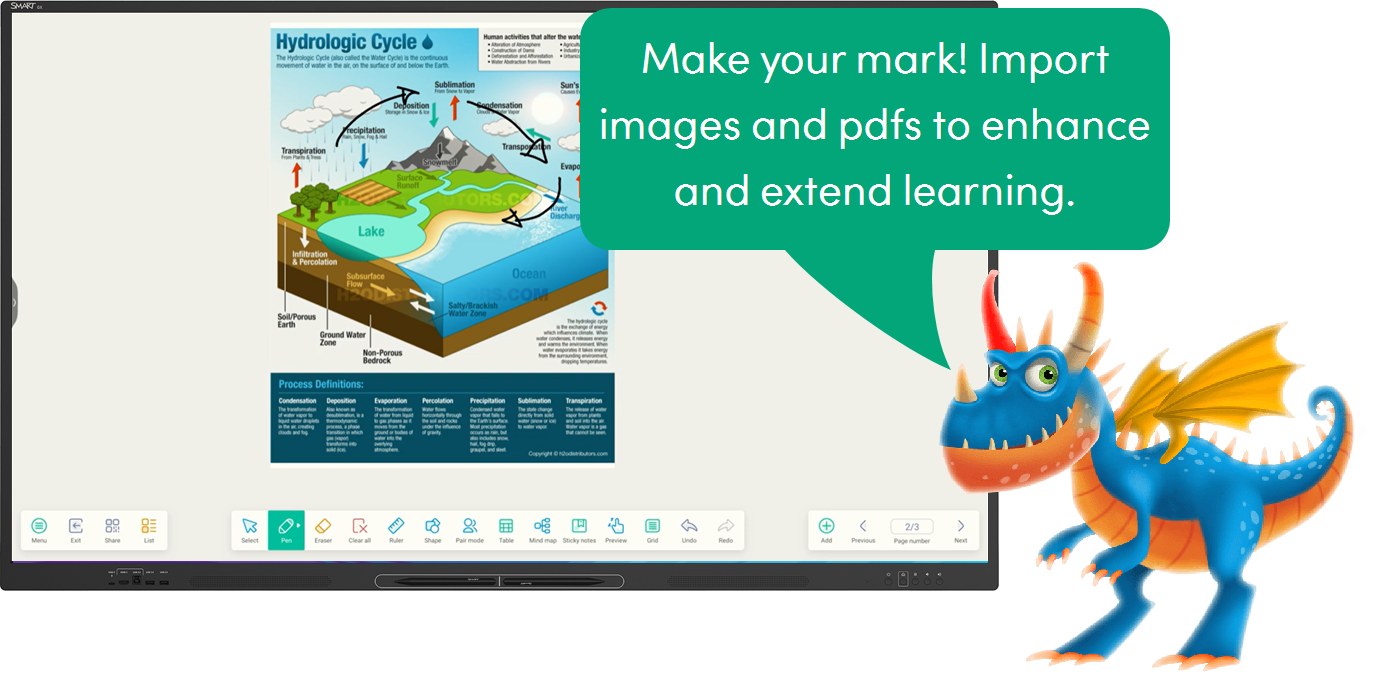
Add images and PDFs
Steps
| 1 | Insert an image Open a whiteboard file on the display and browse to a page. Tap You can move, resize, rotate or write on the images you add. |

 , and then tap an image format. Browse to and tap the image you want to insert on the page.
| 2 | Add a PDF To add a PDF to a whiteboard, tap The PDF file appears as an object on the page and you can write over it. |
Instructional ideas
Engage your class by inserting images of possible characters, settings, and problems. Students can work in small groups to create a story based on the images.
Enhance your lessons by using an image that sparks curiosity and questions about an upcoming unit or topic. Have students come up and write or draw over the image. They can share what they’re thinking about, things they wonder, questions they have, and connections they’ve made.
Extend your lesson by adding a PDF of lesson material or project planning sheets, and ask students to add images and ideas related to the lesson.
Save and export your whiteboard
Steps
| 1 | Save a whiteboard lesson You can save your whiteboard lessons to the display, a USB drive or your Google Drive or OneDrive account. Tap You can also tap Both options save your lesson pages in a single file that you can reopen to share or edit. |
 to save the current whiteboard file by replacing previously saved versions.
 to rename the current whiteboard and save it without overwriting a previously saved version.
| 2 | Export a whiteboard lesson You can also export all the pages in your whiteboard lesson into sequentially-numbered .png files or as a single .pdf file. Tap |
 , choose a file format, and then a location to store the file. Choose a location you can easily access to enable uploading of the file to your LMS.
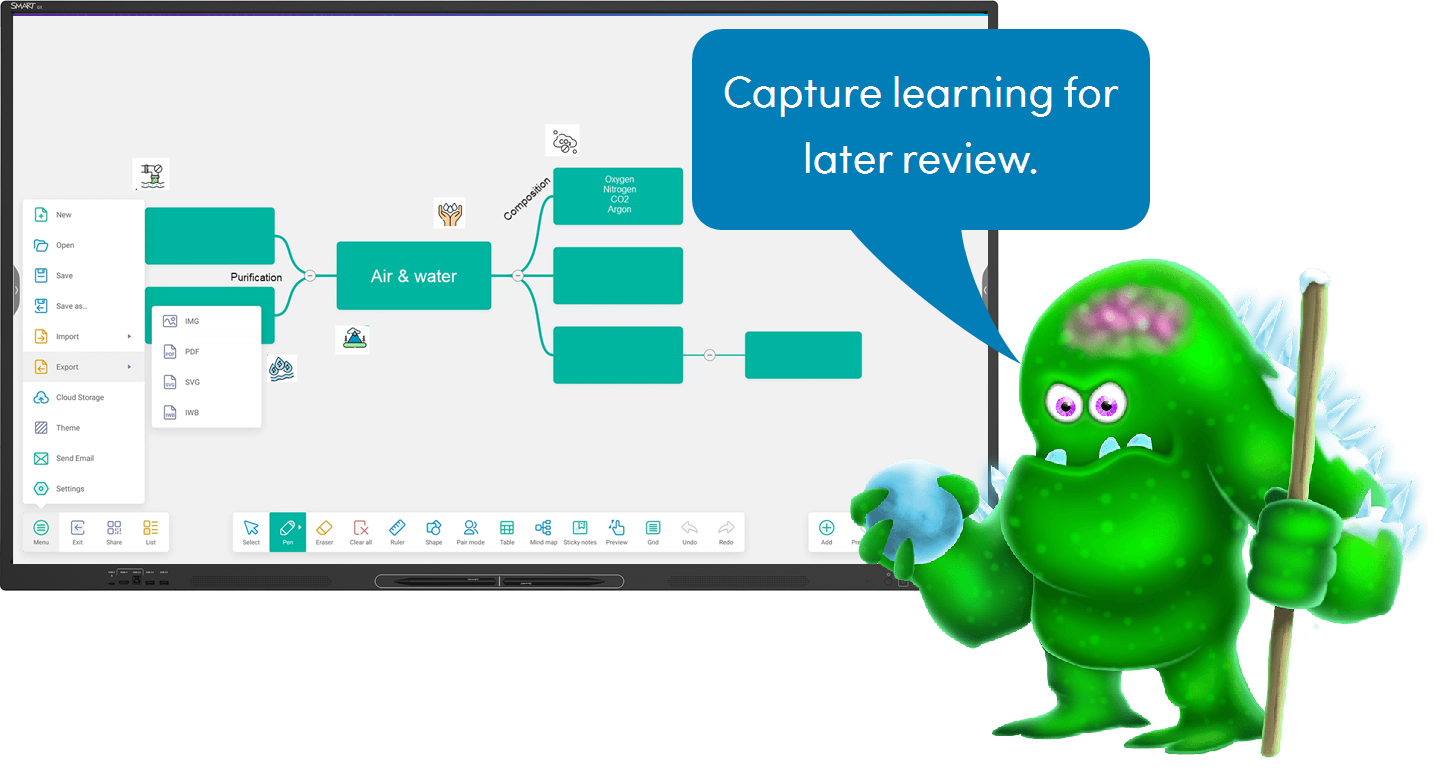
Instructional ideas
Engage students who are absent or just want to review the lesson by exporting lesson whiteboard files in .pdf or .png format.
Enhance the lesson by posting an exported whiteboard to your LMS with a follow-up assignment to extend student thinking.
Extend your lesson across multiple days by saving and reopening your whiteboard files to continue with a previous lesson.
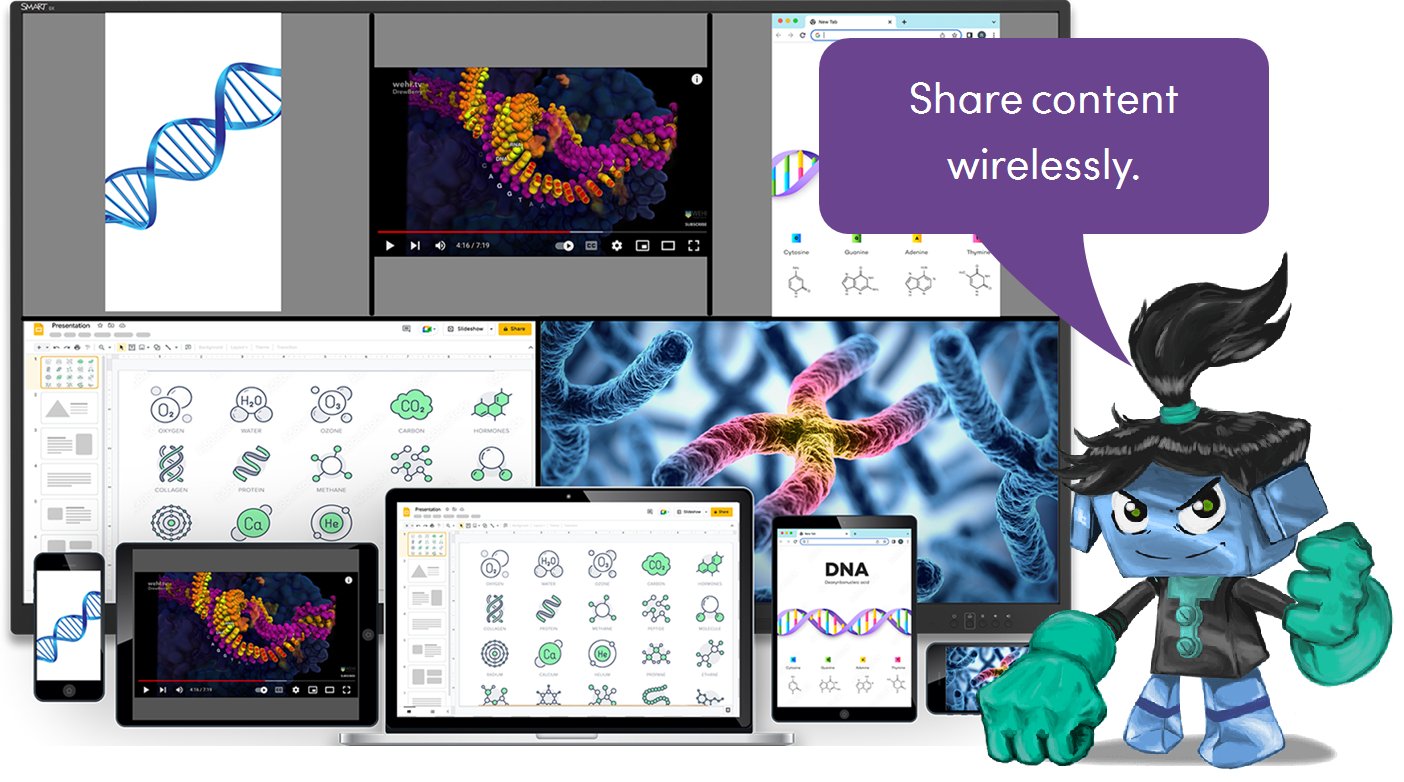
Use the screen share app
Steps
| 1 | Open the Screen Share app On the Home screen, tap Screen Share. Make sure your device is connected to the same Wi-Fi network as the display. |
| 7 | Connect your device Click one of these links to learn how to connect and share the device’s screen: |
| 8 | Get help Having issues connecting? See troubleshooting tips and best practices for connecting. |
Instructional ideas
Engage your class by wirelessly sharing a computer or tablet screen to present a video, slideshow, PDF, and more.
From your device, walk through step-by-step directions to enhance student understanding.
Enrich discussions by sharing from multiple devices.
Enhance your lessons by asking students to share videos, images, or work that relates to the subject matter to extend thinking.
Students can look for images, news articles, current events, or songs of connecting ideas.
Students can create metaphors or similes for the concepts they're studying to show a deeper understanding.
Extend learning by having students share student-directed productions that use a variety of media and tools to present their ideas.
Students can display slideshows, original movies, and digital work from their devices.
Students can share notes and approaches to problem solving and compare similarities and differences.
Record lessons
Steps
| 1 | Open the Record widget Tap 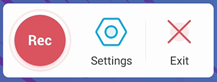 The record widget controls open. You can drag them to wherever you like on the screen. |
 in the toolbar menu, and then tap
 .
.| 2 | Start recording Tap To pause the recording, tap Note You can tap |
 to begin recording the lesson or activity displayed on the screen.
 . When you’re ready to continue the recording, tap
 .
. to open the settings to change the video’s resolution and select a location for the saved recording.
| 3 | Save the recording After you complete the actions you want to record, tap Save the recording and share a copy of it with students or parents, or save it to use later in a lesson. |
 .
.
Instructional ideas
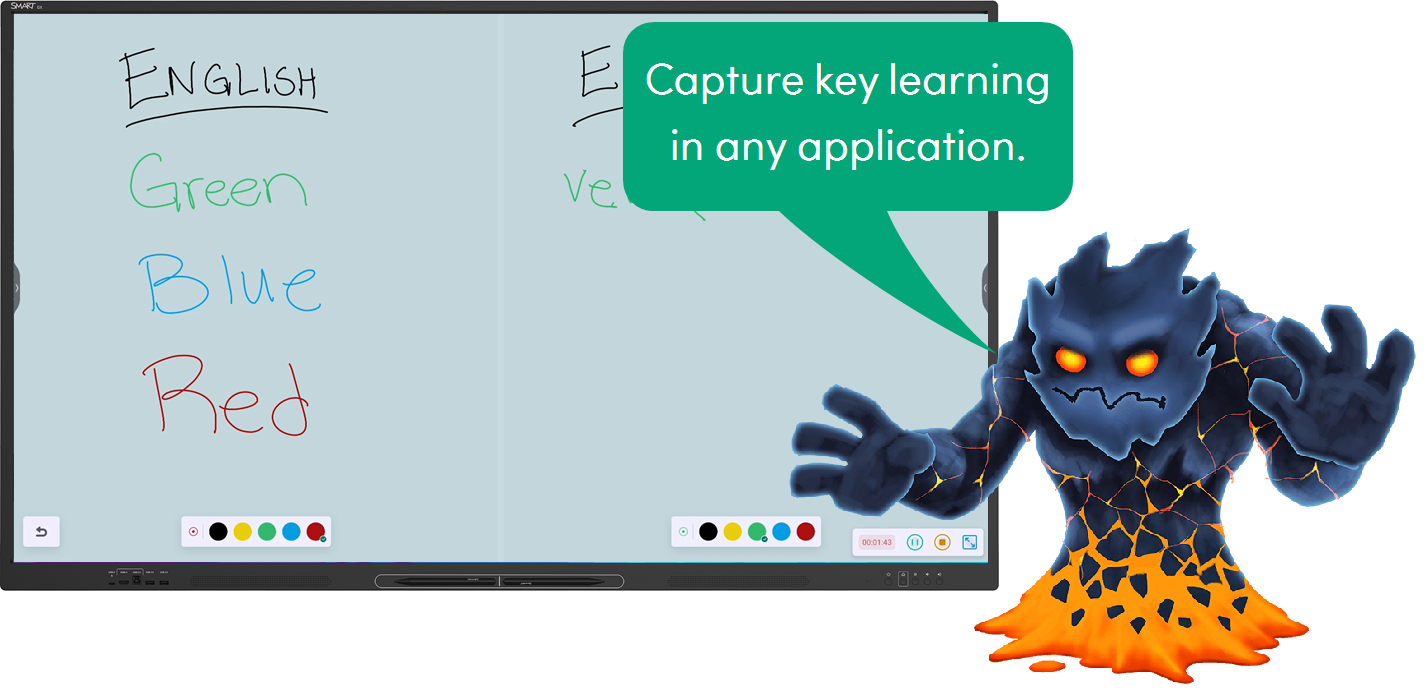
Engage your class by using the Record widget to demonstrate examples, modeling, and explanations for students working independently at home or at school.
Enhance your lessons with the Record widget to capture student presentations, centers, and small group visual thinking.
Extend learning by using the Record widget to activate prior knowledge by introducing key vocabulary and big ideas before class.
Split your screen
Steps
| 1 | Split the screen The Split screen widget divides the screen into two parts, allowing you to use two apps simultaneously. Tap A list of apps that support the Split screen feature appears. Choose the two apps you want to interact with. |
 .
.| 2 | Interact with both screens Drag the divider left or right to adjust the size of each screen. Use the display’s pens to annotate or gestures to interact with each screen. |
| 3 | Close split screen view When you’re done, use the controls in the open apps to close each app. |
Instructional ideas
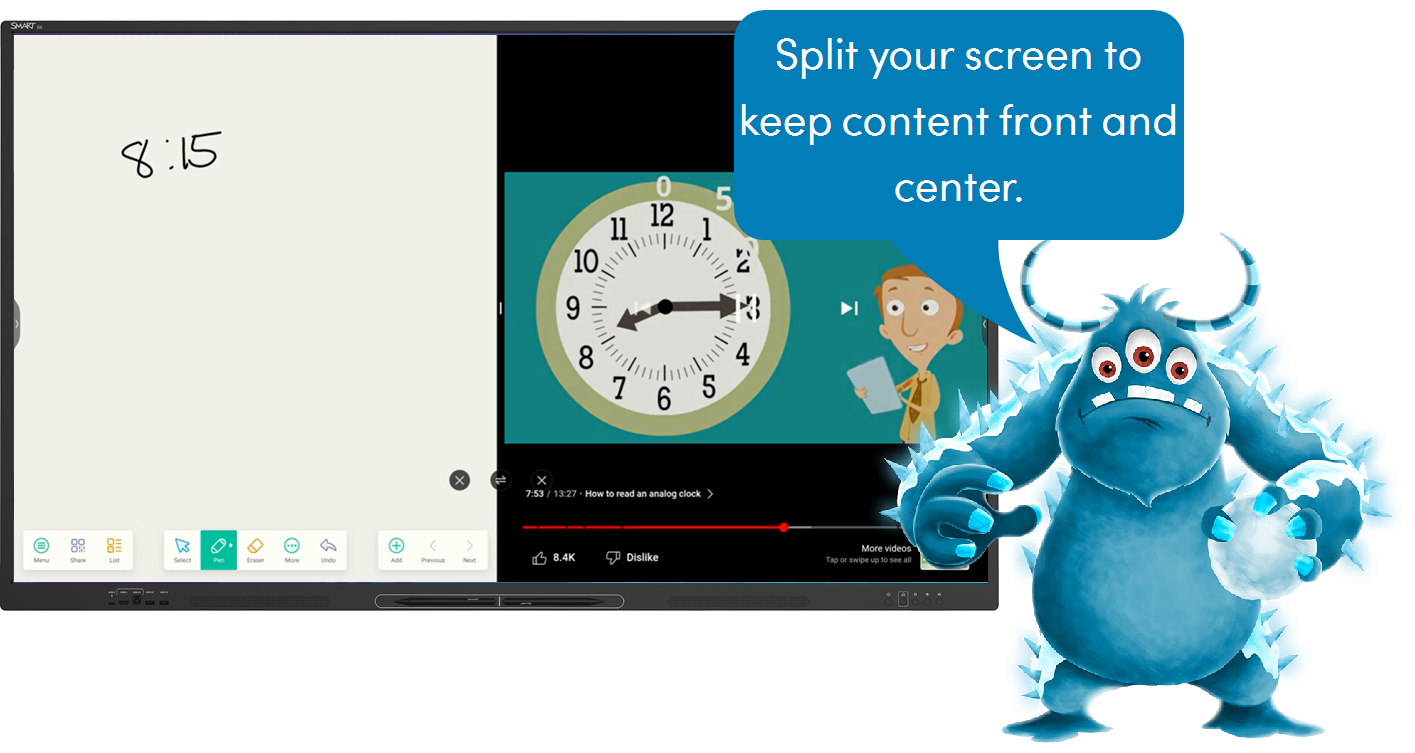
Engage your class by using split screen to seamlessly compare, contrast, and analyze lesson content.
Split between a text and the whiteboard for students to analyze vocabulary, author’s purpose, text features, and more.
Use two texts to compare and contrast writing styles, author’s tone, and other reading elements.
Enhance your lesson with split screen by encouraging collaboration with student-led stations.
Students use a browser window and the whiteboard app to analyze and annotate selected texts to promote discussion.
Use split screen to interact with interactive content, such as PhET science activities, and the whiteboard to record notes and track hypotheses.
Extend your lesson by encouraging students to apply problem-solving and critical thinking skills with split screen.
Use Desmos in the browser and the whiteboard app to have students solve and document math problems and equations.
Encourage discussion and problem-solving by analyzing media in the browser, such as current events, news clips, or articles, and use sticky notes to brainstorm impacts students can have on those events.
Use the Picture in Picture (PIP) widget
Steps
| 1 | Open the PIP widget  Show your connected computer’s desktop in a smaller floating window you can position anywhere on the display’s screen. The floating window appears on top of open apps, allowing you to continue viewing your computer’s input while interacting with other apps or websites. Tap The PIP widget opens and you can select an input, resize the floating window, and change or mute the input volume. If your connected computer also has a USB cable connected for touch, you can control this input via touch, directly within the PIP window. |
 .
.| 2 | Close the PIP widget Close the PIP widget by tapping |
 .
.
Instructional ideas
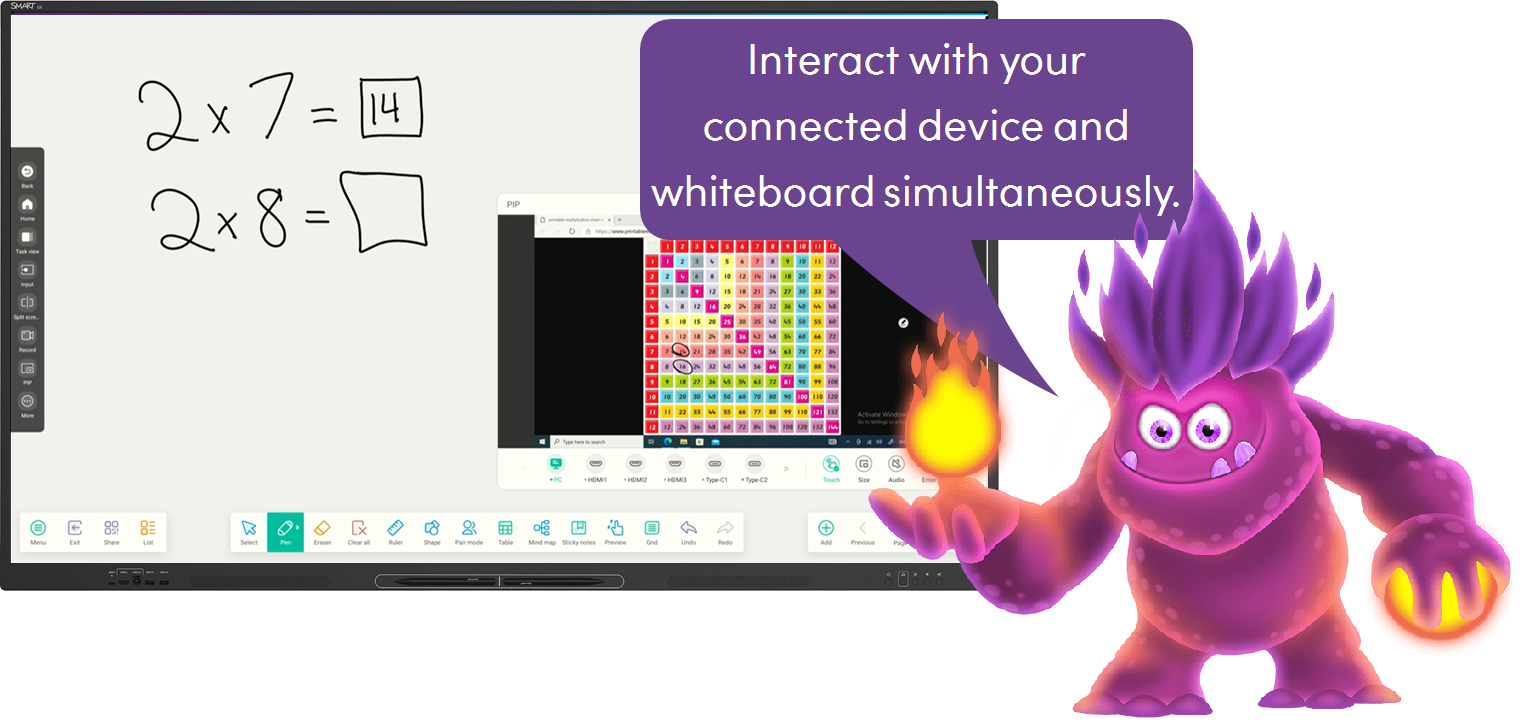
Engage students with lesson content within the whiteboard app, and use the picture-in-picture widget to bring in your connected computer with additional lesson content (such as a video, student work, and more).
Extend student learning with SMART Ink when using a connected computer within the whiteboard app. Students work simultaneously within the whiteboard app and with SMART Ink tools on the computer input to encourage collaboration.
Enhance student brainstorming and encourage peer feedback by allowing students to share their work from their connected device while documenting peer feedback in the whiteboard app.