About the SMART Board GX
The SMART Board GX series gives you everything you need to get started with interactivity.
Tap a feature’s label in the below diagram to learn more about the feature:
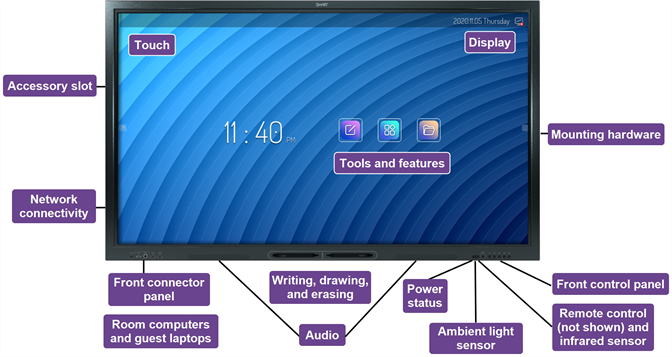
The display includes a comprehensive set of features and components.
About the SMART Board GX
The SMART Board GX series gives you everything you need to get started with interactivity.
Tap a feature’s label in the diagram below to learn more about the feature:
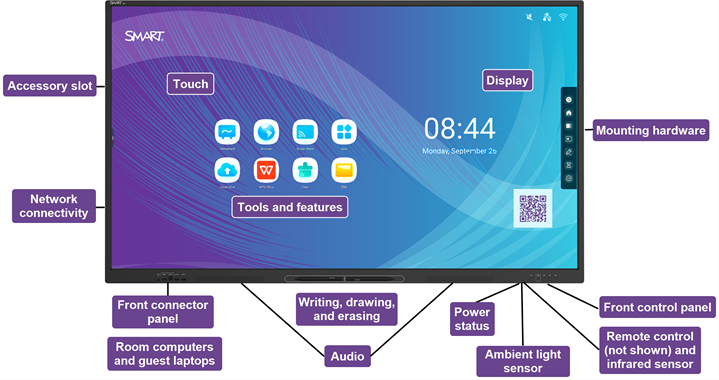
The display includes a comprehensive set of features and components.