Connecting power and turning on the display for the first time
The final step in installing and configuring the display is to connect power and turn it on. When you first turn on the display, a setup wizard appears. Follow the steps in the wizard to complete the setup.
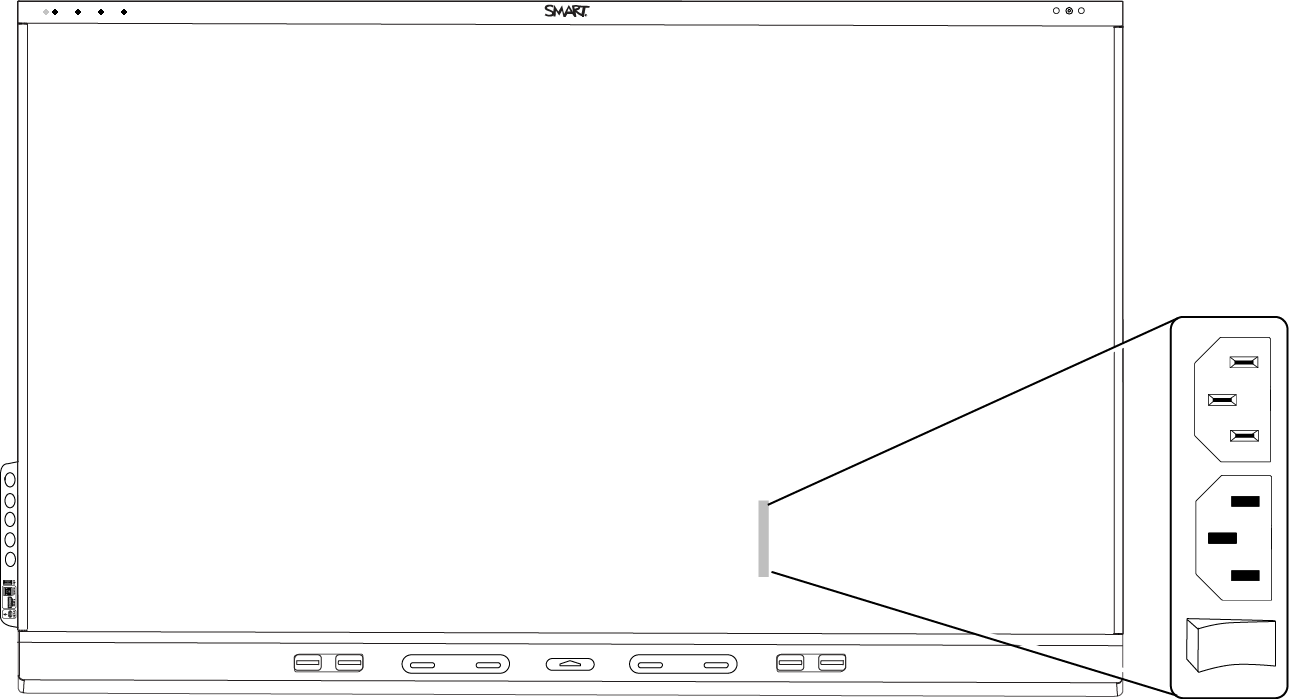
To connect the display to power
Connect the supplied power cable from the AC power inlet on the back of the display to a power outlet.
Notes
Refer to the display’s specifications for power requirements and power consumption information (see About your display).
The AC power output on the back of the display is rated at 250 W.
To turn on and set up the display for the first time
Important
Install the OPS appliance before you turn on the display. If you can’t reach the power switch, use the front control panel’s power button
 to put the display in Standby mode, and then unplug the display’s power cable from the power outlet.
Make sure the OPS appliance is secured to the display with screws through the two anchor points. Inadequately secured appliances can damage the display. (An OPS appliance's anchoring screws are typically captive, although some simply include separate anchoring screws. Third-party OPS appliances are not supported, and their use can lead to poor performance or damage to the display.
Notes
If a USB drive is connected to the display’s service port receptacle, do not remove the USB drive. The USB drive may contain an important firmware update.
On 65" models of the SMART Board 6000S (V3) display, it will take approximately 30 seconds before an image appears on the screen and the convenience panel buttons begin to respond after you flick the power switch beside the AC power inlet to the ON (I) position.
Flick the switch beside the AC power inlet to the ON (I) position.
Press the Power button
 on the front control panel or remote control
Select your preferred language, and then tap Next.
Select your country, and then tap Next.
Select your time zone, and then tap Next.
Set the date, and then tap Next.
Set the time, and then tap Next.
Name the display, and then tap Next.
If the display isn’t using a wired network connection, select a wireless network, and then tap Next.
Important
The display needs an internet connection for downloading and installing important updates. Ask the network administrator to confirm that the network has been correctly configured for the iQ experience. For more information about network configuration, see Connecting a SMART display with the iQ experience to a network.
Note
If an internet connection is not available for downloading and installing important updates, see Updating system software manually.
Select the apps you want to appear in the Apps Library, and then tap Next.
Tip
To change which apps appear in the Apps Library, see Application settings for iQ or Application settings for iQ Pro.
Tap Finish.
The Welcome screen appears.