Installing and using the SMART OPS PC module
You or your organization’s installers can install the SMART OPS PC module in a supported SMART Board interactive display’s accessory slot following the OPS PC module’s installation instructions.
SeeSMART OPS PC modules (PCM13 series) illustrated installation instructions (docs.smarttech.com/kb/171990)
SeeSMART OPS PC modules (PCM11 series) illustrated installation instructions (docs.smarttech.com/kb/171775)
SeeSMART OPS PC modules (PCM8 series) illustrated installation instructions (docs.smarttech.com/kb/171544)
Tip
The Support section of the SMART website lists the displays compatible with the SMART OPS PC module.
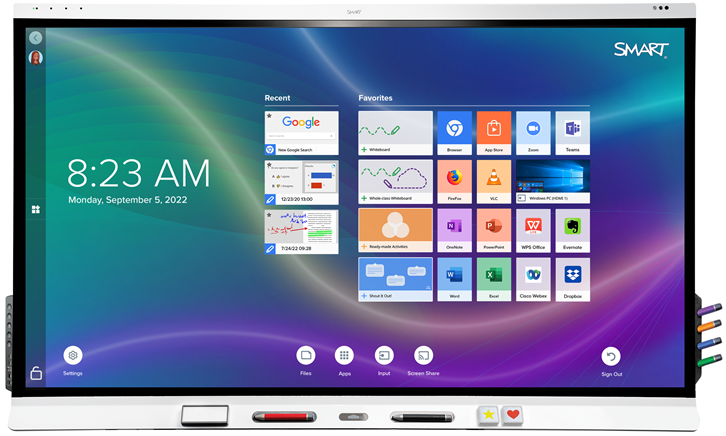
You can then view the OPS PC module’s input on the display.
Warning
Do not install or remove the OPS PC module while the display is turned on. Ensure the power switch on the back of the display beside the AC power inlet is in the OFF (O) position. After you have turned the display’s power switch off or unplugged it, wait at least 30 seconds before installing or removing the module to allow its internal power supplies to discharge completely.
Tip
You can install the SMART software that is included with the display on the OPS PC module. For more information about installing software, see the software’s installation documentation.

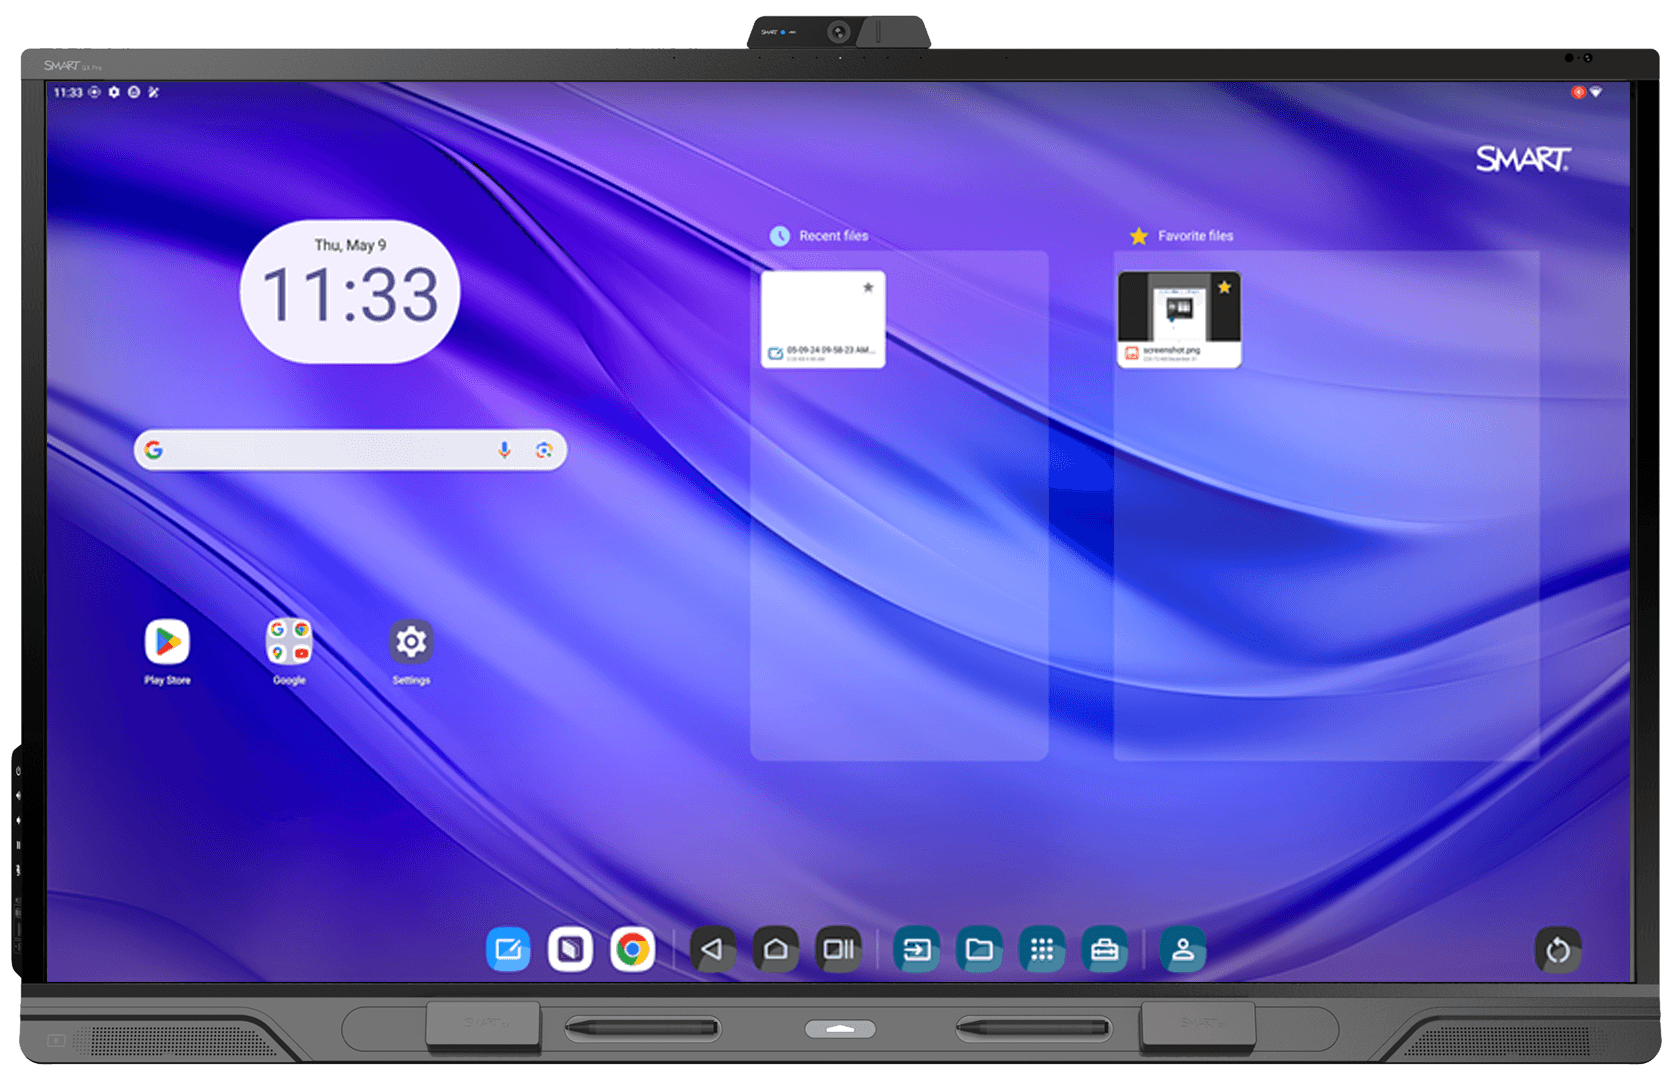
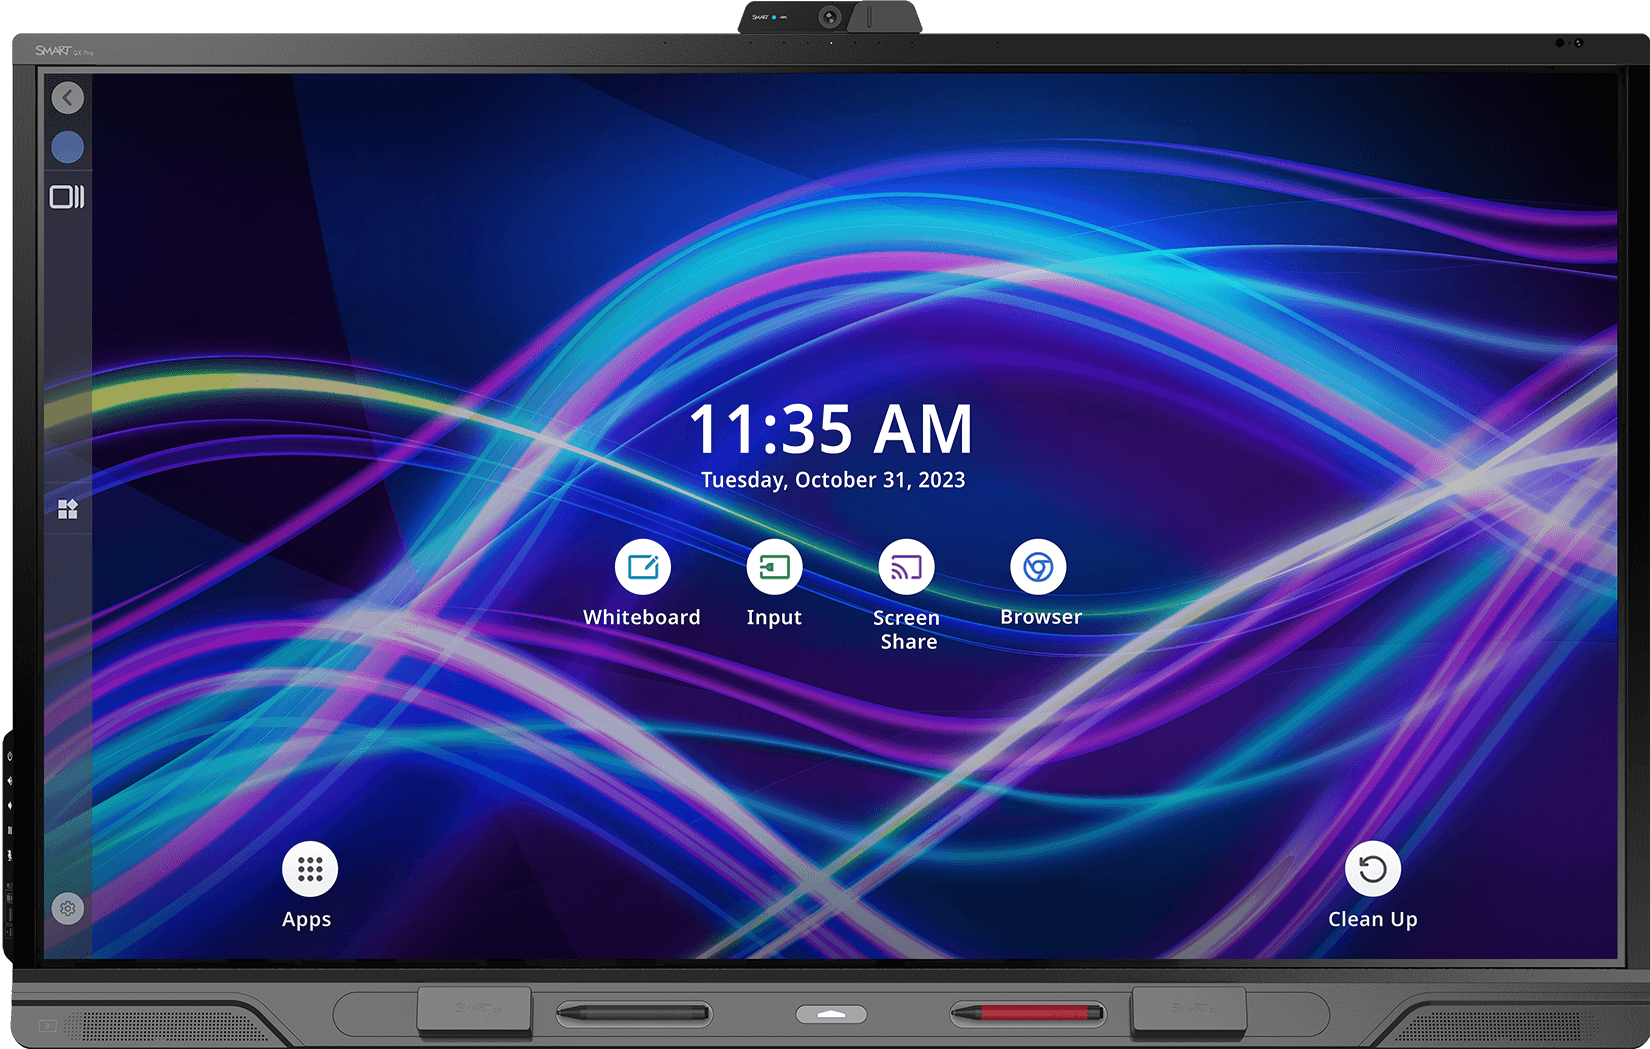
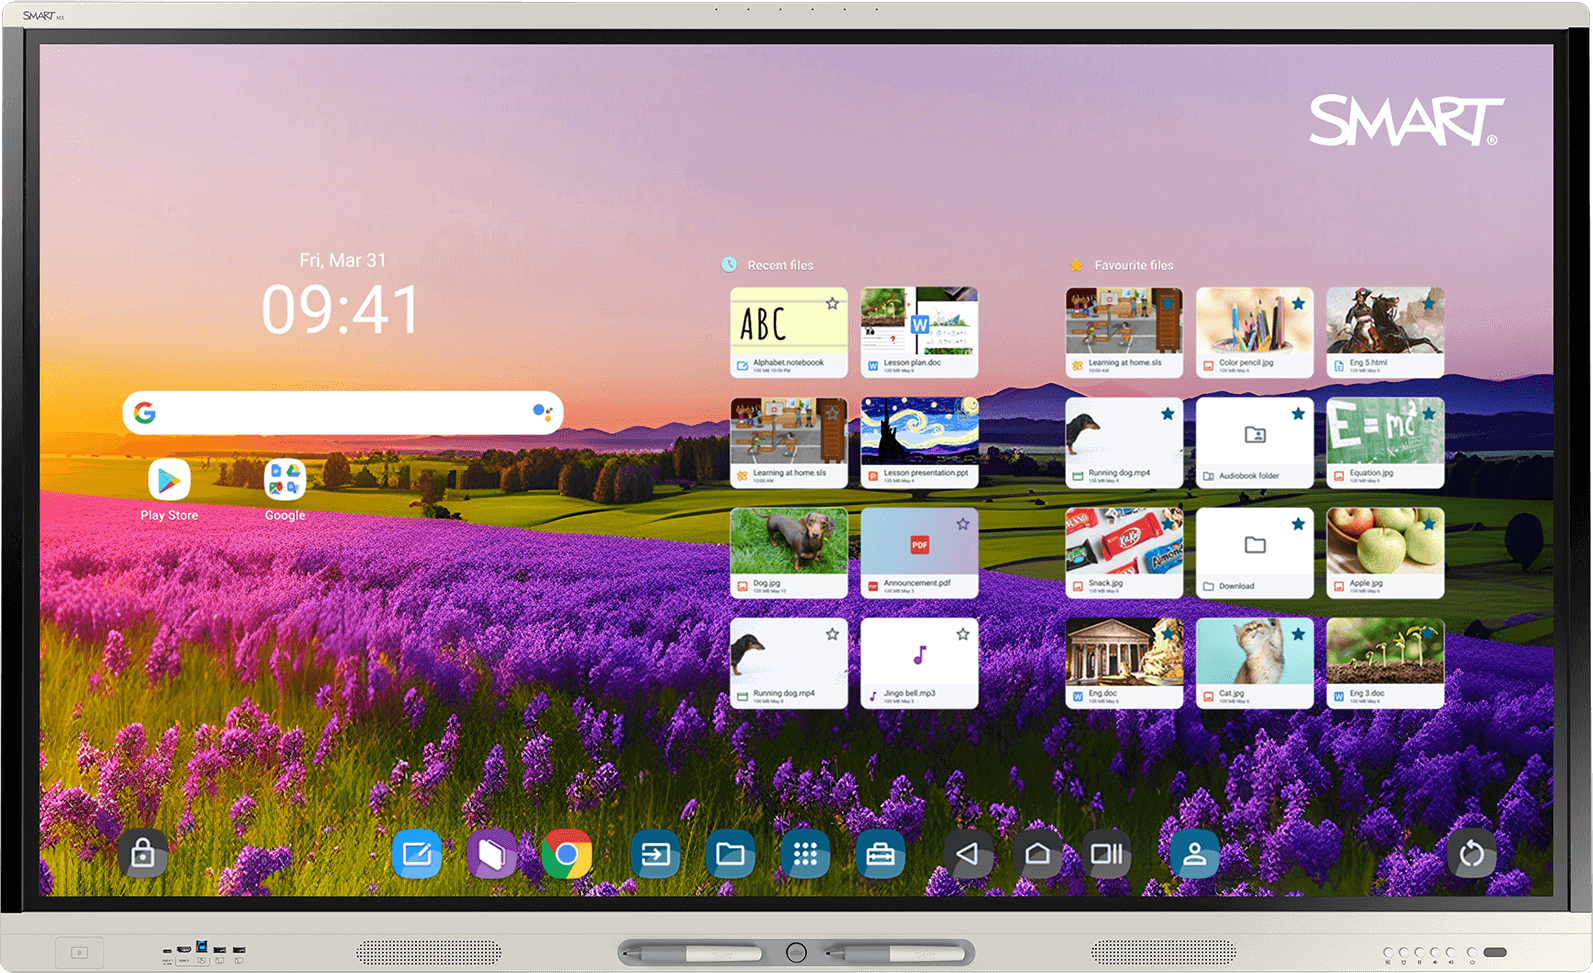
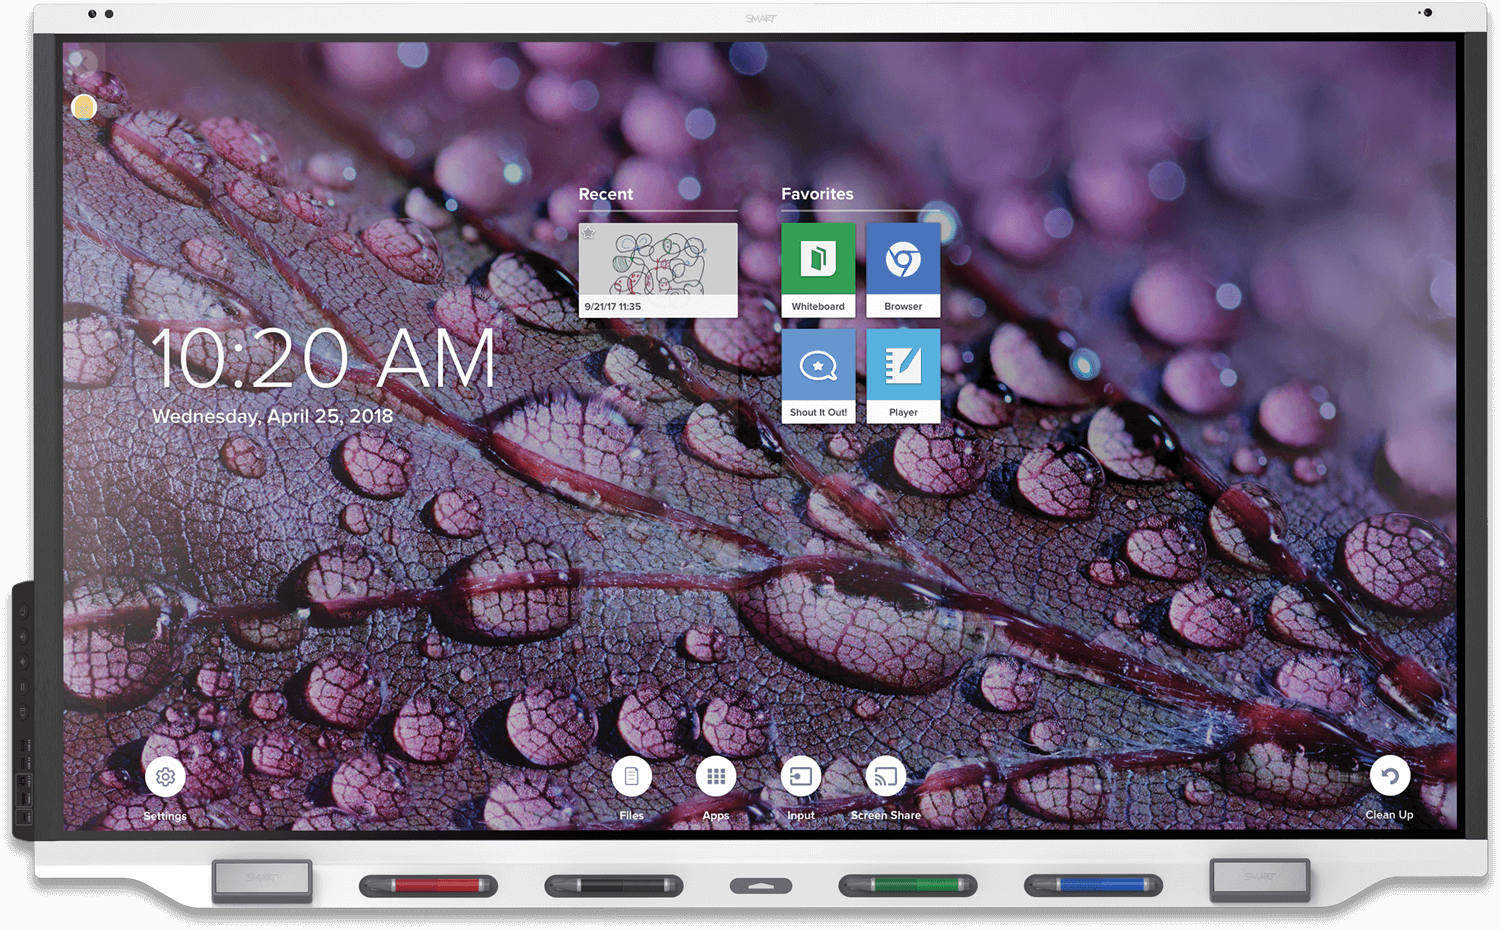
Tap the Home button
 below the screen, and then tap Input
 .
.OR
Press the Input button
 on the remote control.
Select the OPS PC module input.
Tap the Home button
below the screen.OR
Press the Home button
 or the Input button on the remote control.
Select the OPS PC module input.
Tap the Home button
below the screen, and then tap Input.OR
Press the Input button
on the remote control.Select the OPS PC module input.
Tap the Home button
below the screen.OR
Press the Home button
or the Input button on the remote control.Select the OPS PC module input.
Tap the Home button
below the screen, and then tap Input .
.OR
Press the Input button
on the remote control.Select the OPS PC module input.
Tap the Home button
below the screen.OR
Press the Home button
or the Input button on the remote control.Tip
If you want the OPS PC module’s input to appear whenever you wake up the display, tap the star in the upper-left corner of the OPS PC module’s thumbnail.
Select the OPS PC module input.
Press the Home button
 below the screen, and then tap Input.
OR
Press the Input button
on the remote control.Select the OPS PC module input.
Press the Home button
below the screen.OR
Press the Home button
or the Input button on the remote control.Select the OPS PC module input.

Press the Home button
below the screen, and then tap Input.OR
Press the Input button
on the remote control.Select the OPS PC module input.
Press the Home button
below the screen.OR
Press the Home button
or the Input button on the remote control.Tip
If you want the OPS PC module’s input to appear whenever you wake up the display, tap the star in the upper-left corner of the OPS PC module’s thumbnail.
Select the OPS PC module input.
Press the Input button
on the front control panel or the remote control.Select the OPS PC module input.
Press the Input button
on the front control panel or the remote control.Select the OPS PC module input.
Press the Input button
on the front control panel or the remote control.Select the OPS PC module input.
Open the Side Toolbar menu by tapping and sliding either of the Side Toolbar menu handles
 (located on either side of the screen) towards the center of the screen, and then tap the Input icon
 .
.OR
Press the Input button
 on the remote control.
Select the OPS PC module input.
Tap the Home button
below the screen, and then tap Input.OR
Press the Input button
on the remote control.Select the OPS PC module input.
Tap the Home button
below the screen.OR
Press the Home button
or the Input button on the remote control.Tip
If you want the OPS PC module’s input to appear whenever you wake up the display, tap the star in the upper-left corner of the OPS PC module’s thumbnail.
Select the OPS PC module input.
Tap the Home button
 at the bottom of the screen, and then tap Input.
Select the OPS PC module input.
Tap the Home button
below the screen, and then tap Input.OR
Press the Input button
on the remote control.Select the OPS PC module input.
Tap the Home button
below the screen.OR
Press the Home button
or the Input button on the remote control.Tip
If you want the OPS PC module’s input to appear whenever you wake up the display, tap the star in the upper-left corner of the OPS PC module’s thumbnail.
Select the OPS PC module input.
You can use USB drives, peripherals, and other devices with the OPS PC module by connecting those devices to the OPS PC module’s USB 2.0 Type-A, USB 3.2 Gen 1 Type-A, and USB Type-C receptacles.

PCM13 series
PCM12 series

PCM11 series

PCM8 series
Alternatively, you can connect USB devices to the USB receptacles on the display. For information about the type and location of USB receptacles on the display, see the display’s documentation.
Note
For PCM11 and PCM8 series, the maximum number of devices you can charge at a time depends on the series:
Series | Maximum number of devices |
|---|---|
PCM11 | 5 |
PCM8 | 2 |
You can connect an external display to the HDMI out connector on the OPS PC module (rather than the HDMI out connector on the display). This allows you to duplicate or extend the OPS PC module’s desktop to the external display.

PCM13 series (HDMI 2.0 out)
PCM12 series (HDMI 2.0 out)

PCM11 series (HDMI 2.0 out)

PCM8 series (HDMI 1.4 out)
Alternatively, you can connect an external display to one of the OPS PC module’s USB Type-C receptacles.

PCM13 series
PCM12 series

PCM11 series

PCM8 series
You can connect an OPS PC module installed in one SMART Board interactive display to a second interactive display by connecting an HDMI cable from the module’s HDMI out connector to one of the second display’s HDMI in connectors. Also connect a USB cable from one of the module’s USB Type-A receptacles to the appropriate USB Type-B receptacle on the second display.

PCM13 series
PCM12 series

PCM11 series

PCM8 series
Alternatively, if the second interactive display has a USB Type-C input, you can connect a USB cable from one of the module’s USB Type-C receptacles to one of the second display’s USB Type-C receptacles.

PCM13 series
PCM12 series

PCM11 series

PCM8 series
Note
To view the OPC PC module’s input on the second interactive display, switch to the input you connected the module to on that interactive display (for example, HDMI 1 or USB Type-C 1).
- SMART OPS PC modules (PCM13 series) guide – 171998
- SMART OPS PC modules (PCM11 and PCM8 series) guide – 171747
- SMART OPS PC modules (PCM13 series) illustrated installation instructions – 171990
- SMART OPS PC modules (PCM11 series) illustrated installation instructions – 171775
- SMART OPS PC modules (PCM8 series) illustrated installation instructions – 171544